
Related Manuals for COMFORT-AIRE PE-91A PE-121A


Summary of Contents for COMFORT-AIRE PE-91A PE-121A
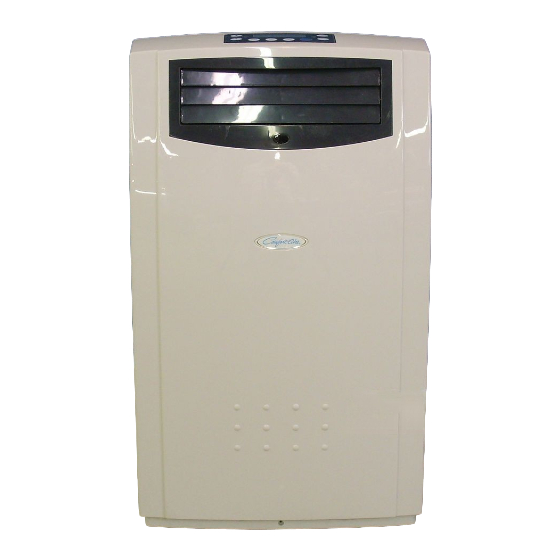
- Page 1 OWNER’S MANUAL PORTABLE AIR CONDITIONER Model: PE-91A PE-121A COOL - HEAT - DEHUMIDIFY...
-
Page 2: Table Of Contents
9.3 Operation in Auto, Cool, Heat, Dry & Fan Mode ... 9.4 Timer Setting Procedure... 9.5 Air Flow Direction Control ... DRAIN EXCESS CONDENSATE WATER ... MAINTENANCE ... TROUBLESHOOTING GUIDE ... WIRING DIAGRAM………………………………………………. Heat Controller, Inc. INDEX 1900 Wellworth Avenue Jackson, MI 49203 PAGE 10-11 12-17... -
Page 3: Before Use
This manual describes installation, operation, and maintenance of the portable air conditioner product. If you need assistance, please call: CUSTOMER SERVICE 1-517-787-2100 FOR FUTURE REFERENCE, PLEASE RECORD THE FOLLOWING: Model No.: ________________________________________________ Serial No.:_________________ Date of Purchase: _______________________________ Heat Controller, Inc. 1900 Wellworth Avenue Jackson, MI 49203... -
Page 4: Quick Set Up
Section 10, Drain Excess Condensate Water). Handle your unit with care. Move it gently. Always keep air filter clean. Do not cover air inlet grid and air outlet grid. Heat Controller, Inc. QUICK SET UP Check to see if unit is complete including all parts and accessories (Ref. -
Page 5: Introduction
To ensure the optimal efficiency of the air conditioner, keep doors and windows closed. In order to optimize the functioning of your air conditioner, close window coverings to minimize sun load in the room. -
Page 6: Specifications
51 / 52 Net Weight (lb) 85.5 / 87.5 Product Dimension (in) 19.1(W) x 19.4(D) x 31.9(H) Max. Length of Air Inlet and Outlet Hose (in) Programming Timer (hr) 1 - 24 Heat Controller, Inc. 1900 Wellworth Avenue Jackson, MI 49203... -
Page 7: Parts & Accessories
PARTS & ACCESSORIES Upper drain port Lower drain port (Rubber plug inside) Heat Controller, Inc. 1900 Wellworth Avenue Jackson, MI 49203... -
Page 8: Safety
Do not use the unit on a table as the unit is supported by wheels. Place unit on level floor. Heat Controller, Inc. SAFETY 1900 Wellworth Avenue Jackson, MI 49203... - Page 9 LCDI plug. CALL CUSTOMER SERVICE IF TEST FAILS. Replace defective cords only with genuine replacement parts from Heat Controller. Heat Controller, Inc. (Plug on unit may vary from picture.) 1900 Wellworth Avenue Jackson, MI 49203...
-
Page 10: Installation
When this portable air conditioner operates in the cool mode, fresh outdoor air must be directed into the unit and hot air must be exhausted out of the room to complete heat exchange of the condenser. When the unit operates in FAN or HEAT mode, no outdoor air is used hence it is not necessary to complete window kit installation. -
Page 11: Installation Procedures
3. Secure the Terminal End to the Exhaust Port. Apply same procedures to both air inlet hose and air outlet hose. 4. Connect the Window Kit Adaptor to each of the holes on the Window Panel. VERTICAL Heat Controller, Inc. INSTALLATION HORIZONTAL 1900 Wellworth Avenue... -
Page 12: Operation
NOTE: To toggle the displayed temperature between °C and °F, press the ON/OFF button for approximately 20 seconds and then release. (The °F printed on the Control Panel will remain unchanged.) Heat Controller, Inc. 1900 Wellworth Avenue Jackson, MI 49203... -
Page 13: Remote Controller
The buttons on the Remote Controller perform the same functions as the equivalent button on the Control Panel. The Remote Controller uses lithium battery Model CR2025. Install battery before using the Remote Controller. Heat Controller, Inc. 1900 Wellworth Avenue Jackson, MI 49203... - Page 14 5. Set temperature range from 64°F to 90°F. 6. Recommended temperature for your comfort: is 82°F to 86°F. 7. Select fan speed by pressing the FAN Button. Heat Controller, Inc. OPERATION “ appears on the display. appears on the display.
- Page 15 2. Turn on the unit by pressing the ON/OFF Button on the Control Panel. 3. Press the Mode Button until signal 4. Select the fan speed by pressing the Fan Speed Button. Heat Controller, Inc. OPERATION “ appears on the display.
-
Page 16: Timer Setting Procedure
Press TIMER button. Press TIMER button again. Number of hours will TIMER LED indicator will turn off. flash on LED display Set temperature will appear on LED display. Heat Controller, Inc. OPERATION Press 10-second pause after pressing button to button... -
Page 17: Operation
The vertical strip controls left/right air V-SWING direction and will swing left and right automatically. Press the V-SWING button again when the vertical strip comes to your desired direction, the vertical strip will stop. Heat Controller, Inc. OPERATION 1900 Wellworth Avenue Jackson, MI 49203... -
Page 18: Drain Excess Condensate Water
Remove the Rubber Drain Plug on Lower Drain Port. Connect the Water Drain Hose to allow water to drain to a floor drain or other water outlet. Remember to reinstall the Rubber Drain Plug after draining water. Heat Controller, Inc. 1900 Wellworth Avenue Jackson, MI 49203... -
Page 19: Maintenance
1. Drain water from the lower drain port. 2. Clean the filter. 3. Store the power cord Heat Controller, Inc. MAINTENANCE Upper Drain Port Lower Drain Port 1900 Wellworth Avenue... -
Page 20: Storing The Power Cord
To avoid damage to the power cord when the unit is not in use, always store the power cord at the back of the unit in its original location (as shown in the figure below). Heat Controller, Inc. 1900 Wellworth Avenue Jackson, MI 49203... -
Page 21: Troubleshooting Guide
Water-Full indicator display on the control pane is on Heat Controller, Inc. Cause Restore the power supply or reset LCDI Call your Electrician Call your Electrician Check your room temperature... -
Page 22: Wiring Diagram
PO W ER SU PPLY ELEC TR I C AL D I AG R AM FO R M obi l e Ai r C ondi t i oner Heat Controller, Inc. 1900 Wellworth Avenue WIRING DIAGRAM Pr ot ect or... - Page 23 Design, material, performance data and components subject to change without notice. 1900 Wellworth Ave., Jackson, Michigan 49203 • Ph. 517-787-2100 • Fax 517-787-9341 THE QUALITY LEADER IN CONDITIONING AIR www.heatcontroller.com 01/07...
Need help?
Do you have a question about the PE-91A PE-121A and is the answer not in the manual?
Questions and answers