Table of Contents
Advertisement
Quick Links
Advertisement
Table of Contents

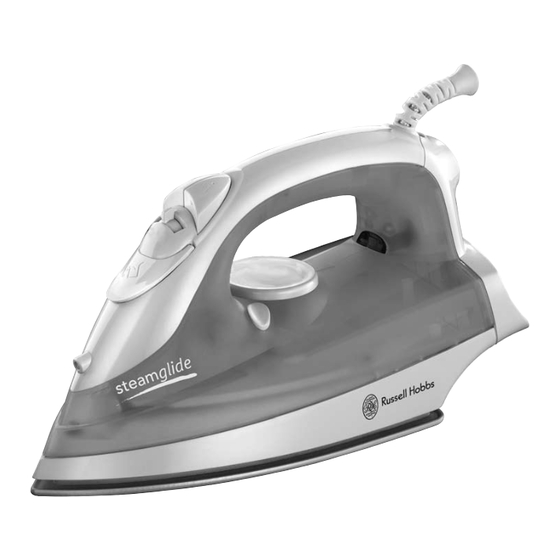
Summary of Contents for Russell Hobbs 15131
- Page 1 instructions...
-
Page 2: Important Safeguards
Read the instructions and keep them safe. If you pass the iron on, pass on the instructions too. Remove all packaging, but keep it till you know the iron works. important safeguards Follow basic safety precautions, including: 1 This iron must only be used by or under the supervision of a responsible adult. Use and store it out of reach of children. -
Page 3: Before Using For The First Time
19 Take care not to scratch the soleplate – avoid buttons, zips, etc. 20 The iron has a protective thermal fuse, which will blow if it overheats. If this happens, the iron will stop working, and must be returned for repair. 21 Don’t use the iron if it’s dropped or damaged, or if it malfunctions or leaks. -
Page 4: Steam Ironing
reducing temperature 18 This takes a bit longer, as the iron has to lose the heat it has built up, so be patient. It’s best to organise your ironing so that you don’t need to reduce the temperature. steam ironing 19 When steam ironing, you must set the temperature control at S or higher. - Page 5 40 Check that pockets, turn-ups, and cuffs are empty. 41 Check that there’s water in the reservoir. 42 Turn the temperature control to max, move the steam control to S. 43 Hold the iron close to (but not touching) the fabric. 44 Press the # button (you’re using the “shot of steam”...
- Page 6 72 Remove spots from the soleplate with a little vinegar – take care not to scratch it. 73 Don’t put the iron in water or any other liquid. 74 Don’t use harsh or abrasive cleaning agents or solvents.
- Page 8 connection The product must be earthed. It has a 13A BS1362 fuse in a 13A BS1363 plug. To replace the plug, fit the green/yellow wire to E or E, the blue wire to N, and the brown wire to L. Fit the cord grip. If in doubt, call an electrician.


Need help?
Do you have a question about the 15131 and is the answer not in the manual?
Questions and answers