Table of Contents
Advertisement
Quick Links
Advertisement
Table of Contents
Troubleshooting

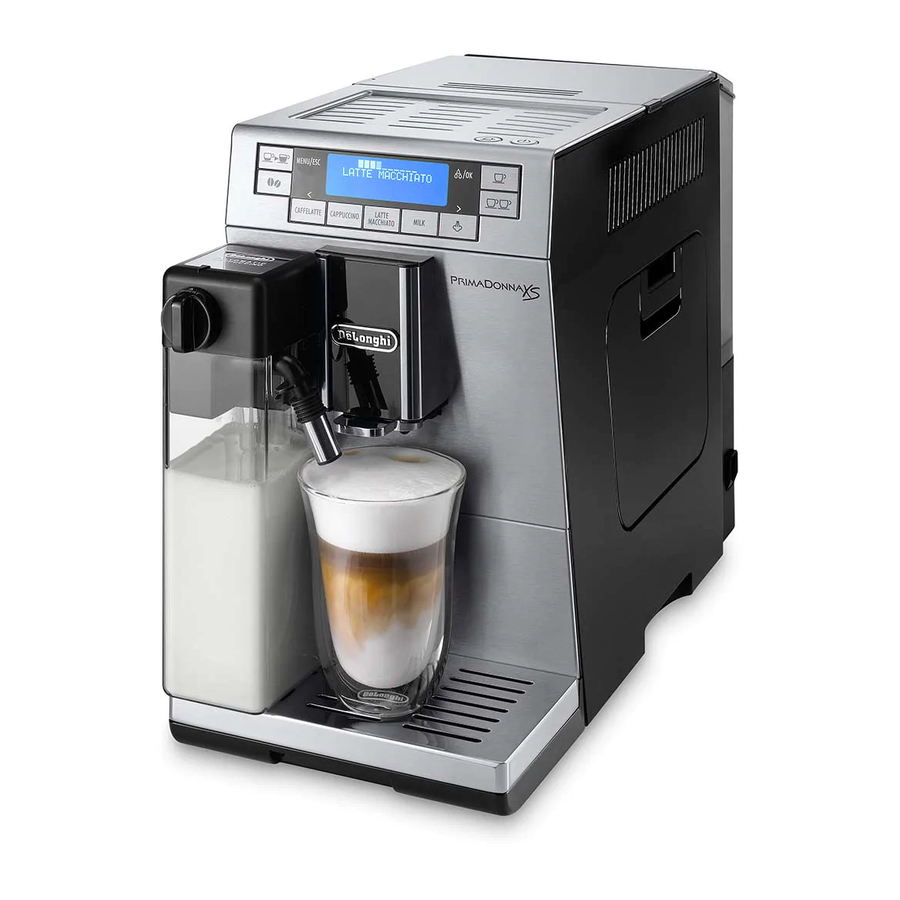
Summary of Contents for DeLonghi ETAM36.365
- Page 1 ETAM36_AU/ 02.13...
- Page 2 BEAn To cup EsprEsso AnD cAppuccino MAchinE instruction for use ETAM36.365...
- Page 4 A24 A23...
-
Page 7: Table Of Contents
conTEnTs DELiVErinG hoT WATEr AnD sTEAM ........ 14 Delivering hot water ................14 TEchnicAL DATA..............6 Changing the quantity of water delivered automatically......15 Steam delivery ..................15 DisposAL ................6 Tips for using steam to froth milk ............15 inTroDucTion ..............7 Cleaning the spout after use ..............15 Symbols used in these instructions ............7 cLEAninG ............... -
Page 8: Introduction
• Make sure the socket used is freely accessible at all times, enabling the appliance to be unplugged when necessary. Thank you for choosing the ETAM36.365 automatic bean to cup • Unplug directly from the plug only. Never pull the power espresso and cappuccino machine. cable as you could damage it. We hope you enjoy using your new appliance. -
Page 9: Description
B9. MiLK button: to deliver a cup of milk Please note: B10. LATTE button: to deliver a latte Keep these instructions. If the appliance is passed to other per- B11. cAppuccino button: to deliver a cappuccino sons, they must also be provided with these instructions. B12. -
Page 10: Connecting The Appliance
connecting the appliance softener filter as described in the section “WATER SOFTEN- ER FILTER” (page 19). If your model is not provided with Important! a filter, you can request one from De’Longhi Customer Check that the mains power supply voltage corresponds to the Services. -
Page 11: Menu Settings
MEnu sETTinGs 1. Press the MEnu/Esc button to enter the menu; 2. Press the scrolling arrow (< or >) (fig. 9) until “Auto-start” To access the settings menu, press the button corresponding to is displayed; MEnu. Scroll through the menu by pressing the scrolling arrow 3. -
Page 12: Energy Saving
3. Press the button; 1. Press the MEnu/Esc button to enter the menu; 4. Press the scrolling arrow (< or >) (fig. 9) until the number 2. Press the scrolling arrow (< or >) (fig. 9) until “Set lan- of minutes/hours of operation is displayed (15 or 30 min- guage”... -
Page 13: Making Coffee
To display, proceed as follows: is displayed. 1. Press the MEnu/Esc button to enter the menu; 3. Press and hold the button (fig. 15) until the mes- 2. Press the scrolling arrow (< or >) (fig. 9) until “Statistics” sage “Program quantity 1 MY COFFEE” is displayed and is displayed;... -
Page 14: Making Coffee Using Pre-Ground Coffee
- 1 cup, if you want 1 coffee (fig. 15); 6. Preparation begins. The amount of coffee selected is dis- - 2 cups if you want 2 coffees (fig. 17). played together with a progress bar which gradually fills 3. Lower the spout as near as possible to the cups (fig. 16). as preparation progresses. -
Page 15: Making Milk Based Drinks Automatically
ing underway, Please wait” is displayed, together with a No froth FLAT WHITE/ progress bar which gradually fills as the operation pro- MILK (hot milk) ceeds. Cleaning stops automatically. Min. froth LATTE 4. Turn the dial back to one of the froth selections. 5. -
Page 16: Changing The Quantity Of Water Delivered Automatically
avoid splashes). button to deliver a little water (fig. 3). Stop 3. Press the button (fig. 3). “Preparation underway” the flow of hot water by pressing the button is displayed (if required). Then hot water is delivered and again. “HOT WATER” is displayed, together with a progress bar 2. -
Page 17: Cleaning The Drip Tray And Condensate Tray
cleaning the coffee spouts • Check the condensate tray and empty if necessary (fig. 29). 1. Clean the coffee spouts regularly with a sponge or cloth (fig. 32). Important! 2. Check the holes in the coffee spout are not blocked. If nec- When removing the drip tray, the grounds container must be essary, remove coffee deposits with a toothpick (fig. -
Page 18: Cleaning The Milk Container
water (see figure). Please note! 6. Check that the intake tube and If the infuser is difficult to insert, before insertion, squeeze the spout are not clogged with milk two levers shown in the figure to make it smaller. residues. 7. Replace the dial (lining up the arrow with the word “INSERT”), the spout and the milk intake tube. -
Page 19: Setting Water Hardness
ing to a 100 ml pack) marked on the back of the tank (fig. soft water ● 36), then add water (1 litre) up to level B (fig. 36) and put the water tank back. slightly hard water ●● 8. Place an empty container with a minimum capacity of 1.5 litres under the hot water spout (fig. -
Page 20: Removing The Filter
5. Place the filter in the 9. “Water delivery, Press OK” is displayed. water tank and sub- 10. Press the button to confirm the selection. The merge it completely for appliance begins hot water delivery and the message ten seconds, tilting it to “Please wait”... -
Page 21: Displayed Messages
DispLAYED MEssAGEs DispLAYED MEssAGE possiBLE cAusE soLuTion FILL TANK Insufficient water in the tank. Fill the tank with water and/or insert it correctly, pushing it as far as it will go until it clicks into place. EMPTY GROUNDS CONTAINER The grounds container (A18) is full. Empty the grounds container and drip tray, clean and replace (fig. -
Page 22: Troubleshooting
TrouBLEshooTinG Below is a list of some of the possible malfunctions. If the problem cannot be resolved as described, contact customer services. proBLEM possiBLE cAusE soLuTion The coffee is not hot. The cups were not preheated. • Enable the cup warmer, leave the cups at least 20 minutes to warm up. •...


Need help?
Do you have a question about the ETAM36.365 and is the answer not in the manual?
Questions and answers