NetComm VELOCITY NP805N Quick Start Manual
11n wireless gigabit router
Hide thumbs
Also See for VELOCITY NP805N:
- User manual (62 pages) ,
- Remote administration setup (6 pages) ,
- Manual (5 pages)

Related Manuals for NetComm VELOCITY NP805N


Summary of Contents for NetComm VELOCITY NP805N
- Page 1 NETCOMM VELOCITY™ SERIES 11n Wireless Gigabit Router NP805N Quick Start Guide...
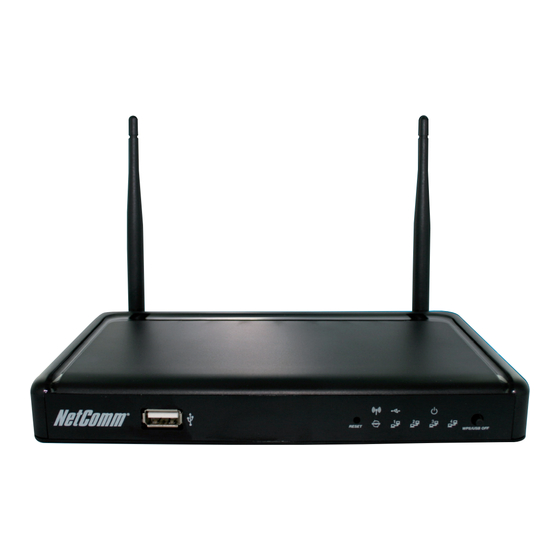
- Page 2 The NetComm NP805N has been designed to be placed on a desktop. All of the cables exit from the rear for better organization. The LED indicator display is visible on the front of the router to provide you with information about network activity and device status.
- Page 3 Front Panel Icon Description USB port Attach your USB Storage or memory stick here to share stored content with connected hosts. Reset button By using a paper clip, hold this button down for more than 10 seconds to reset to factory defaults.
- Page 4 Rear Panel Description Antenna Attach the antenna here. The antenna attaches in a clockwise direction. LAN 4 RJ-45 LAN port for wired Ethernet clients (computers, laptops, etc) LAN 3 RJ-45 LAN port for wired Ethernet clients (computers, laptops, etc) LAN 2 RJ-45 LAN port for wired Ethernet clients (computers, laptops, etc) LAN 1 RJ-45 LAN port for wired Ethernet clients (computers, laptops, etc)
-
Page 5: Hardware Installation
1. Attach the supplied antennas to the circular antenna ports on the back of the NetComm NP805N. (these should be attached onto the ports in a clockwise direction) 2. Connect an Ethernet cable from the LAN port on your ADSL/Cable/3G device to the WAN port on the NetComm NP805N. -
Page 6: Connecting To The Router
Gaming Console 1. Connect the yellow Ethernet cable provided to one of the ports labelled “LAN1-LAN4” on the back of the NetComm NP805N. 2. Connect the other end of the Ethernet cable to your computer or to another Ethernet-enabled device like a gaming console, a TV or a home cinema system. - Page 7 Connecting to the Router via Wireless IPad Online Gaming Smart Phone Laptop You can connect multiple wireless devices, including laptops, desktops and PDA’s to your router by following these two basic steps. 1. Using your wireless device, scan the wireless networks in your area and select the wireless network name listed on the included Wireless Security Card and then click connect.
-
Page 8: Connecting The Router To The Internet
2. At the login screen, type “admin” into the username and password field and then click “Login” to continue. This will take you to the “First-time Setup Wizard page”. 3. Click “Yes, let’s get started with the wizard” to begin configuring your NP805N. - Page 9 ADSL Fibre Cable Satellite ONT/Modem Laptop Smart Phone Computer Laptop Storage Laptop Computer 4. Follow the setup wizard steps to: • Select which Ethernet WAN type you would like to connect with. You can select from:- DHCP (Dynamic IP Address) Static IP (Static IP Address) PPPoE (PPP over Ethernet) PPTP...
- Page 10 Enter the connection details as supplied by your Internet Service Provider. (If you are unsure of the details, please contact your Internet Service Provider for more information.) • Select whether you want to use a wireless connection and what you would like the wireless network name (SSID) to be.
- Page 11 Congratulations You have successfully completed the set-up process and should now be connected to the Internet.
-
Page 12: Troubleshooting
Troubleshooting Cannot access the Internet • Make sure you have selected the correct connection type • Make sure you have entered the correct account details as provided by your Internet service provider Cannot establish a wireless connection • Make sure the wireless switch on your laptop is in the on position •...
Need help?
Do you have a question about the VELOCITY NP805N and is the answer not in the manual?
Questions and answers