Advertisement
Quick Links
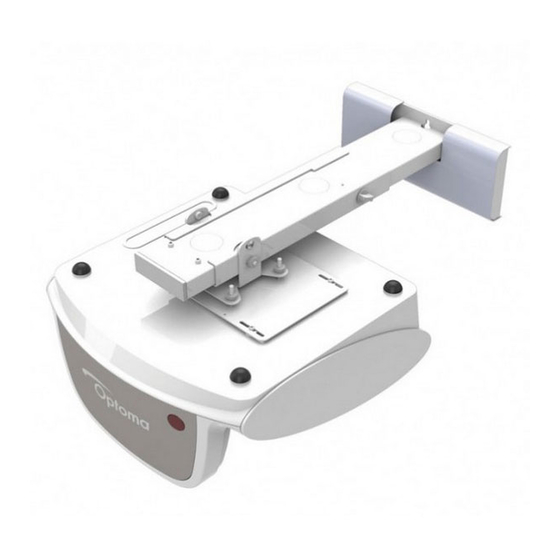
MOUNTING INSTRUCTIONS FOR
SHORT THROW PROJECTOR MOUNT
To fit Optoma:
X307UST / X307USTi / W307UST / W307USTi
MODEL No. OWM1000
FN.
OWM1000
Max Weight Loading 15Kgs
Mount Assembly Kit
x2
Cable protection grommet
Projector Fixing Kit
A - M3 x 10mm
E - M3 x 25mm
B - M4 x 10mm
F - M4 x 25mm
x4
C - M5 x 10mm
G - M5 x 25mm
D - M6 x 10mm
H - M6 x 25mm
I - M3 Washer
K - M5 Washer
x4
J - M4 Washer
L - M6 Washer
M - M5 x 15mm
x4
N - M6 x 15mm
x4
O - Extension Arm
x4
P - M5 x 10mm
Also Required
read these instructions carefully before installing your equipment.
Ÿ
Ÿ
install the mount in a suitable location using fixings which are appropriate for the wall material and structure. Consult a
qualified builder if you are in any doubt as to the structural integrity of the wall.
use all available fixing points.
Ÿ
Ÿ
do not attempt to alter or modify any part of the wall mount or it's attachments.
do not use if any parts are broken or appear to be damaged.
Ÿ
tighten all bolts and fixings securely. Only use fixings provided with this bracket.
Ÿ
do not mount your projector near to sources of heat or moisture.
Ÿ
Ÿ
always have a minimum of two persons to install the projector and the mount.
1
Attach Wall Plate To Wall
Ÿ
For ease of installation mount bracket on wall using position 1
and mark other positions using a spirit level. Then remove
fixing from position 1, remove bracket and drill other positions
Ÿ
Use Fixings suitable for your type of wall construction.
Ÿ
Use All available fixing points.
If in any doubt of the suitability of the wall, it's construction or what
Ÿ
type of fixings to use, consult a qualified builder or installer.
NOTE:
For mounting OPTOMA XGA and WXGA Ultra Short Throw
Ÿ
Projectors locate the wall plate centrally to the screen centre.
a
b
Remove wall plate trim before attaching to wall
NOTE: Retain fixings for re-attaching trim later.
1
Advertisement

Subscribe to Our Youtube Channel
Related Manuals for Optoma OWM1000


Summary of Contents for Optoma OWM1000
- Page 1 E - M3 x 25mm NOTE: B - M4 x 10mm F - M4 x 25mm For mounting OPTOMA XGA and WXGA Ultra Short Throw Ÿ Projectors locate the wall plate centrally to the screen centre. C - M5 x 10mm...
- Page 2 Attach Optoma Ultra Short Throw Projector Re-attach interface plate by hooking on to support. To secure plate, follow reverse of stage 3a. Remove interface plate by removing screws 'b' (x2) and loosening thumbwheels 'a' (x2). Then you can un-hook the plate.
- Page 3 Cable Routing Projector removed in this view for clarity Entry option through wall plate or through wall trim Entry option bypassing wall plate and in to support i. Remove knock-out to reveal access hole i. Insert Cable Protection Grommet and feed Cables in to support.
- Page 4 MODEL No. OWM1000 OWM1000 Max Weight Loading 15Kgs Specifications; Throw distance OPTOMA XGA & WXGA Ultra Short Throw Projectors 350mm to 775mm (From wall to lens) UNIVERSAL (Approx dependent on fixing positions) 0mm to 850mm Adjustment 425mm Throw Adjustment +/- 5° Tilt Adjustment...
Need help?
Do you have a question about the OWM1000 and is the answer not in the manual?
Questions and answers