Table of Contents
Advertisement
Quick Links
Advertisement
Table of Contents

Related Manuals for Zanussi ZCV5600


Summary of Contents for Zanussi ZCV5600
- Page 1 GLASS CERAMIC COOKER ZCV 5600 INSTRUCTION BOOK...
- Page 2 WARNINGS It is most important that this instruction book should be retained with the appliance for future reference. Should the appliance be sold or transferred, always ensure that the book is left with the appliance in order that the new owner can get to know the functions of the appliance and the relevant warnings.
-
Page 3: Table Of Contents
CONTENTS Instructions for the installer Tehnical features Installation Location Electrical connections Instructions for the user Use and care Before the first use of the oven Controls Oven function control knob Thermostat control knob Using the conventional oven Griling Cooking zones Cooking equipment Maintenance and cleaning Oven bulb replacement... -
Page 4: Instructions For The Installer
INSTRUCTIONS FOR THE INSTALLER TEHNICAL FEATURES Dimensions Height 858-868 mm Width 500 mm Depth 600 mm Oven Capacity 49 litres Single ring cooking zone front left Ø 180 mm 1800 W Single ring cooking zone back left Ø 140 mm 1200 W Single ring cooking zone front right Ø... -
Page 5: Installation
INSTALLATION It is mandatory that all operations required for the Before your appliance is connected to the mains installation carried QUALIFIED electricity supply, check to ensure that the PERSONNEL in accordance with existing rules voltage and the frequency shown on the rating and regulations. -
Page 6: Electrical Connections
ELECTRICAL CONNECTIONS Any electrical work required to install After installation and connecting, the this hob and the supply cable should be cable must be placed so that it cannot at any carried out by a qualified electrician or point reach a temperature of more than 50°C competent person, in accordance with the above the ambient temperature. -
Page 7: Instructions For The User
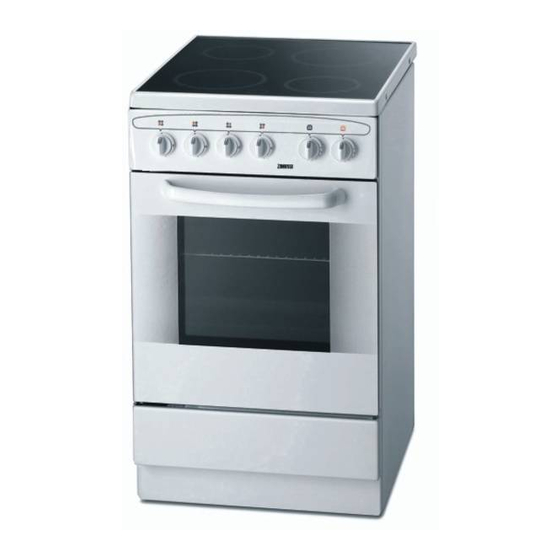
INSTRUCTIONS FOR THE USER USE AND CARE A. Glass ceramic hob B. Control panel C. Door handle D. Oven door E. Drawer F. Adjustable feet CONTROL PANEL 1. Back left heat zone control knob 5. Oven thermostat knob 2. Front left heat zone control knob 6. -
Page 8: Before The First Use Of The Oven
USE OF APPLIANCE Before the First Use of the Oven Remove all packaging, both inside and outside the oven, before using the oven. Before first use, the oven should be heated without food. During this time, an unpleasant odour may be emitted. This is quite normal. 1. -
Page 9: Controls
CONTROLS Oven Function Control Knob Conventional cooking – used the top and bottom element; this function will enable you to use your favourite recipes without having to adapt the temperatures. It is necessary to pre- heat the oven in this instance. Bottom oven element - enables you to finish off dishes on the bottom onl y. -
Page 10: Using The Conventional Oven
USING THE CONVENTIONAL OVEN Enamelware, dark, or heavy utensils increase When using this setting, heat comes from both base browning. Shiny aluminium or polished the top and bottom elements. This allows you to cook on a single level and is particularly suitable steel trays reflect the heat away and give less base browning. -
Page 11: Cooking Zones
COOKING ZONES The zones are operated using the knobs on the control panel . The control knob is numbered from 1 to 12 0 - OFF 1 - Lowest heat 12 - Maximum heat Switching on the Single ring cooking zone To switch on a cooking zone, turn the relevant control knob to the required heat setting. -
Page 12: Cooking Equipment
COOKING EQUIPMENT Specially tested cooking and frying pans for ceramic hobs exist.The following advice should be considered to achieve an optimal energy consumption as well as to avoid that overboiling food can be burnt onto the cooking zones. Cooking pans with aluminium or copper bottoms are unsuitable use. - Page 13 Accessories delivered with the appliance The following accessories are supplied with your appliance : • Shelf for placing dishes on (roast, pastry mounds). The dish should be put in the middle of the shelf to balance the weight. • Backing tray •...
-
Page 14: Maintenance And Cleaning
MAINTENANCE AND CLEANING The oven should be kept clean at all You can obtain glass scrapers and ceramic times. A build-up of fats or other glass cleaners from your specialist retailers. foodstuffs could result in a fire. Before cleaning, ensure all control Burnt on Soilage knobs are in the OFF position, and 1. -
Page 15: Oven Bulb Replacement
Cleaning the oven door locking parts For a more complete cleaning of the oven door, it is advisable to disassemble it in the following way: Open the door completely. Turn the two locking parts on the hinge arms to 170°; Partially close the door, to a 30 angle Lift the door and pull out... -
Page 16: Something Not Working
SOMETHING NOT WORKING If the appliance is not working correctly, please carry out the following checks, before contacting your local Electrolux Service Centre. IMPORTANT: If you call out an engineer to a fault listed below, or to repair a fault caused by incorrect use or installation, a charge will be made even if the appliance is under guarantee. -
Page 17: Guarantee Conditions
GUARANTEE CONDITIONS Guarantee stipulated in the contract 2 years starting from setting into function the • if the user modified the material or took off manufacturer will replace the damaged parts the marking or the serial numbers; except cases mentioned chapter •...
Need help?
Do you have a question about the ZCV5600 and is the answer not in the manual?
Questions and answers