Table of Contents
Advertisement
Quick Links
Download this manual
See also:
Instruction Booklet
Advertisement
Table of Contents

Related Manuals for Zanussi ZHC 960


Summary of Contents for Zanussi ZHC 960
- Page 2 Dear Customer, If you follow the recommendations contained in this Instruction Manual, your appliance will give you constant high performance and will remain efficient for many years to come. CONTENTS RECOMMENDATIONS AND SUGGESTIONS CHARACTERISTICS INSTALLATION MAINTENANCE...
-
Page 3: Recommendations And Suggestions
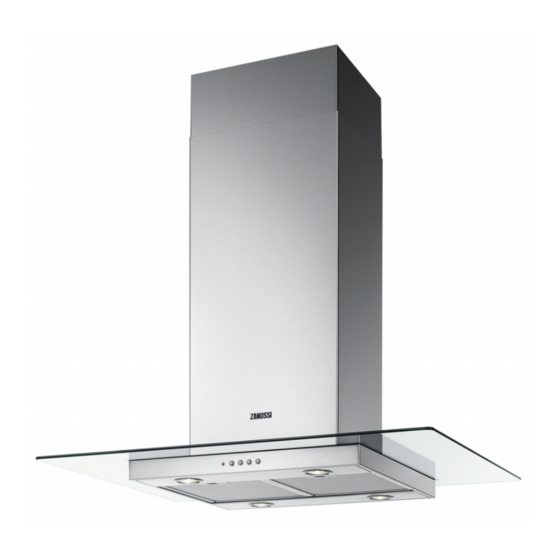
RECOMMENDATIONS AND SUGGESTIONS INSTALLATION • The manufacturer will not be held liable for any damages resulting from incorrect or improper installation. • The minimum safety distance between the cooker top and the extractor hood is 650 mm. • Check that the mains voltage corresponds to that indicated on the rating plate fixed to the inside of the hood. - Page 4 CHARACTERISTICS Dimensions...
- Page 5 Components Ref. Q.ty Product Components Hood Body, complete with: Controls, Light, Blower, Filters Telescopic Chimney comprising: Upper Section Lower Section Right Air Outlet Grill Left Air Outlet Grill Reducer Flange ø 150-120 mm Hood Body Air Outlet Extension Piece consisting of two Half Shells 14.1 Air Outlet Connection Extension...
-
Page 6: Installation
INSTALLATION Wall drilling and bracket fixing Wall marking: • Draw a vertical line on the supporting wall up to the ceiling, or as high as practical, at the centre of the area in which the hood will be installed. • Draw a horizontal line at 650 mm above the hob. Place bracket 7.2.1 7.2.1 7.2.1 on the wall as shown about 7.2.1... -
Page 7: Mounting The Hood Body
Mounting the hood body • Before attaching the hood body, tighten the two screws Vr Vr Vr Vr located on the hood body mounting points. • Hook the hood body onto the screws 12a • Fully tighten support screws 12a •... -
Page 8: Recirculation Version Air Outlet
RECIRCULATION VERSION AIR OUTLET • Assemble the two halves of the hood body extension piece 14 14 14 14 14. • Push fit the assembled hood body extension piece 14 14 14 14 14 onto the air outlet. • Push fit connection 15 15 15 15 15 onto the hood body extension piece 14 14 14 14 14. -
Page 9: Control Panel
Control panel L L L L L Light Switches the lighting system on and off. S S S S S Motor running led. Motor Switches the extractor motor on and off at low speed. Used to provide a continuous and silent air change in the presence of light cooking vapours. Speed Medium speed, suitable for most operating conditions given the optimum treated air flow/noise level ratio. -
Page 10: Maintenance
MAINTENANCE Grease filters CLEANING METAL SELF- SUPPORTING GREASE FILTERS • The filters must be cleaned every two months of operation, or more frequently with heavy usage, and can be washed in a dishwasher. • Remove the filters by pushing them towards the back of the group and pulling down at the same time. - Page 12 436001738_01 030414...
Need help?
Do you have a question about the ZHC 960 and is the answer not in the manual?
Questions and answers