Table of Contents
Advertisement
Advertisement
Table of Contents

Summary of Contents for Sitecom WL-143
-
Page 1: Quick Installation Guide
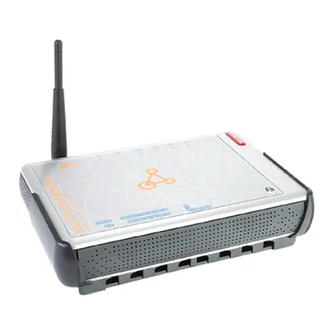
Quick Installation Guide Wireless Network Broadband Router 140g+ WL-143... - Page 2 This guide only covers the most common situations. See the complete User Manual on the CD - ROM for advanced configuration Requirements • Cable modem or DSL/ADSL modem with RJ45 connector (not USB!). • Standard 10/100BaseT (UTP) network cables with RJ45 connectors. •...
-
Page 3: Setting Up The Router
Leave your cable modem/DSL modem plugged in (telephone line or cable input). Installation WL-143 3 Connect the LAN cables: For the WL-143, use standard LAN cables to connect the PCs to the LAN ports (switch) on the router. 4 Connect your cable modem/DSL modem to the WAN -port on the router. Use the cable supplied with your cable modem/DSL modem. - Page 4 PC Setup Set up TCP/IP 3.1.1 Windows 98SE/ME Right click the Network Neighbourhood icon on the desktop and click Properties. The following window will be displayed: 3.1.2 Windows 2000/XP Right click the My Network Places icon on the desktop and click Properties. The following window will be displayed: Right click the Local Area Connection of the correct network card, and then choose Properties.
-
Page 5: Internet Access
If the list that appears on screen does not include a line, such as the one that has been selected above (“TCP/ IP -> network card”), then follow the steps indicated below to add this line: • Click on the button “Add” •... - Page 6 3.2.2 Windows XP • In the Taskbar, click on the Start button and select - Settings - Control Panel - Internet options. • Select the tab Connections and click the Setup... button. • When the New Connection Wizard starts, click on Next. •...
-
Page 7: Configuring The Router For Internet Access
Configuring the router for Internet access • Make sure you have configured the TCP/IP settings as described in chapter 3. Do not forget to restart the PC after you have finished configuring the TCP/IP settings so that the DHCP server of the router can assign an IP address to your computer. - Page 8 • From Service, select your internet provider. Click Next. • Depending on the chosen provider, you may need to enter your user name and password, MAC address or hostname in the following window. After you have entered the correct information, click Next. •...
- Page 9 • Click Reboot to complete the configuration. • The router will now save the settings and restart, please wait 30 seconds and you will transferred back to the status window. The configuration is complete. • Wait for about 10 seconds to allow the router to connect to the Internet.
-
Page 10: Wireless Configuration
SSID: Fill in the Wireless Network Name (SSID), for example “Sitecom’. The SSID is an unique ID used by Access Point and stations to identify a wireless LAN. Make sure all wireless stations and Access Points have the same SSID.


Need help?
Do you have a question about the WL-143 and is the answer not in the manual?
Questions and answers