Advertisement
Table of Contents
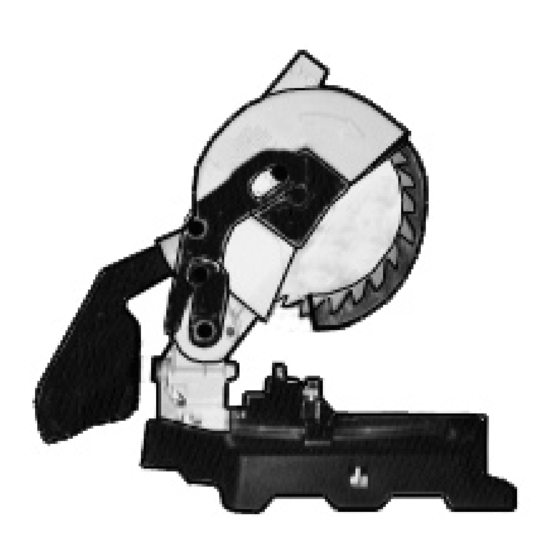
8-1/4" COMPOUND MITER SAW
Model 42654
ASSEMBLY AND
OPERATING INFORMATION
®
3491 Mission Oaks Blvd., Camarillo, CA 93011
Visit our Web site at http://www.harborfreight.com
©
®
Copyright
2002 by Harbor Freight Tools
. All rights reserved. No portion
of this manual or any artwork contained herein may be reproduced in any
shape or form without the express written consent of Harbor Freight Tools.
For technical questions please call 1-800-444-3353.
Revised Manual 02/02
Advertisement
Table of Contents

Summary of Contents for Chicago Electric 42654
- Page 1 . All rights reserved. No portion of this manual or any artwork contained herein may be reproduced in any shape or form without the express written consent of Harbor Freight Tools. For technical questions please call 1-800-444-3353. Revised Manual 02/02...
-
Page 2: Specifications Table
Always lock up tools and equipment and keep out of reach of children. For technical questions, please call 1-800-444-3353. SKU 42654 SPECIFICATIONS TABLE 110 VAC, 60 Hz, 800 Watts, 1 HP 3 Amps w/No Load, 4.5 Amps w/Load... - Page 3 REPLACEMENT PARTS AND ACCESSORIES. When servicing, use only identi- cal replacement parts. Only use accessories intended for use with this product. Approved accessories are available from Harbor Freight Tools. MAINTAIN THIS PRODUCT WITH CARE. Keep this tool clean and dry, and keep saw blades clean and sharp for better and safer performance.
-
Page 4: Specific Product Warnings And Precautions
To avoid accidental electric shock, do not let your body come in contact with grounded surfaces such as pipes, radiators, ranges and refrigerators. DO NOT FORCE THE EQUIPMENT. The Compound Miter Saw will do the work better and safer at the speed and capacity for which it was designed. - Page 5 ALLOW THE SAW BLADE (70) TO SPIN UP TO FULL SPEED BEFORE FEEDING WOOD INTO IT. When turning it off, allow the Saw Blade to spin down and stop on its own. Do not press against the Saw Blade to stop it.
-
Page 6: Assembly Instructions
When unpacking, check to make sure all parts shown on the Parts List (page 17) are included. If any parts are missing or broken, please call Harbor Freight Tools at the number shown on the cover of this manual as soon as possible. - Page 7 Use the two mounting holes located on the Support Feet (10) of the Compound Miter Saw as a template, and mark the two points at which two holes will be drilled through the workbench. Then, temporarily set the Compound Miter Saw aside.
- Page 8 Caution: Prior to installing the Saw Blade (70), make sure the Compound Miter Saw is disconnected from its electrical power source. Caution: Never use a Saw Blade larger or smaller in diameter than 8-1/4”, and rated less than 4,500 RPM operation.
- Page 9 Raise and hold the Frame (50) while inserting the Saw Blade (#70) onto the Shaft (62). NOTE: Make sure the teeth of the Saw Blade point toward the front of the Miter Saw, and the arrows shown on the Frame and Saw Blade point in the same direction.
- Page 10 Miter Saw is disconnected from its electrical power source. Use the lock button Plastic Ball (51) to secure the saw arm in its lowered position. Locate the two Hex Head Screws (45) on the frame. Use the wrench provided to remove the front screw, and to loosen the rear screw a few turns.
- Page 11 Outlet on the Frame (50). (See Figures D, E, and Assy. Diagram.) When the Dust Bag (54) is half full remove it from the Compound Miter Saw, and empty it. NOTE: You may also attach a hose from a shop vacuum (not provided) to the Exhaust Outlet on the Frame (50) for more efficient dust collection.
-
Page 12: Operating Instructions
NOTE: The Compound Miter Saw automatically locks in place in the up position. To lower the Saw Blade (70), pull out on the Plastic Ball (51), and pull down on the Handle (parts #80, #83). (See Figure H, and Assy. Diagram.) For technical questions, please call 1-800-444-3353. - Page 13 Lower the Saw Blade (70) into the wood stock, pressing gently down. Do not force the tool. Allow the Saw Blade to do its work as you feed it into the wood stock. Continue with the cut until completed. Do not stop midway.
- Page 14 Caution: Prior to adjusting the bevel angle, make sure the Compound Miter Saw is disconnected from its electrical power source. NOTE: The Saw Blade (70) can be angled up to 45 degrees to the left by adjust- ing the Long Screw (37) located at the back of the Compound Miter Saw. (See Figures D, E, F, H, and Assy.
-
Page 15: Inspection, Maintenance, And Cleaning
Wood Fence (not provided) can be mounted to the Compound Miter Saw to limit the possibility of personal injury or damage to the Moveable Cover and Frame. To mount an Auxiliary Wood Fence, securely attach the Auxiliary Wood Fence (constructed of straight wood approximately 1/2” thick, 3” high, by 20” long) to the Fence (23). -
Page 16: Please Read The Following Carefully
With a brush, soft cloth, or vacuum, remove all sawdust from the Compound Miter Saw. Do not use solvents to wipe off the Compound Miter Saw, as damage may result. If necessary, wipe with a damp cloth. You may use a mild detergent. -
Page 17: Parts List
Hex Screw M5x12 Back Plate Push Pin O-ring Nut M5 Frame Plastic Ball Washer 012 For technical questions, please call 1-800-444-3353. SKU 42654 Parts List Part Description Nut M12 Dust Bag Screw M5x10 Middle Cover Bearing 629 Retaining Ring 010... -
Page 18: Assembly Drawing
Assembly Drawing REV 12/01; 07/02; 08/06 For technical questions, please call 1-800-444-3353. SKU 42654 Page 18...


Need help?
Do you have a question about the 42654 and is the answer not in the manual?
Questions and answers
How much does it cost