Advertisement
®
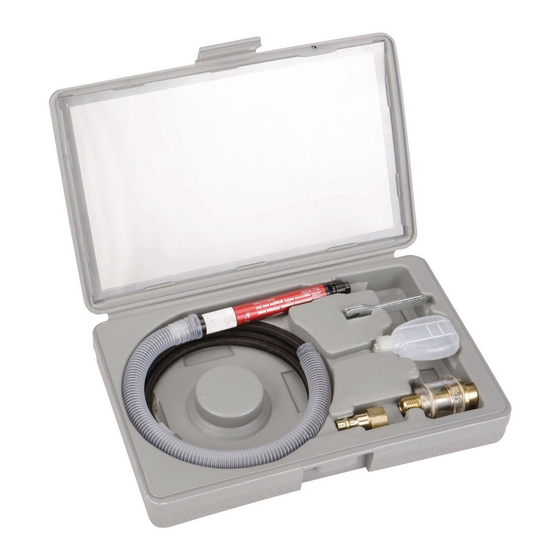
AIR MICRO
DIE GRINDER
Model 47869
ASSEMBLY and OPERATING
INSTRUCTIONS
®
3491 Mission Oaks Blvd., Camarillo, CA 93011
Visit our Web site at http://www.harborfreight.com
®
Copyright
2002 by Harbor Freight Tools
. All rights reserved. No portion of this manual
or any artwork contained herein may be reproduced in any shape or form
without the express written consent of Harbor Freight Tools.
For technical questions and replacement parts, please call 1-800-444-3353
Advertisement
Table of Contents

Related Manuals for Central Pneumatic 47869


Summary of Contents for Central Pneumatic 47869
- Page 1 . All rights reserved. No portion of this manual or any artwork contained herein may be reproduced in any shape or form without the express written consent of Harbor Freight Tools. For technical questions and replacement parts, please call 1-800-444-3353...
- Page 2 Dress properly. Do not wear loose clothing or jewelry as they can be caught in moving parts. Protective, electrically non-conductive clothes and non-skid footwear are recommended when working. Wear restrictive hair covering to contain long hair. SKU 47869 Specifications 1/8”...
- Page 3 21. Compressed air only. Never use combustible gases as a power source. 22. Read and adhere to all warnings and instructions provided in the instruction manual of the air compressor being used to power the Air Die Grinder. SKU 47869...
- Page 4 When unpacking, check to make sure the parts listed on page 7 are included. If any parts are missing or broken, please call Harbor Freight Tools at the number on the cover of this manual as soon as possible.
- Page 5 Operation Operational Warnings!! 1. Never install a carbide tipped or steel circular saw blade for use on this Die Grinder. 2. Never install a wood carving blade, carving disc with chain saw cutters, or a cutting carving disc on this Die Grinder.
- Page 6 5. Turn on your compressor making sure it is not set above the recommended 90 PSI. 6. Hold the Die Grinder with both hands, away from your body, and twist on the Sliding Knob (#4). Wait until the Die Grinder gets up to speed before contacting the workpiece.
-
Page 7: Parts List
REPAIRS TO THE ORIGINAL PRODUCT OR REPLACEMENT PARTS THERETO, OR ARISING OUT OF HIS OR HER INSTALLATION OF REPLACEMENT PARTS THERETO. NOTE: Some parts are listed and shown for illustration purposes only and are not available individually as replacement parts. SKU 47869 Parts List Qty. Part No. Description... - Page 8 Note: The second Wrench (#30), the tool oil, and the entire length of the Air Hose (#28) are not shown. SKU 47869 Assembly Drawing Page 8...
Need help?
Do you have a question about the 47869 and is the answer not in the manual?
Questions and answers