Table of Contents
Advertisement
Advertisement
Table of Contents

Subscribe to Our Youtube Channel
Related Manuals for Genie C41W


Summary of Contents for Genie C41W
- Page 1 Wireless Genie Mini MODEL C41W nstallatIon uIde...
- Page 2 Set up the WGM at its location. Verify wireless network connection & signal strength. Add the WGM Client. Finish the Add a Client setup. Confirm the Client(s) on your Genie HD DVR & Enjoy DIRECTV! You can also find more information online at directv.com/wirelessgeniemini.
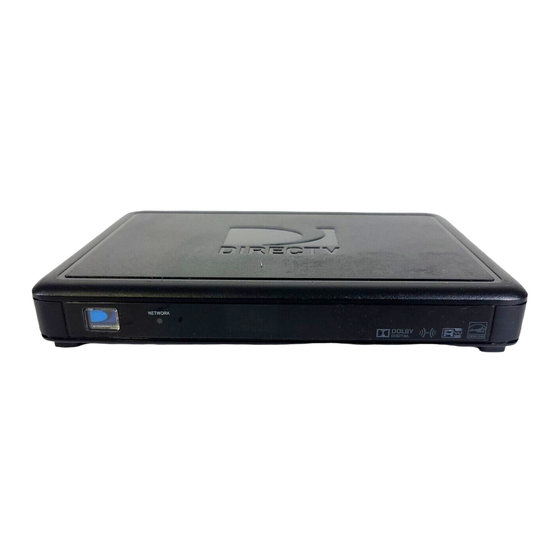
- Page 3 The DIRECTV WGM is packaged with its power cord only. DIRECTV will ship an HDMI or other NOTE necessary cables, and a Genie Remote Control to you separately for each Genie Mini Client ordered. For a list of service and system requirements for using the WGM, please visit directv.com/wirelessgeniemini.
- Page 4 If your TV does not have an HDMI port, you can order component or composite cables by calling NOTE DIRECTV Customer Care at 1-800-531-5000 or go to directv.com. * The Wireless Video Bridge was part of your original Genie installation with your Genie HD DVR (HR34, HR44 and above).
- Page 5 Step 2. Verify Wireless Signal Strength. Once you turn on your WGM, the Connecting to Video Bridge screen will display: • Confirm that the Wireless Signal Strength icon displays three (3) GREEN bars. • Confirm that the LED light on the front of the WGM is GREEN. If the Wireless Signal Strength icon on the Connecting to Video Bridge screen and/or the LED NOTE...
- Page 6 Step 3. Start the Add a Client Guided Setup. Go to the Genie HD DVR to begin the Add a Client guided setup: • On your Remote, press MENU, select Settings & Help, select Settings, then Whole- Home. Then select Manage Clients, and then Add a Client.
- Page 7 • The Enter PIN screen will display after the connection countdown. • Using the DIRECTV Genie Remote Control (RC71), enter the PIN you noted in Step 3. • Follow the onscreen instructions for Create a Location, Copy Settings, Program Remote Control, and other options.
- Page 8 Additional equipment charges apply for each DIRECTV Mini Client. You must activate each new/additional or reactivated Mini Client on your existing account by calling DIRECTV Customer Care at 1-800-531-5000. Connection speeds and signal strength vary, depending on your Internet Service Provider (ISP). Check with your ISP to confirm your home network speeds. © 2013 DIRECTV. DIRECTV and the Cyclone Design logo, and Genie and the Genie logo are trademarks of DIRECTV, LLC.
Need help?
Do you have a question about the C41W and is the answer not in the manual?
Questions and answers