Table of Contents
Advertisement
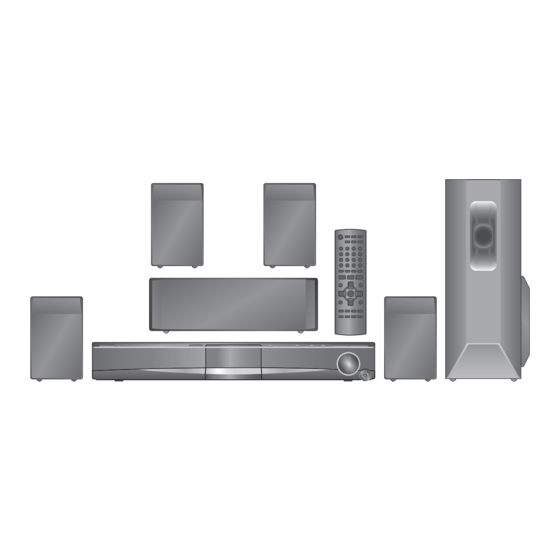
The illustration shows SC-PT460.
Region number
The player plays DVD-Video marked with labels
containing the region number "2" or "ALL".
Example:
2
ALL
[EB]
2
3
5
Operating Instructions
DVD Home Theater Sound System
Model No.
VIERA Link compatible
28
Enjoy high-quality picture and linked
operations with your VIERA TV.
Sound enhancement
options
31
Surround Enhancer, Dolby Pro
Logic II, and more.
iPod connectivity
34
Enjoy iPod music through the
speakers, view iPod photos or
videos on the TV.
Before connecting, operating or adjusting this
product, please read the instructions completely.
Please keep this manual for future reference.
[Note[
"EB" on the packaging indicates the United Kingdom.
SC-PT460
SC-PT467
RQTX0089-3B
Advertisement
Table of Contents


Need help?
Do you have a question about the SC-PT460 and is the answer not in the manual?
Questions and answers