Advertisement
Available languages
Available languages
Quick Links
GE
Installation Instructions
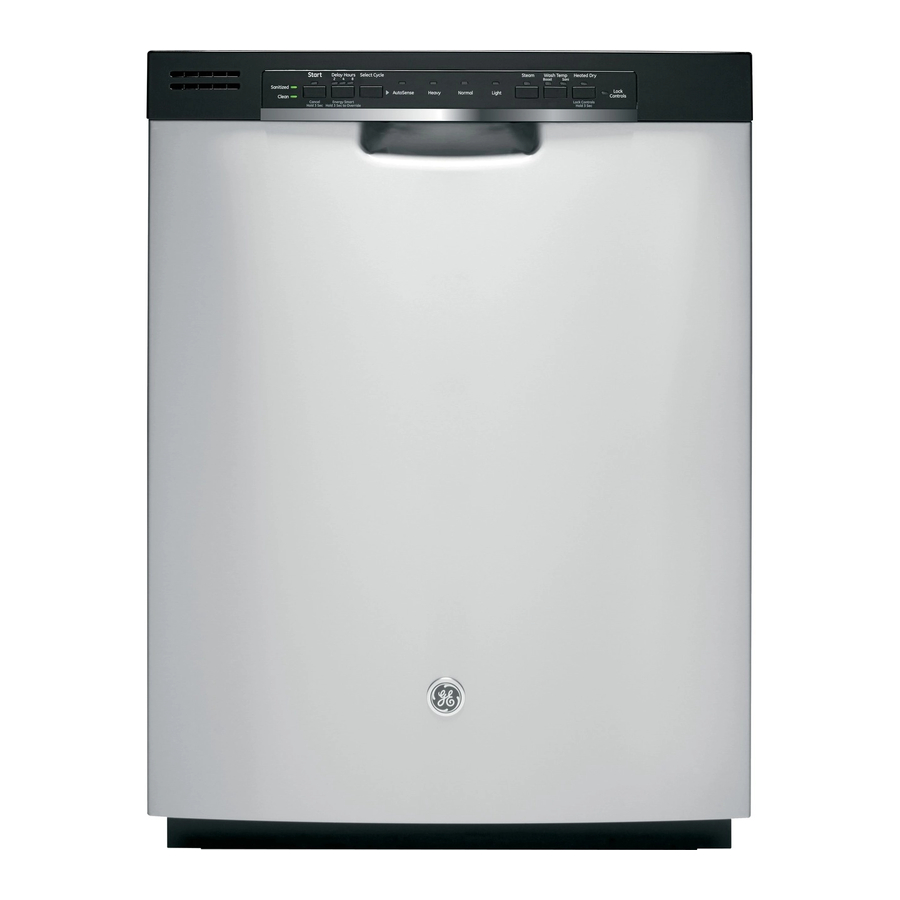
Built-In Dishwasher
If you have questions, call 800.GE.CARES1800.432.27371 or visit our Website at: GEAppliances.com.
In Canada, please call 1.800.561.3344 or visit www.geappliances.ca
BEFORE YOU BEGIN
Read these instructions
completely
and
carefully.
I M PORTANT
- Observe all governing codes and
ordinances.
• Note to Installer
- Be sure to leave these instructions
for the
consumer's
and local inspector's
use.
• Note to Consumer
- Keep these instructions
with your
Owner's
Manual for future reference.
• Skill Level - Installation
of this dishwasher
requires
basic mechanical,
electrical
and plumbing
skills. Proper
installation
is the responsibility
of the installer.
Product
failure due to improper
installation
is not covered
under
the GE Appliance
Warranty.
See warranty
information.
• Completion
Time - 1 to 3 Hours. New installations
require
more time than replacement
installations.
I M PORTANT
- The dishwasher MUST be installed
to allow forfutureremoval from the enclosureif serviceis
required.
Care should be exercisedwhen the applianceisinstalled or
removed, to reduce the likelihood ofdamage
to the power
supplycord.
If you receiveda damaged
dishwasher, you should immediately
contactyour dealeror builder.
OptionalAccessories- See the Owner's Manual foravailable
custom panel kits.
FOR YOUR SAFETY
Read and observe all CAUTIONS and WARNINGS shown
throughout
these instructions. While performing
installations described in this booklet, gloves, safety glasses
or goggles should be worn.
f
READ CAREFULLY.
KEEP THESE INSTRUCTIONS.
31-31506-2
10-12
GE
Advertisement

Related Manuals for GE GDT550HGD0BB


Summary of Contents for GE GDT550HGD0BB
- Page 1 Installation Instructions Built-In Dishwasher If you have questions, call 800.GE.CARES1800.432.27371 or visit our Website at: GEAppliances.com. In Canada, please call 1.800.561.3344 or visit www.geappliances.ca BEFORE YOU BEGIN I M PORTANT - The dishwasher MUST be installed to allow forfutureremoval from the enclosureif serviceis...
- Page 2 Installation Preparation PARTS SUPPLIED IN INSTALLATION PACKAGE: [] Junction box cover and #10 hex-head screw Hose Clamp Hose clamp Drain Hose Junction Hex-Head Drain hose (approximately 78" long) Box Cover Junction Drain hose hanger Box Screw [] 2 #8-18 hex head screws to secure brackets to 112"...
- Page 3 Installation Preparation PREPARE DISHWASHER ENCLOSURE kWARNING: Toreducethe risk of electric shock,fire, or injury to persons,the installer must ensurethat the dishwasheris completelyenclosedat the time of installation. ik ADVERTENCIA: This Wall Area must be Free Para reducir el riesgode descarga el_ctrica,incendioo lesionesa of Pipesor personas,el instalador debe asegurarsede que el lavaplatosest_ wires...
- Page 4 Installation Preparation PREPARE ELECTRICAL WIRING Receptacle IkWARNING: z,'i Alternate Location FOR PERSONAL SAFETY: Remove house fuse or open circuit breaker beforebeginning installation.Do not usean extensioncord or adapter plug with this appliance. Ak ADVERTENCIA: Cabinet PARA SEGURIDAD P ERSONAL: Quite el fusible o abra el interruptor de circuitos antes de comenzarla instalaci6n.No utilice un cable de extensi6no un enchufe adaptador con este artefacto.
- Page 5 Installation Preparation PREPARE HOT WATER LINE CAUTION: • The line may enter from either side, rear or floor within the Do not remove wood base until you are ready to install the shaded area shown in Figure F. dishwasher. The dishwasher will tip over when the door is •...
- Page 6 Dishwasher Installation STEP 1: PREPARATION STEP 3: REMOVE WOOD BASE, INSTALL LEVELING LEGS Locate the items in the installation package: • Screws IMPORTANT • Junction box cover - Do not kickoff wood base! • Drain hose and clamp will occur. Damage •...
- Page 7 Dishwasher Installation STEP 6: INSTALL 90 ° ELBOW STEP 8: POSITION WATER LINE AND HOUSE WIRING • Wrap a 90 ° elbow with Front of Dishwasher thread seal tape. • Position water supply line and house wiring on the floor of •...
- Page 8 Bend and break Screw --_-%. Jhere if necessary Figure P If you would like to order the Trim Kit from GE Service, please call 800.GE.Cares and request port number WD08×10094 for BB models or WD08×10096 for WW or CC models.
- Page 9 Dishwasher Installation STEP 13: PUSH DISHWASHER INTO STEP 14: LEVEL DISHWASHER FINAL POSITION I M PORTANT - Dishwasher must be level f orproper • Check the tub insulation blanket, if equipped, to be sure it is dishrackoperation, wash performance and dooroperation. smoothly wrapped around the tub.
- Page 10 Dishwasher Installation STEP 16: CONNECT WATER SUPPLY STEP 15: POSITION DISHWASHER, SECURE TO COUNTERTOP OR CABINET Connect water supply line to 90 ° elbow. • Slide compression nut, then ferrule over end of water line. In this step you will need the 2 Phillips special head screws •...
- Page 11 Dishwasher Installation STEP 17: CONNECT DRAIN LINE (Cont.) STEP 18: CONNECT POWER SUPPLY If a power cord with plug is already installed proceed to • Connect drain line to air gap, waste tee or disposer Step 19. using the previously determined method. Secure hose with a screw-type clamp.
- Page 12 Dishwasher Installation STEP 19: PRETEST CHECKLIST STEP 20: DISHWASHER WET TEST Review this list after installing your dishwasher to avoid [] Turn on power supply or plug power cord into outlet, charges for a service call that is not covered by your if equipped.
- Page 13 Dishwasher Installation STEP 21: POSITION SOUND BARRIER STEP 22: REPLACE TOEKICK AND INSULATION • Place toekick against the legs of the dishwasher. (on some models) Skip this step if the sound barrier is not assembled to the dishwasher. • Locate the sound insulation package inside the dishwasher. •...
- Page 14 Notes...
- Page 15 Notes...
- Page 16 SPECIFICATIONS SUBJECT TO CHANGE WITHOUT NOTICE GEAppliances General Electric Company Louisville, Kentucky/40225 GEAppliances.com © 2012 General Electric Company...
- Page 17 Io (ATTENTION et AVERTISSEMENT) donn@es dans les pr@sentes gorontie de GE.Reportez-vous _ Io gorontie du produit. directives. Pour effectuer I'installation d@crite dans les • Dur_e de I'instollotion - Entre I et 3 heures. L'instullution...
- Page 18 Preparation pour I'installation PII CES FOURNIES DANS L'EMBALLAGE: [] Couverclede la boTte dejonction etvis 5 t#te hexagonale n° 10 Vis 6 t6te Collier Couvercle de la Boyau de vidange [] Collier hexagonale n° 10 bo?te de jonction [] Boyaude vidange (198 cm/78 po de long) de 12,7 mm (112 po) et vis 6 t6te [] Support de tuyau de vidange)
- Page 19 Preparation pour I'installation PRI_PARATION DE L'OUVERTURE DANS ik AVERTISSEMENT: LES ARMOIRES Pour r6duire les risques de choc 61ectrique, d'incendie ou de blessures, I'installateur doit s'assurer que le lave-vaisselle est compl_tement encastr_ au moment de I'installation. Le lave-vaisselle doit _tre install6 de fagon 6 ce que le bayou de vidange mesure au maximum 3.66 m_tres (12 pieds) pour Lemur du fond...
- Page 20 Preparation pour I'installation DU CABLAGE PREPARATION ELECTRIQUE ,"i- Autreemplocement ," _ possible pourlo AVERTISSEMENT: I prise de courant POUR VOTRE SECURITE PERSONNELLE: Enlevez le fusible ou 46 cm (18po) d@clenchez l e disjoncteurau panneau de distribution principal "Trou de 3,8 cm avant de commencer I'installation.N'utilisezpas une rallonge i_..-la prise d_'-_l @lectrique ou un adaptateur de fiche avec cet appareil.
- Page 21 Preparation pour I'installation PRI_PARATION DE L'ALIMENTATION A ATTENTION: EAU CHAUDE N'enlevezpas la basede bois avant d'etre pr_t 6 installer le lave- • Lo conduite peut entrer du c6t# gauche, du c6t# droit, vaisselle.Si vous enlevezla basede bois,le lave-vaisselle pourrait de I'arri@e ou du plancher dans la partie ombr#e indiqu#e basculer Iorsquevous ouvrezla porte.
- Page 22 Installation du lave-vaisselle I_TAPE 1: PRI_PARATION I_TAPE 3: ENLI_VEMENT DE LA BASE DE BOIS, INSTALLATION DES PIEDS Prenezles pisces fournies dons I'emballage et mettez-les de c6tS: • Ensemble de vis DE NIVELLEMENT • Couvercle de la boTtedejonction • Boyau de vidange et collier IMPORTANT Ne frappez pus sur la base •...
- Page 23 Installation du lave-vaisselle I_TAPE 5: INSTALLATION DU MATI_RIAU I_TAPE 8: POSITIONNEMENT DE LA INSONORISANT (sur certains modules) CONDUITE D'EAU ET DE L'ALIMENTATION ELECTRIQUE Passez 6 I'_tape suivant si le lave-vaisselle n'est • Positionnezla conduite d'alimentation en eau et le cablage de la Mat6riau rSsidencesur le plancher de I'ouvertureafin qu'ils n'entrent pas en pas _quip_ de mat_riau...
- Page 24 6chTant Figure P no° 8 Si vous souhaitez commander I'ensemble de moulures du Service GE,veuillez composer le 1.800.S61.3344 et demander le num#ro de pi#ce WD08×10094 pour les modules BB, ou le pport no WD08X10096 pour les modules WW ou CC.
- Page 25 Installation du lave-vaisselle I TAPE 13: INSTLLATION DU LAVE-VAISSELLE I TAPE 14: MISE DE NIVEAU DU DANS SON EMPLACEMENT LAVE-VAISSELLE DI FINITIF IM PO RTANT - Le lave-vaisselle doit _tre de niveau • V6rifiez I'isolant de la cuve, s'il y a lieu, pour vous assurer pour assurer le ban fonctionnement des paniers et de la porte qu'il enveloppe compl_tement...
- Page 26 Installation du lave-vaisselle I_TAPE 15: FIXATION DU LAVE-VAISSELLE AU- I_TAPE 16: RACCORDEMENT L'ALIMENTATION EN EAU DESSOUS DU COMPTOIR OU AUX C6TI_S DES ARHOIRES Raccordez la conduite d'alimentation en eau au coude de 90°. • Faitesglisser 1'6crou a compression et ensuite la bague sur Au cours de cette 6tape, vous aurez besoin des deux vis 6 t_te I'extr6mit6 de la conduite d'alimentation en eau.
- Page 27 Installation du lave-vaisselle I TAPE 17: RACCORDEMENT DU BOYAU • Branchez le boyau de vidange 6 la coupure anti- refoulement, au raccord en T ou au broyeur 6 d6chets DE VIDANGE 6 I'aidede la m@hode choisie pr6c6demment. Fixez L'extr6mit6 moul6e du boyau de vidange est congue pour s'installer solidement le boyau 6 I'aided'un collier 6 vis sans fin.
- Page 28 Installation du lave-vaisselle I_TAPE 19: LISTE DE CONTROLE I_TAPE 18: BRANCHEMENT PRI LIMINAIRE L'ALIMENTATION I LECTRIQUE Si un cordon d'elimentetion pourvu d'une fiche est d_j6 Pessez en revue cette liste epr_s I'installotion de votre install_ sur I'appareil, passez 6 I'_tape 19. lave-vaisselle pour _viter des frois de r_paration inutiles non couverts por votre gorontie.
- Page 29 Installation du lave-vaisselle I TAPE 20: ESSAI DU LAVE-VAISSELLE I TAPE 21" INSTALLATION DU MATI RIAU AVEC DE L'EAU INSONORISANT ET DU MATI RIAU ISOLANT (sur certains modules) R6tablissez I'alimentation 61ectrique ou si I'appareil est dot6 d'un cordon d'alimentation, branchez-le dans la prise de Passez 6 l'_tape suivant si le lave-vaisselle n'est pas _quip_ courant murale.
- Page 30 Installation du lave-vaisselle I TAPEZZ: RI INSTALLATION DU PANNEAU INFI RIEUR •Appuyez le panneau inf@ieur contre les pieds de nivellement du lave-vaisselle. Vis de fixation Figure CC • Alignez le panneau inf@ieur par rapport au bas de la porte et assurez-vous qu'il repose sur le plancher.
- Page 31 Notes...
- Page 32 LES SPECIFICATIONS PEUVENT ETRE MODIFII_ES SANS PREAVIS GEAppliances General Electric Company Louisville, Kentucky/40225 www.electromenagersge.ca © 2012 General Electric Company...
Need help?
Do you have a question about the GDT550HGD0BB and is the answer not in the manual?
Questions and answers