Advertisement

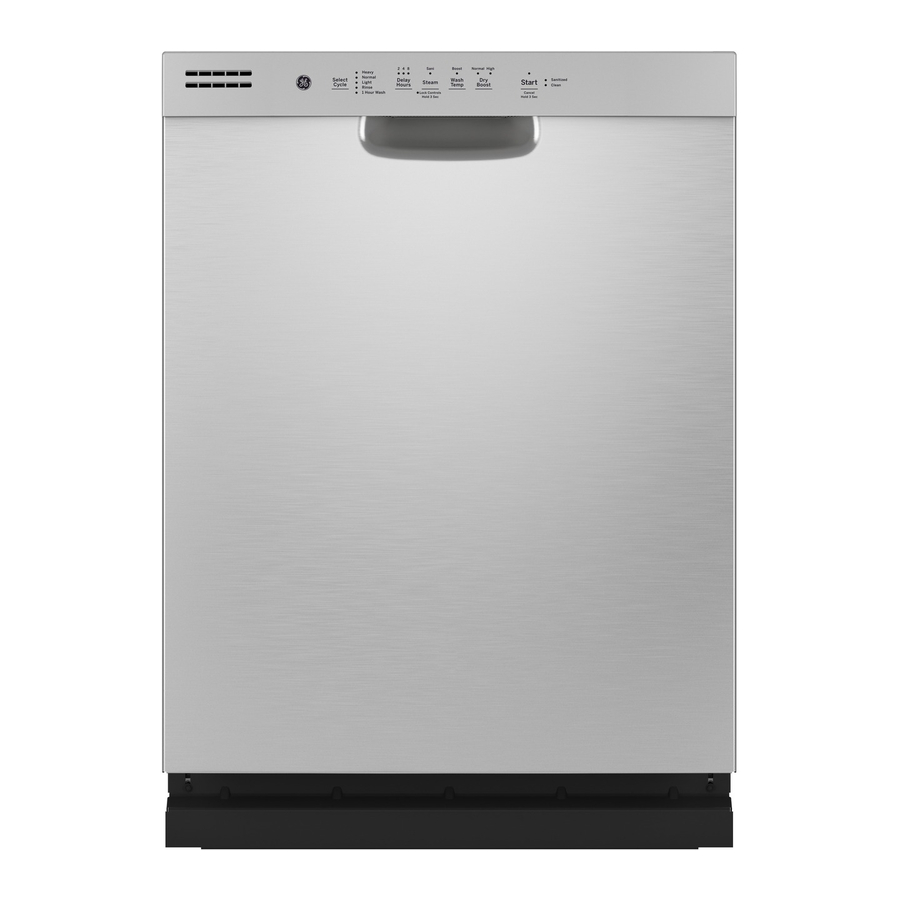
USING THE DISHWASHER
Getting Started . . . . . . . . . . . . . . . . . . . . . . . .6
Dispensers . . . . . . . . . . . . . . . . . . . . . . . . . . . 10
Appliance Communications . . . . . . . . . . . . 12
Loading . . . . . . . . . . . . . . . . . . . . . . . . . . . . . 13
Write the model and serial
numbers here:
Model # _________________
Serial # _________________
You can find them on a label on
the tub wall just inside the door.
GE is a trademark of the General Electric Company. Manufactured under trademark license.
. . . . . . . . .4
. . . . . . . . . . . 20
. . . . . .22
. . . . . . . . . . .25
. . . . . . . . . 26
OWNER'S MANUAL
GDF 565-645 Series
GDT 565-665 Series
GDP645 Series
DDT700 Series
PDT715-785 Series
PDP715 Series
Includes GE®, GE Profile™
Series and GE Adora
Series products
ENGLISH/FRANÇAIS/
ESPAÑOL
49-4000214 Rev 0 08-19 GEA

Advertisement

Table of Contents
loading

Summary of Contents for GE Profile Series

  • Page 1: Table Of Contents

    Model # _________________ Serial # _________________ You can find them on a label on the tub wall just inside the door. GE is a trademark of the General Electric Company. Manufactured under trademark license. 49-4000214 Rev 0 08-19 GEA...
  • Page 2 THANK YOU FOR MAKING GE APPLIANCES A PART OF YOUR HOME. Whether you grew up with GE Appliances, or this is your first, we’re happy to have you in the family. We take pride in the craftsmanship, innovation and design that goes into every GE Appliances product, and we think you will too.
  • Page 3 Notes 49-4000214 Rev 0...
  • Page 4: Safety Information

    IMPORTANT SAFETY INFORMATION READ ALL INSTRUCTIONS BEFORE USING THE APPLIANCE WARNING For your safety, the information in this manual must be followed to minimize the risk of fire, explosion, electric shock, and to prevent property damage, personal injury, or death. PROPER INSTALLATION AND MAINTENANCE WARNING This dishwasher must be properly installed and located in accordance with the Installation Instructions before...
  • Page 5 Automatic Dishwashing Detergent, ® switch on before touching Start to allow the control and Finish Jet-Dry Rinse Aid rinse agents ® ® to initialize. have been approved for use in all GE Appliances dishwashers. READ AND SAVE THESE INSTRUCTIONS 49-4000214 Rev 0...
  • Page 6: Getting Started

    Getting started Features and appearance will vary throughout this manual GDF565 GDF645 GDT565 DDT700 GDT665, GDT645, GDP645 PDT715, PDP715 PDT775, PDT785 Load Dishwasher For best dishwashing results, follow the loading guidelines found in the Loading section. No pre-rinsing of normal food soil is required. Scrape off hard soils, including bones, toothpicks, skins, and seeds. Remove leafy vegetables, meat trimmings, and excessive amounts of grease or oil.
  • Page 7 Getting started Select Cycle Press the furthest pad on the left for the desired wash cycle. On some models, the light next to the furthest pad on the left will be lit to indicate which wash cycle has been selected. On other models, pressing the furthest pad on the left will show various cycles in the display window.
  • Page 8 Getting started Select Options The light by the selected button will be lit to indicate which Option has been selected. Normal This option is for normally soiled dishes, optimizes wash performance while conserving energy. Temp Boost This option increases the temperature to help clean heavily soiled dishes and will increase the cycle time by 20 to 50 minutes.
  • Page 9 Getting started Start Dishwasher Start Press the Start pad and close the door within 4 seconds to start the cycle or begin the Delay Hours countdown. The wash cycle will begin shortly after closing the door. The display will turn off if the door remains open for two minutes.
  • Page 10: Dispensers

    Dispensers Check the Water Temperature The entering water should be at least 120°F (49°C) and Turn on the hot water faucet nearest the dishwasher, not more than 150°F (66°C) for effective cleaning and to place the thermometer in a glass and let the water run prevent dish damage.
  • Page 11 The cover will open during the wash cycle. Filling the Detergent Dispenser GE Appliances recommends using detergent in tablet or packet form. Independent testing has shown this form of detergent is very effective in the dishwasher. Finish ®...
  • Page 12: Appliance Communications

    Appliance Communication WiFi Connect (on some models) (for customers in the United States) Your dishwasher is GE Appliances WiFi Connect Please visit www.GEAppliances.com/connect to capable. A WiFi communciation card is built into the connect your appliance, learn more about connected...
  • Page 13: Loading

    Loading For best dishwashing results, follow these loading guidelines. Features and appearance of racks and silverware baskets may vary from your model. Upper Rack The upper rack is primarily for glasses, cups, and IMPORTANT: Ensure that items do not protrude through saucers.
  • Page 14 Loading Rail On some models, the upper rack may be adjusted to accommodate larger items. To adjust the upper rack, fully Hook extend the upper rack and lift the front of the rack so that Upper the rack roller wheels clear the end hooks on the front of Rack the rails.
  • Page 15 Loading 12 Place Settings - Upper Rack Models - GDF645, GDP645, GDT645, GDF565, Models - DDT700, GDT665, PDP715, PDT715 GDT565, PDT775 Models - PDT785 49-4000214 Rev 0...
  • Page 16 Loading For best dishwashing results, follow these loading guidelines. Features and appearance of racks and silverware baskets may vary from your model. Lower Rack The lower rack is best used for plates, saucers and The clips can be a choke hazard WARNING cookware items.
  • Page 17 Loading 8 Place Settings - Lower Rack Models - GDF565, GDT565, GDF645, GDP645, Models - DDT700, GDT665, PDP715, PDT715, PDT775, GDT645 PDT785 10 Place Settings - Lower Rack Models - GDF565, GDT565, GDF645, GDP645, Models - DDT700, GDT665, PDP715, PDT715, PDT775, GDT645 PDT785 12 Place Settings - Lower Rack...
  • Page 18 Take care when loading, unloading, CAUTION The tray is only meant to be used with a GE Appliances or transporting the silverware or 3rd rack dishwasher to hold silverware, cooking utensil tray. The tray may contain sharp or heavy utensils, and other small items.
  • Page 19 Loading Silverware/flatware is loaded using the silverware basket lids. This ensures great wash performance of the silverware. Loading in this manner prevents nesting and makes sure all items are washed uniformly. Silverware Basket Place flatware in the removable silverware baskets. Sharp objects, such as forks and knives, may be placed with the handles facing up, in order to protect your hands.
  • Page 20: Care And Cleaning

    Dishwasher Cleaner will break up mineral ® deposits, and remove hard water film and stains. You can order citric acid GE Appliances kit #WD35X151 through GE Appliances Parts by calling 877-959-8688 or visiting GEApplianceparts.com. In Canada, call 1-800-661-1616. You can purchase Finish Dishwasher ®...
  • Page 21 Rinse filter with warm soapy water. Scrubbing with scouring pads or brushes can dama ge Scouring pads or brushes can scratch the filter surface the filter. Once cleaned, replace the Ultra-Fine Filter, and but a soft brush or sponge may be needed to remove stubborn soils or calcium deposits caused by hard water.
  • Page 22: Troubleshooting Tips

    Troubleshooting Tips... Before you call for service Problem Possible Cause What To Do Start status indicator The door was opened or the Press the Start pad once and close the door within 4 light flashing cycle was interrupted. seconds to start the dishwasher. Press the Start pad a second time when the dishwasher is running only if you wish to cancel the cycle.
  • Page 23 Quantum Automatic Dishwashing Detergent ® ® has been approved for use in all GE Appliances dishwashers. To remove suds from the tub, open the dishwasher and let suds dissipate. Open the door, press and hold Start for 3 seconds, and close the door.
  • Page 24 Troubleshooting Tips... Before you call for service Problem Possible Cause What To Do Water standing in the Air gap is clogged Clean the air gap. See the Care and Cleaning section. bottom of the tub High drain loop or air gap not Refer to the Installation Instructions for proper drain line installed installation.
  • Page 25: Limited Warranty

    This limited warranty is extended to the original purchaser and any succeeding owner for products purchased for home use within the USA. If the product is located in an area where service by a GE Appliances Authorized Servicer is not available, you may be responsible for a trip charge or you may be required to bring the product to an Authorized GE Appliances Service location for service.
  • Page 26: Consumer Support

    Have a question or need assistance with your appliance? Try the GE Appliances Website 24 hours a day, any day of the year! You can also shop for more great GE Appliances products and take advantage of all our on-line support GEAppliances.com...

Table of Contents