Advertisement
Model No. WLEX14020
Serial No.
Write the serial number in the
space above for reference.
QUESTIONS?
As a manufacturer, we are com-
mitted to providing complete
customer satisfaction. If you
have questions, or if there are
missing parts, we will guarantee
complete satisfaction through
direct assistance from our factory.
TO AVOID DELAYS, PLEASE
CALL DIRECT TO OUR TOLL-
FREE CUSTOMER HOT LINE. The
trained technicians on our cus-
tomer hot line will provide imme-
diate assistance, free of charge to
you.
CUSTOMER HOT LINE:
1-800-999-3756
Mon.–Fri., 6 a.m.–6 p.m. MST
CAUTION
Read all precautions and instruc-
tions in this manual before using
this equipment. Keep this manual
for future reference.
Serial
Number
Decal
USER'S MANUAL
Visit our website at
www.weslo.com
new products, prizes,
fitness tips, and much more!
Patent Pending
Advertisement
Table of Contents

Related Manuals for Weslo Pursuit E21


Summary of Contents for Weslo Pursuit E21
- Page 1 CUSTOMER HOT LINE: 1-800-999-3756 Mon.–Fri., 6 a.m.–6 p.m. MST CAUTION Visit our website at Read all precautions and instruc- tions in this manual before using www.weslo.com this equipment. Keep this manual new products, prizes, for future reference. fitness tips, and much more!
-
Page 2: Table Of Contents
LIMITED WARRANTY ............Back Cover WESLO is a registered trademark of ICON Health & Fitness, Inc. -
Page 3: Important Precautions
IMPORTANT PRECAUTIONS WARNING: To reduce the risk of serious injury, read the following important precau- tions before using the exercise cycle. 1. Read all instructions in this manual before become caught on the exercise cycle. using the exercise cycle. Always wear athletic shoes when using the exercise cycle. -
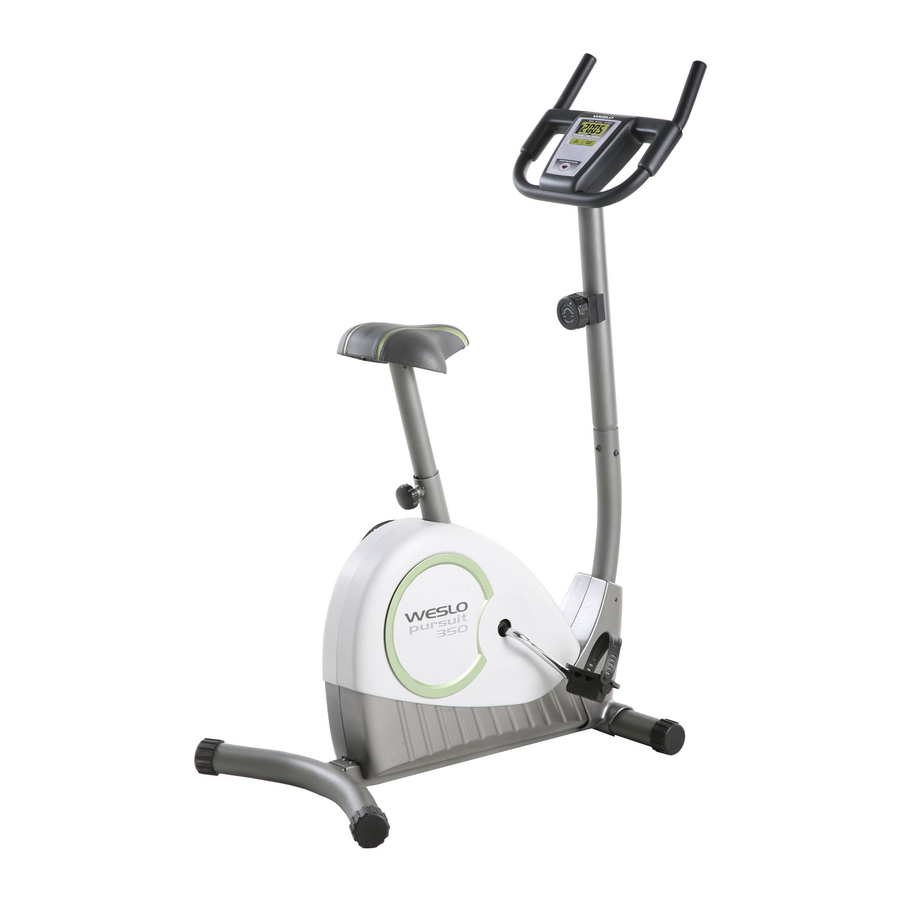
Page 4: Before You Begin
BEFORE YOU BEGIN Thank you for selecting the new WESLO PURSUIT Service Department toll-free at 1-800-999-3756, ® E 21 exercise cycle. The PURSUIT E 21 exercise Monday through Friday, 6 a.m. until 6 p.m. Mountain cycle offers an effective form of low-impact exercise Time (excluding holidays). -
Page 5: Assembly
ASSEMBLY Place all parts of the exercise cycle in a cleared area and remove the packing materials. Do not dispose of the packing materials until assembly is completed. Assembly requires the included tools and your own adjustable wrench and Phillips screwdriver PART CHART Use the drawings below to identify the small parts used in assembly. - Page 6 1. Carefully slide the Upright (3) onto the Frame (1) while pulling the excess Reed Switch Wire (42) and Resistance Cable (31) up through the Upright. Attach the Upright with three M10 x 25mm Button Head Screws (53) and three M10 Split Washers (54).
- Page 7 5. Connect the Reed Switch Wire (42) to the corre- sponding console wire. Attach the ground wire to the Console Upright (3) with an M4 x 8mm Screw (22). Connect Wire Ground the Pulse Wires (69) to the corresponding console Wire wires.
- Page 8 9. Attach the Seat (44) to the Seat Bracket (63) with four M6 x 16mm Screws (46). 10. Attach the Seat Handles (25) to the Seat Bracket (63) with two M10 x 97mm Hex Head Bolts (12) and two M10 Nylon Locknuts (26). 11.
-
Page 9: How To Use The Exercise Cycle
12. Identify the Left Pedal (39); there is an “L” on the Left Pedal for identification. Using an adjustable wrench, tighten the Left Pedal counterclockwise into the left arm of the Crank (8). Tighten the Right Pedal (not shown) clockwise into the right arm of the Crank. - Page 10 DESCRIPTION OF THE CONSOLE HOW TO OPERATE THE CONSOLE Note: The console requires two “AA” batteries. See assembly step 4 on page 6 for battery installation Mode On/Reset instructions. Button Button 1. To turn on the power, press the on/reset button or simply begin pedaling.
-
Page 11: Maintenance And Storage
HOW TO USE THE PULSE SENSOR appear and then your heart rate will be shown. For the most accurate heart rate reading, continue to hold Note: Before you use the pulse sensor, you must the contacts for about 15 seconds. peel the protective vinyl covering off the metal contacts on the top and bottom of the pulse sensor. - Page 12 HOW TO ADJUST THE REED SWITCH HOW TO ADJUST THE RESISTANCE STRAP If the console does not display correct feedback, the If the resistance knob is set on its highest setting and reed switch may need to be adjusted. To adjust the there is not enough resistance, the resistance strap reed switch, you must first remove the left side shield may need to be adjusted.
-
Page 13: Conditioning Guidelines
CONDITIONING GUIDELINES Burning Fat WARNING: To burn fat effectively, you must exercise at a relatively • Before beginning this or any exercise pro- low intensity level for a sustained period of time. During gram, consult your physician. This is espe- the first few minutes of exercise, your body uses easily cially important for individuals over the accessible carbohydrate calories for energy. -
Page 14: Part List
PART LIST—Model No. WLEX14020 R0602A Key No. Qty. Description Key No. Qty. Description Frame Frame Bushing Seat Frame Handlebar Upright Right Pedal Idler Arm Left Pedal M4 x 12mm Screw “J” Bolt Drive Belt Resistance Strap M5 Nut Reed Switch w/Wire 12”... -
Page 15: Exploded Drawing
EXPLODED DRAWING—Model No. WLEX14020 R0602A... -
Page 16: Ordering Replacement Parts
Friday, 6 a.m. until 6 p.m. Mountain Time (excluding holidays). To help us assist you, please be prepared to give the following information: • The MODEL NUMBER of the product (WLEX14020) • The NAME of the product (WESLO ® PURSUIT E 21 exercise cycle) •...
Need help?
Do you have a question about the Pursuit E21 and is the answer not in the manual?
Questions and answers
is there a battery in the machine that would go out