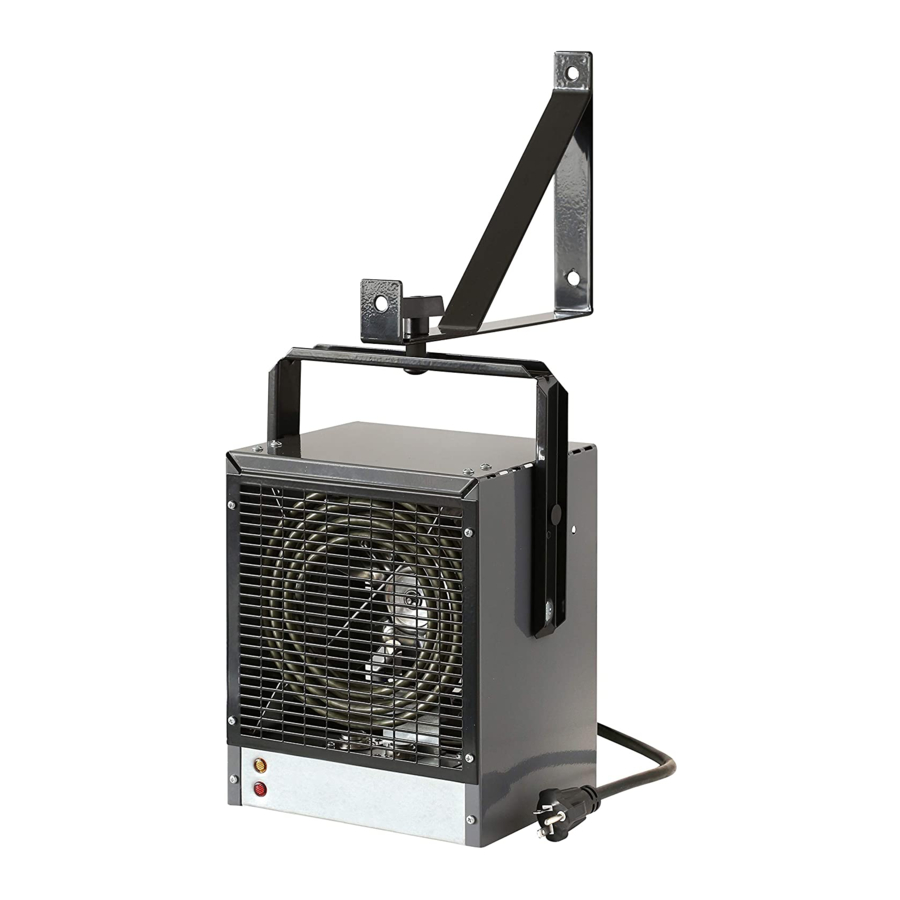
Dimplex DGWH4031 Owner's Manual
Electric heater
Hide thumbs
Also See for DGWH4031:
- Owner's manual (11 pages) ,
- Important instructions manual (6 pages) ,
- User manual (4 pages)
Advertisement
Quick Links
For service questions, please call Dimplex at 1-888-346-7539.
For sales inquiries, please call Sylvane at 1-800-934-9194 or visit
sylvane.com.
IMPORTANT SAFETY INFORMATION: Always read this manual first
before attempting to install or use this heater. For your safety, always
comply with all warnings and safety instructions contained in this manual
to prevent personal injury or property damage.
To view the full line of Dimplex products, please visit
www.dimplex.com
Owner's Manual
Model
DGWH4031
7204830200R03
Advertisement

Summary of Contents for Dimplex DGWH4031
- Page 1 For your safety, always comply with all warnings and safety instructions contained in this manual to prevent personal injury or property damage. To view the full line of Dimplex products, please visit www.dimplex.com 7204830200R03...
-
Page 2: Table Of Contents
CAUTION: Procedures and techniques which, if not carefully followed, will result in damage to the equipment. W ARNINg: Procedures and techniques which, if not carefully followed, will expose the user to the risk of fire, serious injury, or death. www.dimplex.com... -
Page 3: Welcome & Congratulations
Welcome & Congratulations Thank you and congratulations for choosing to purchase an electric heater from Dimplex, the world leader in electric heaters. Please carefully read and save these instructions. CAUTION: Read all instructions and warnings carefully before starting installation. Failure to follow these instructions may result in a possible electric shock, fire hazard and will void the warranty. -
Page 4: Important Instructions
⑩ Connect to properly grounded outlets only. ⑤ Do not operate any unit with a damaged cord or plug, or if the ⑪ Do not insert or allow foreign heater has malfunctioned, or if www.dimplex.com... -
Page 5: Save These Instructions
IMPORTANT INSTRUCTIONS objects to enter any ventilation cord directly into appropriate wall or exhaust opening as this may receptacle. cause an electric shock or fire, or ⑯ This heater includes a visual damage to the heater. alarm (red light) to warn that parts ⑫... - Page 6 Plug outlet should be used with this unit. The type outlet is a 240 Volt grounding outlet. When properly installed, it provides a ground connection through the cord to the heater to protect the operation from electric shock. Ground www.dimplex.com...
-
Page 7: Heater Installation
Heater Installation HEATER LOCATION AND CLEARANCES The heater is intended for flat use on a hard floor, table top, desk or on shelf, and the like, or suspended on a wall or ceiling by means of provided hanger bracket. When suspended from wall or ceiling, heater should be located use of the hanger bracket allows along outside walls to provide... - Page 8 T-Handle hanger bracket opening and hold them in position. Lock Washer slide lock washer and thread spacer on T-Handle onto carriage Carriage bolt, turning to tighten. Bolt air In air out Hanger Bracket Mounting Options www.dimplex.com...
-
Page 9: Operation
Operation Setting the Thermostat Figure 4 Before connecting or disconnecting plug, turn knob fully counterclockwise. (Figure 4) High 2. Heater is equipped with Thermostat control knob a thermostat. To adjust (shown in off position) temperature to your individual requirements, turn thermostat control knob clockwise all the way to turn heater on. -
Page 10: Maintenance And Cleaning
30 minutes for the heater to cool before attempting any maintenance or cleaning. Warranty Dimplex Electric Heaters are tested refund the purchase price thereof. and inspected prior to shipment and The owner/user assumes all other risks, are guaranteed free from defect to the if any, including the risk of any direct, purchaser of each new product. -
Page 11: Replacement Parts
For service questions, please call Dimplex at 1-888-346-7539. For sales inquiries, please call Sylvane at 1-800-934-9194 or visit sylvane.com. Replacement Parts Fan Blade ..1900010022RP Motor Kit ..2000020022RP Fan Delay .


Need help?
Do you have a question about the DGWH4031 and is the answer not in the manual?
Questions and answers