
Related Manuals for GBC Velobind System One


Summary of Contents for GBC Velobind System One
- Page 1 GBC Velobind System One Users Manual Provided By http://www.MyBinding.com http://www.MyBindingBlog.com...
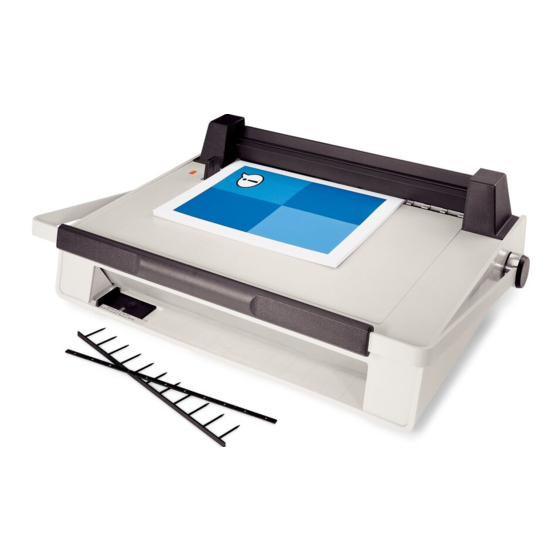
- Page 2 1.0 INTRODUCTION 1.1 OPERATIONAL COMPONENTS LAYOUT Backstop Pressure Bar Locating Pin Handle Bind Guide Housing Base Light Waste Tray Strip Recess Punch Guide Figure 1-1...
-
Page 3: Specifications
2.0 SPECIFICATIONS DESCRIPTION: Punch/Binder PUNCH CAPACITY:* 1/8 in. (3.2 mm) X 14 in. (355.6 mm) 25 sheets of 20 lb. bond paper *Note: No more than 4 composition covers, or 3 plastic covers should be punched at one time. Punching stacks of these materials may result in damage to the punch mechanism. -
Page 4: Installation Procedure
3.0 INSTALLATION PROCEDURE Unpacking Instructions To unpack the machine, carefully remove the staples and open the carton. Remove the packing material from the top and around the machine, and lift the machine straight up out of the carton. Place the machine on a table near a 120 VAC or 220- 240 VAC grounded outlet, and remove the plastic bag. -
Page 5: Operating Instructions
4.0 OPERATING INSTRUCTIONS Punching 1. Adjust the punch edge guide to the correct paper length. Check the punch alignment by punching a sheet of paper and folding it in half along the punched edge (See Figure 4-1). Match the holes up: if the corners of the paper match with no overlap, the alignment is correct. - Page 6 4.0 OPERATING INSTRUCTIONS Document Assembly 1. Check the bind edge guide alignment by inserting a receiving strip in the strip recess area. Lay a sheet of correctly aligned punched paper on the strip, matching up the holes and the strip so that the strip is not showing at the top or the bottom of the paper.
- Page 7 4.0 OPERATING INSTRUCTIONS Binding 1. Begin the binding process by pulling the pressure bar toward you and lowering it on top of the document. The indicator light will illuminate. 2. Pull the handle down in a uniform, smooth motion and leave it down. (Don't apply pressure, the handle will remain down until you lift it.) 3.
Need help?
Do you have a question about the Velobind System One and is the answer not in the manual?
Questions and answers