Tripp Lite SmartRack SRWF5U Owner's Manual
5u low-profile wall-mount smartrack enclosure
Hide thumbs
Also See for SmartRack SRWF5U:
- Quick manual (3 pages) ,
- Specifications (2 pages) ,
- Owner's manual (16 pages)
Table of Contents
Advertisement
Quick Links
5U Low-Profile Wall-Mount
SmartRack
Table of Contents
1.
2.
3.
4.
5.
201107089-93-3126-EN.indd 1
Owner's Manual
Model: SRWF5U
2
2
3
4
4
4
5
5
5
5
6
6
www.tripplite.com/support
Copyright © 2011 Tripp Lite. All trademarks are the sole property of their respective owners.
Enclosure
™
6.
7.
8.
9.
Español
6
6
7
7
7
8
8
9
8/3/2011 9:06:04 AM
Advertisement
Table of Contents

Summary of Contents for Tripp Lite SmartRack SRWF5U
- Page 1 5.3 Reversing the Front Door 5.4 Mounting Rails 5.5 Adjusting Mounting Rail Depth 1111 W. 35th Street, Chicago, IL 60609 USA www.tripplite.com/support Copyright © 2011 Tripp Lite. All trademarks are the sole property of their respective owners. 201107089-93-3126-EN.indd 1 8/3/2011 9:06:04 AM...
-
Page 2: Overview
• Do not reship the enclosure with additional equipment unless the enclosure was shipped with a special shock pallet (“SP1” models only). The combined weight of the enclosure and installed equipment must not exceed the load capacity of the pallet. Tripp Lite is not responsible for any damage that occurs during reshipment. -
Page 3: Feature Identification
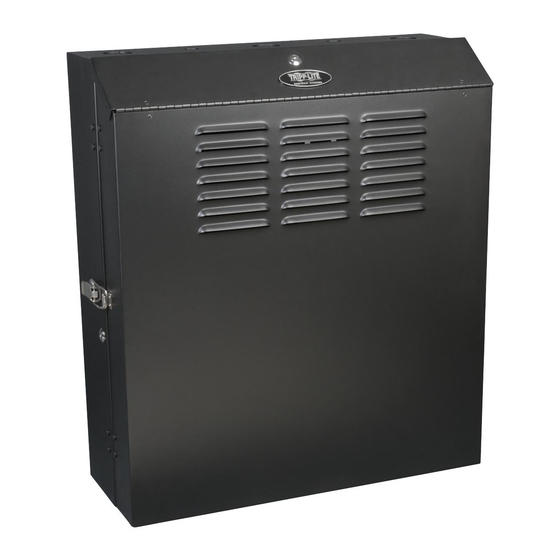
3. Feature Identification Front Door Top Panel Door Horizontal Mounting Rails Vertical Mounting Bracket Patch Panel Mounting Bracket Cable Access Holes Vents Wall-Mounting Slots 201107089-93-3126-EN.indd 3 8/3/2011 9:06:05 AM... -
Page 4: Enclosure Installation
With one person on each side, carefully lift the enclosure out of the box and place on a firm, level surface. Examine the enclosure for any damage or loose parts. Confirm all parts are present. If anything is missing or damaged, contact Tripp Lite for assistance. -
Page 5: Enclosure Configuration
5. Enclosure Configuration Before installation, be sure to plan the location and arrangement of components within the enclosure. Be sure all mounting rails are reversed or adjusted for depth, depending on your equipment configuration. 5.1 Door Locks The front door and the top panel door both have locks that are accessible by the included keys. The front door latch can also be locked with a user-supplied padlock for extra security. -
Page 6: Adjusting Mounting Rail Depth
5. Enclosure Configuration ( continued ) 5.4 Mounting Rails The enclosure comes with reversible horizontal mounting rails that have threaded holes for mounting rack equipment. The holes on the top of the rail are threaded for M6 hardware, while the holes on the bottom are threaded for 12-24. -
Page 7: Equipment Installation
8. Optional Patch Panel Installation The SRWF5U comes with an integral, slide-out mounting bracket at the top of the enclosure. It can be used to secure a patch panel to the enclosure, and it partially slides out for easier cabling access. -
Page 8: W. 35Th Street, Chicago, Il 60609 Usa
Service Your Tripp Lite product is covered by the warranty described in this manual. A variety of Extended Warranty and On-Site Service Programs are also available from Tripp Lite. For more information on service, visit www.tripplite.com/support. Before returning your product for service, follow these steps: 1.


Need help?
Do you have a question about the SmartRack SRWF5U and is the answer not in the manual?
Questions and answers