Advertisement
Xtreme Imaging
Table of Contents
:
Preface....................................................................1
Main features.............................................................1
Computer operating system requirements..............................1
Prestart Guide............................................................2
Basic installation..........................................................3
Video mode..............................................................5
...
Photo mode.........................................................
10
Playback mode.........................................................15
Settings...............................................................
16
...
0
Advertisement
Table of Contents

Related Manuals for Intova Sport HD


Summary of Contents for Intova Sport HD
-
Page 1: Table Of Contents
Xtreme Imaging Table of Contents : Preface…………………………………………………………..1 Main features…………………………………………………..1 Computer operating system requirements………………....1 Prestart Guide…………………………………………………...2 Basic installation…………………………………………..3 Video mode……………………………………………………..5 … Photo mode………………………………………………… Playback mode………………………………………………...15 Settings………………………………………………………... -
Page 2: Preface
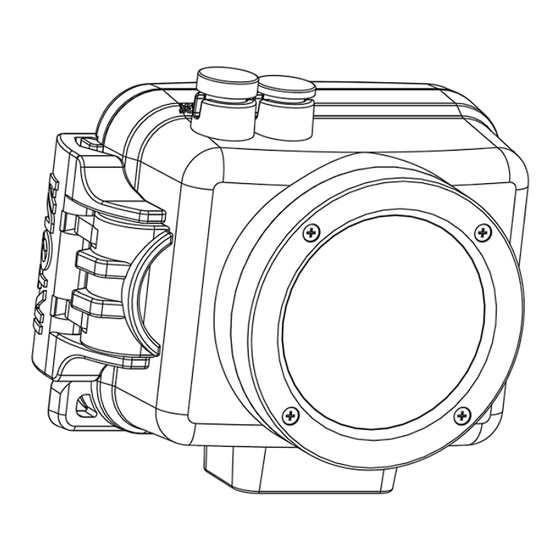
Preface: Thank you for purchasing an Intova Sport HD. SP1 utilizes the 1080p High Definition Video format and is waterproof to 60 meters/200 feet. Visit www.intova.net to view the wide range of mount options available to help you fully utilize this great camera. Enjoy!! Main features:... -
Page 3: Prestart Guide
• If camera becomes hot during use, turn off the power immediately. • For storage, remove the memory card and keep camera in a cool, dry place with housing door slightly open • SPI floats. Intova flotation strap (optional accessory) is recommended as extra precaution for water use. -
Page 4: Basic Installation
Description: Basic installation: Open the housing: Follow the directions in the figure below to open the housing,. Insert memory card: Follow the indicated direction in the figure below to insert Micro SD memory card. After the card is inserted, the icon will show on LCD screen. - Page 5 Notes: 1. Format the memory card before use 2. If the DV does not work with the memory card, please try a new card. 3. The DV can’t record a video or take a photo without a properly inserted memory card. USB charging and transferring:...
-
Page 6: Basic Operation
Basic operation: FUNCTIONS: Video Photo Playback POWER: Press ”POWER button” to turn on / turn off。 MODE SWITCH: Press ” MODE button” to switch between VIDEO/PHOTO/PLAYBACK. VIDEO/CAMERA: Press ”Shutter button“ to take a video or photo PLAYBACK: Press ”MODE button” to enter Playback mode to view video and image files. DISPLAY:... - Page 7 Settings : In Video mode, press “MENU Button”, and use UP / DOWN buttons to select desired adjustment setting. The following icons represent all of the functional settings in Video mode. AUDIO / SIZE / EV / WHITE B / METERING / CONTRAST / SHARPNESS / EFFECT / RECYCLE / VIDEO FLIP.
- Page 8 * Size:In the setting list, use the UP / DOWN buttons to select “SIZE”, and press “OK button” to enter setting. There are 1080P / 720P / WVGA1 / WVGA / VGA. After selection, press “OK button” to confirm, then press MENU button to return. “OK”...
- Page 9 * Metering:In the setting list, use the UP / DOWN buttons to select “METERING .”, and press “OK button” to enter setting. There are A VERAGE / SPOT / CENTER. After selection, press “OK button” to confirm, then press MENU button to return. “OK”...
- Page 10 * Effect:In the setting list, use the UP / DOWN buttons to select “EFFECT”, and press “OK button” to enter setting. There are OFF/ ART / SEPIA / NEGATIVE / MONOCHROME / VIVID. After selection, press “OK button” to confirm, then press MENU button to return. “OK”...
-
Page 11: Photo Mode
Photo mode: Press the MODE button to enter Photo mode. Adjust the DVR to take photos of the objects (viewed from the LCD), press the Shutter button to take photos. Digital zoom: Use the “Down button” to zoom in on scene while selecting targets. The zoom factor will be displayed on the LCD, and can be increased to a maximum of 4X (resolution drops as an image is magnified). - Page 12 * Size:In the setting list, use the UP / DOWN buttons to select “SIZE”, and press “OK button” to enter setting. There are 12M / 8M / 5M / 3M. After selection, press “OK button” to confirm, then press MENU button to return.
- Page 13 * White Balance: In the setting list, use UP / DOWN buttons to select “WHITE B” , and press “OK button” to enter setting. There are AUTO / SUNNY/ CLOUDY / TUNGSTEN / FLUORESCENT / MANUAL. After selection, press “OK button” to confirm, then press MENU button to return.
- Page 14 * Sharpness:In the setting list, use the UP / DOWN buttons to select “SHARPNESS”, and press “OK button” to enter setting. There are STANDARD / HARD / SOFT. After selection, press “OK button” to confirm, then press MENU button to return. “OK”...
- Page 15 * Burst:In the setting list, use the UP / DOWN buttons to select “BURST”, and press “OK button” to enter setting. There are NO/ 3 PICS / 5 PICS / 10 PICS. After selection, press “OK button” to confirm, then press MENU button to return.
-
Page 16: Playback Mode
“OK” Playback mode: Press Mode button to enter into Playback mode. The LCD will display as follows. Press UP/DOWN buttons to search for the videos or photos you would like to view, then press OK button to play/view. Video playback: Use UP/DOWN buttons to select the video to be viewed, and press OK button to play. -
Page 17: Settings
* Delete:Use UP/DOWN buttons to select the video or photo to be deleted. Press MENU button, choose “DELETE” and press OK button to enter setting list. Use UP/DOWN buttons to select YES (Single image) or DELETE ALL. “OK” * Slide Show:In Playback mode, press Menu button to enter setting list then use UP/DOWN buttons to select “SLIDE SHOW”. - Page 18 * Language:Use UP/DOWN buttons to select ”LANGUAGE”, and press OK button to enter setting list. русский There are ENGLISH、PORTUGUESE、 、KOREAN、SPANISH、ITALIANO、 ç DEUTSCH、FRAN AIS、日本、繁體中文、简体中文. After selection, press OK button to confirm, and press Menu button to return. * Volume:Use UP/DOWN buttons to select ”VOLUME”, and press OK button to enter setting list. There are seven volume levels.
- Page 19 “OK” * Clock:Use UP/DOWN buttons to select “CLOCK”, and press OK button to enter setting list. Use UP/DOWN buttons again to adjust hour / minute, and press OK button to confirm the setting. After adjustment, press OK button again to confirm, then press Menu button to return. * Format:Use UP/DOWN buttons to select “FORMAT”, and press OK button to enter setting list.
- Page 20 * Sys. reset:Use UP/DOWN buttons to select ”SYS.RESET”, press OK button to enter setting list. Choose YES or NO, and press OK button to confirm the selection. Press Menu button to return. * Auto off:Use UP/DOWN buttons to select ”AUTO OFF”, and press OK button to enter setting list. There are OFF / 1 MIN / 3 MINS / 5 MINS.
- Page 21 * TV OUT:Use UP/DOWN buttons to select ”TV OUT”, and press OK buttons to enter setting list. Options are NTSC / PAL. Adjust according to country standard. After selection, press OK button to confirm, then press Menu button to return. * Stamp:Use UP/DOWN buttons to select ”STAMP”, and press OK button to enter setting list.
- Page 22 * Version:Use UP/DOWN buttons to select ”VERSION” to view the current software version.
Need help?
Do you have a question about the Sport HD and is the answer not in the manual?
Questions and answers