
Related Manuals for Kelvinator KWH20CRC


Summary of Contents for Kelvinator KWH20CRC
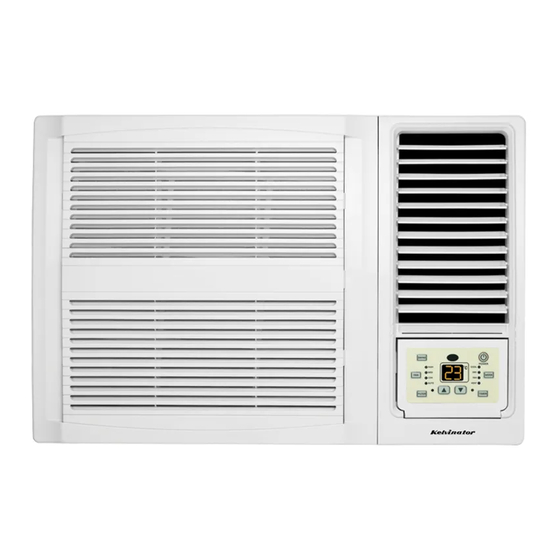
- Page 1 Window Wall (Electronic) Room Air Conditioner User Manual KWH20CRC KWH20HRC KWH26CRC KWH26HRC KWH39CRC KWH39HRC KWH53CRC KWH53HRC KWH62CRC KWH62HRC Refrigerant R410A...
- Page 2 CONTENTS 1. SAFETY PRECAUTIONS..............2. UNIT PARTS IDENTIFICATION............3. OPERATING INSTRUCTIONS ............4. INSTALLATION INSTRUCTIONS............. 5. TROUBLESHOOTING ..............ead This Manual Inside you will find many helpful hints on how to use and maintain your air conditioner properly. Just a little preventive care on your part can save you a great deal of time and money over the life of your air conditioner.
-
Page 3: Never Do This
SAFETY PRECAUTIONS To prevent injury to the user or other people and property damage, the following instructions must be followed. Incorrect operation due to ignoring of instructions may cause harm or damage. The seriousness is classified by the following indications. WARNING This symbol indicates the possibility of death or serious injury. - Page 4 ! CAUTION When the air filter is to be Do not clean the air Ventilate the room well when removed, do not touch the conditioner with water. used together with a stove, etc. metal parts of the unit. It may cause an injury. Water may enter the unit and An oxygen shortage may occur.
- Page 5 Safety Prior to Operation Precautions Preparing for operation 1. Contact an installation specialist for installation. 2. Plug in the power plug properly. 3. Do not use a damaged or non-standard power cord. 4. Do not share the same outlet with other appliances. 5.
- Page 6 ON OFF MODE CLOCK SWING TIMER ON TIMER OFF ENERGY LIGHT SAVER SLEEP...
- Page 7 OPERATING INSTRUCTIONS Controls The electronic control keypad will look like one of the following: Revers e Cycle Models SWIN POWER COOL AUTO FILTER TIMER Cooling Only Models SWIN POWER COOL AUTO FILTER TIMER Vent Control The vent control is located above the control knobs. (see the following figures). For maximum cooling efficiency, CLOSE the vent.
- Page 8 beside There is no green indicator light for "Auto" mode. When you select "Auto" mode, a beep will sound indicating this "MODE" option was selected. within 0~10 hours and 1 hour increments within 10~24 hours. within 0~10 hours and 1 hour decrements within 10~24 hours.
- Page 9 This mode is used to decrease the humidity in the room. The temperature setting are adjustable between 16 C to 30 C . Cooling begins automatically when the room temperature is 1 C above the set point, and stops when the room temperature is 1 C below the set point. The fan will not stop running. The temperature settings are adjustable between 16 C to 30 C in heating mode.
-
Page 10: Energy Saver
MODE ON OFF CLOCK SWING TIMER ON TIMER OFF ENERGY LIGHT SAVER SLEEP LIGHT: Turn the unit LED light on or off only. ENERGY SAVER: Activate the "ENERGY SAVER" mode. CLOCK: Press this button to set clock. - Page 11 (23 ft) TIMER ON :(only available when unit off) Press the "TIMER ON" button to activate the auto start timer function. Auto start can be set from 1/2-24 hours. At unit off, press "TIMER ON" button,"HOUR ON" on the display will blink and during 5 seconds blinking, the value can be adjusted by pressing "...
- Page 12 ENERGY SAVER:(only available in "COOLING" and "DRY" mode) Press “ENERGY SAVER” to activate or disactivate the "ENERGY SAVER" Function. In this mode, the fan will continue to run for 1 minute after compressor shuts off. LIGHT: Press this button at unit On, the light on the main unit will be turned on or off. Light On is defaulted when power on.
- Page 15 INSTALLATION INSTRUCTIONS Select the best location AWNING AWNING FENCE FENCE About 10mm About 10mm Over 50cm Over 50cm 1. To avoid vibration and noise, make sure the unit is installed securely and firmly. 2. Install the unit where the sunlight does not shine directly on the unit. If the unit receives direct sunlight, build an awning to shade the cabinet.
- Page 16 Installation of the Housing NOTE: UNIT MAY BE SUPPORTED BY A Step 1 SOLID FRAME FROM BELOW OR BY A HANGER FROM A SOLID Remove the air conditioner from it's packaging, remove fixing OVERHEAD SUPPORT. screws and slide the air conditioner out of it's housing (Refer FLASH OR SEAL AROUND EXTERNAL WALL FRAME OR ARCHITRAVE to Installation Steps).
- Page 17 1. Hold the slot under the front panel, then uplift it outwards, and remove the front panel (See Fig.3). 2. Pinch the handle under the air filter and make the air filter arched, remove it from the slot from underside to upside (See Fig.4). Fig.
-
Page 18: Normal Operation
TROUBLESHOOTING Troubleshooting Tips Save time and money! Review the chart below first and you may not need to call for service. Normal Operation You may hear a pinging noise caused by water being picked up and thrown against the condenser on rainy days or when the humidity is high. This design feature helps remove moisture and improve cooling efficiency. -
Page 19: Important Notice
Warranty FOR SALES IN AUSTRALIA APPLIANCE: WINDOW WALL AIR CONDITIONER This document sets out the terms and conditions of the product I n all instances, unless the Appliance is transported by Electrolux or an warranties for Electrolux Appliances. It is an important document. Electrolux authorised representative, the Appliance is transported at the Please keep it with your proof of purchase documents in a safe place owner’s cost and risk while in transit to and from Electrolux or its ASC. for future reference should you require service for your Appliance. - Page 20 1800 350 067 email: customercare@electrolux.com.au web: www.kelvinator.com.au Kelvinator. We are part of the Electrolux family. Share more of our thinking at www.electrolux.com.au 66129909414 P/No. 1452635 © 2011 Electrolux Home Products Pty Ltd ABN 51 004 762 341 Print code: KAirWWMUM_Jul11...
Need help?
Do you have a question about the KWH20CRC and is the answer not in the manual?
Questions and answers