Advertisement
Before using your air conditioner, please read
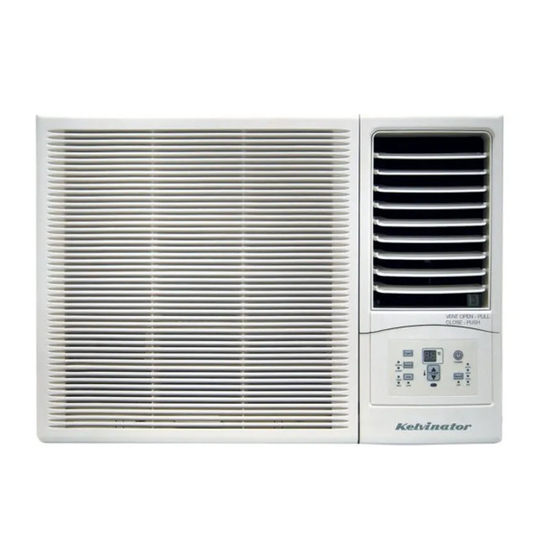
this manual carefully and keep it for future reference.
WINDOW/WALL (ELECTRONIC) - H TYPE
ROOM AIR CONDITIONER
ISSUE: 2 DATE: 11/08/10
O
C
TIMER
SWING
POWER
SWING
AUTO
SLEEP
TEMP
HEAT
FAN
MODE
HIGH
COOL
MED
LOW
DRY
FAN
Cooling & Heating type
KWH20HRB
KWH26CRB
KWH26HRB
KWH39CRB
KWH39HRB
Refrigerant R410A
P/No. 2020214A0822
Advertisement

Related Manuals for Kelvinator KWH26HRB


Summary of Contents for Kelvinator KWH26HRB
-
Page 1: Room Air Conditioner
Before using your air conditioner, please read this manual carefully and keep it for future reference. WINDOW/WALL (ELECTRONIC) - H TYPE ROOM AIR CONDITIONER KWH20HRB KWH26CRB KWH26HRB KWH39CRB KWH39HRB Refrigerant R410A TIMER SWING POWER SWING AUTO SLEEP TEMP HEAT MODE... -
Page 2: Table Of Contents
CONTENTS 1. SAFETY PRECAUTIONS..............2 2. UNIT PARTS IDENTIFICATION............5 3. OPERATING INSTRUCTIONS ............6 4. INSTALLATION INSTRUCTIONS............12 5. TROUBLESHOOTING ..............15 6.SPECIFICATION............16 ead This Manual Inside you will find many helpful hints on how to use and maintain your air conditioner properly. Just a little preventive care on your part can save you a great deal of time and money over the life of your air conditioner. -
Page 3: Safety Precautions
Safety Precautions To prevent injury to the user or other people and property damage, the following instructions must be followed. Incorrect operation due to ignoring of instructions may cause harm or damage. The serious- ness is classified by the following indications. WARNING This symbol indicates the possibility of death or serious injury. - Page 4 ! CAUTION When the air filter is to be Do not clean the air Ventilate the room well when conditioner with water. used together with a stove, removed, do not touch the metal parts of the unit. etc. It may cause an injury. Water may enter the unit and An oxygen shortage may occur.
- Page 5 Safety Prior to Operation Precautions Preparing for operation 1. Contact an installation specialist for installation. 2. Plug in the power plug properly. 3. Do not use a damaged or non-standard power cord. 4. Do not share the same outlet with other appliances. 5.
-
Page 6: Unit Parts Identification
UNIT PARTS IDENTIFICATION 1. Front panel 2. Air filter 3. Frame 4. Cabinet 5. Air inlet grille (outdoor side) 6. Air outlet grille 7. Electronic control keypad 8. Power supply cord and plug 9. Remote control 1. Power cord conductors are distinguished according to color as follows (see Fig.1) 2. -
Page 7: Operating Instructions
OPERATING INSTRUCTIONS Controls The electronic control keypad will look like one of the following: NOTE: SWING FEATURE NOT AVAILABLE ON KWH20HRB Reverse Cycle Models Cooling Only Models TIMER TIMER SWING SWING POWER POWER SWING SWING AUTO SLEEP SLEEP TEMP TEMP... - Page 8 Press the "SWING" keypad for 2 seconds will activate the SLEEP mode which can reduce noise creating a comfortable sleeping environment. Note: Swing feature is not available on KWH20HRB control panel, use remote control for activating the SLEEP mode. For SLEEP MODE activation please refer to remote control feature on page 9.
- Page 9 Note: When activating the SLEEP mode in AUTO mode, the set temperature will not change over time. Note: Swing feature is not available on KWH20HRB control panel, use remote control for activating the SLEEP mode. For SLEEP MODE activation please...
- Page 10 SLEEP: Activates the SLEEP mode. " " SWING: NOTE: SWING FEATURE NOT AVAILABLE ON KWH20HRB Activates the automatic air SWING (vertical) " " louver oscillation) feature. FAN: Activates the FAN speed settings (HIGH, MED, "...
- Page 11 The temperature settings are adjustable between 16 C to 31 C. FAN: Press the "FAN" button to select the required operating fan speed (HIGH, MED or LOW). NOTE: SWING FEATURE NOT AVAILABLE ON KWH20HRB SWING: Press the "SWING" button to activate the swing feature (the vertical louvres will oscillate automa- tically from side to side).
-
Page 12: How To Remove The Air Filter
Vertical air flow adjustment (manually) To adjust vertical air flow direction, adjust any one of the horizontal louvre blades. When adjusting the horizontal louver blades up or down, always keep the top or bottom blades horizontal. This can effectively prevent water droplets condensing on the front panel of the unit. -
Page 13: Installation Instructions
For Reverse Cycle Models: You can choose bottom drainage . See the following procedures to perform bottom drainage: 1. Take out the drain pan and screws (which provided with your air conditioner accessory). 2. Install the drain pan at the bottom of the unit and secure with screws provide. - Page 14 Installation of the Housing Step 1 NOTE: UNIT MAY BE SUPPORTED BY A SOLID FRAME FROM BELOW OR Remove the air conditioner from it's packaging, remove fixing BY A HANGER FROM A SOLID screws and slide the air conditioner out of it's housing (Refer OVERHEAD SUPPORT.
- Page 15 Installation Steps Step 1. Remove the front panel and the air filter 1. Hold the slot under the front panel, then uplift it outwards, and remove the front panel (See Fig.1). 2. Pinch the handle under the air filter and make the air filter arched, remove it from the slot from underside to upside (See Fig.2).
-
Page 16: Troubleshooting
TROUBLESHOOTING Troubleshooting Tips Save time and money! Review the chart below first and you may not need to call for service. Normal Operation You may hear a pinging noise caused by water being picked up and thrown against the condenser on rainy days or when the humidity is high. This design feature helps remove moisture and improve efficiency. -
Page 17: Specification
SPECIFICATIONS Unit dimensions: BODY DIMENSION(mm) MODEL(Btu/h) (W x H x D) 452x342x550 9000(2.6 kw)<Model<12000(3.5 kw) 600x380x560 12000(3.5 kw)<Model<18000(5.3 kw) 660x430x687 660x428x770 >18000(5.3 kw) Minimum norminal cross-sectional area of conductors: Rated current of appliance Nominal cross-sectional area (mm ) >3 and <6 0.75 >6 and <10 >10 and <16...
Need help?
Do you have a question about the KWH26HRB and is the answer not in the manual?
Questions and answers