Advertisement
Advertisement
Table of Contents

Related Manuals for Avocent SwitchView 1000


Summary of Contents for Avocent SwitchView 1000
- Page 1 SwitchView 1000 Switch ® Installer/User Guide...
- Page 3 SwitchView 1000 Switch Installer/User Guide Avocent, the Avocent logo, The Power of Being There and SwitchView are registered trademarks of Avocent Corporation. All other marks are the property of their respective owners. © 2006 Avocent Corporation. All rights reserved. 590-656-501A...
- Page 4 Instructions This symbol is intended to alert the user to the presence of important operating and maintenance (servicing) instructions in the literature accompanying the appliance. Dangerous Voltage This symbol is intended to alert the user to the presence of uninsulated dangerous voltage within the product’s enclosure that may be of sufficient magnitude to constitute a risk of electric shock to persons.
-
Page 5: Table Of Contents
Table of Contents Chapter 1: Installation...............1 Introduction.....................1 Getting Started ..................1 Installation ..................2 Rack Mounting Your SwitchView 1000 Switch ........3 Accessing and using the OSD menus ..........4 Upgrading firmware ................6 Daisy-chaining your SwitchView 1000 switch.........7 Appendices ................9 Appendix A: Quick Reference Guide ............9... - Page 6 SwitchView 1000 Switch Installer/User Guide...
-
Page 7: Chapter 1: Installation
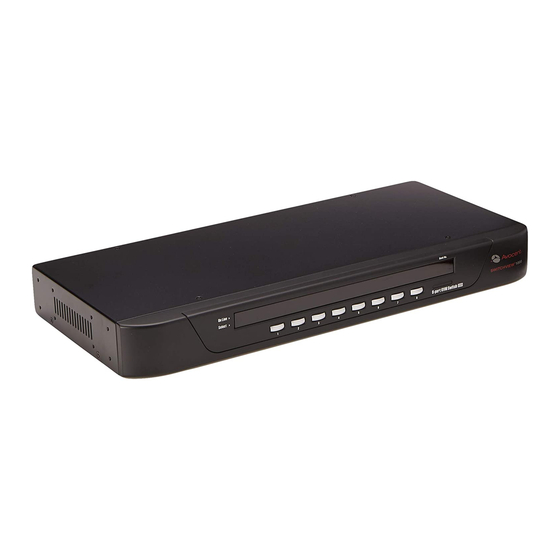
1000 switch is a 4, 8 or 16-port keyboard, video and mouse (KVM) appliance that supports both USB and PS/2 interfaces. With the capacity to daisy-chain up to 16 levels, the SwitchView 1000 switch also allows direct channel selection via three different methods: on-screen display (OSD), front-panel push-buttons or keyboard hotkeys. -
Page 8: Installation
• Ground terminator Installation If you are installing your SwitchView 1000 switch to a PS/2 interface, you must power down all servers before connecting your switch to a server to ensure proper installation. USB interfaces do not need to be powered down before installation. -
Page 9: Rack Mounting Your Switchview 1000 Switch
Rack Mounting Your SwitchView 1000 Switch Your SwitchView 1000 switch may be rack mounted using brackets. Before installing the appliance, stabilize the rack in a permanent location. Install your equipment starting at the bottom of the rack, then work to the top. -
Page 10: Accessing And Using The Osd Menus
Otherwise, the hotkey sequence will not be validated. Figure 1.3: Main OSD Window (8-port SwitchView 1000 Switch) The following options will be selectable via the Main OSD window. - Page 11 Chapter 1: Installation Table 1.2: Main OSD Menu Functions (Continued) Function Description Setup A submenu for various configurations. Logout Logs out keyboard and mouse for security. Figure 1.4: Setup Options Window The following options will be selectable via the Setup OSD window. Table 1.3: Setup menu functions Function Description...
-
Page 12: Upgrading Firmware
SwitchView 1000 Switch Installer/User Guide Upgrading firmware The SwitchView 1000 switch firmware is upgradable via the firmware upgrade cable (included). Maintaining current firmware enhances the SwitchView 1000 switch’s compatibility with other devices and can enhance the switch’s performance. Go to www.avocent.com/support for more information on upgrading your firmware. -
Page 13: Daisy-Chaining Your Switchview 1000 Switch
Contact Avocent to purchase additional cables. NOTE: All SwitchView 1000 switch models (4-port, 8-port and 16-port) can be daisy-chained up to 16 levels. For example, a 16-port and 8-port SwitchView 1000 switch can be daisy-chained to connect a maximum of 24 servers. - Page 14 SwitchView 1000 Switch Installer/User Guide Plug the ground terminator into the Daisy Chain Out port on the rear of the last daisy-chained SwitchView 1000 switch. Figure 1.7: Basic Daisy-Chain Example...
-
Page 15: Appendices
APPENDICES Appendices Appendix A: Quick Reference Guide Table A.1: SwitchView1000 Quick Reference Guide Command Hotkeys OSD Control Front-panel Description Select ScrLk + ScrLk + (a) Cursor keys to Press Select the active bank Server + (b) + (y) + (z) ab = navigate corresponding (switch) and channel... - Page 16 SwitchView 1000 Switch Installer/User Guide Table A.1: SwitchView1000 Quick Reference Guide (Continued) Command Hotkeys OSD Control Front-panel Description Show OSD ScrLk + ScrLk + Activate the OSD Menu on Menu (Space Bar) the console screen Autoscan ScrLk + ScrLk + S...
- Page 17 Appendices...
- Page 18 SwitchView 1000 Switch Installer/User Guide...
- Page 20 For Technical Support: www.avocent.com/support Avocent Corporation Avocent International Ltd. 4991 Corporate Drive Avocent House, Shannon Free Zone Huntsville, AL 35805-6201 USA Shannon, County Clare, Ireland Tel: +353 61 715 292 Tel: +1 256 430 4000 Fax: +1 256 430 4031...
Need help?
Do you have a question about the SwitchView 1000 and is the answer not in the manual?
Questions and answers