Table of Contents
Advertisement
Quick Links
1111 W. 35th Street, Chicago, IL 60609 USA • www.tripplite.com/support
13-10-121-9332DF.indd 1
Owner's Manual
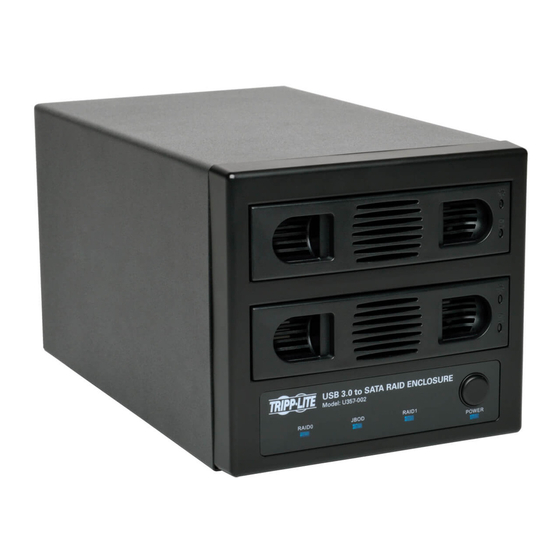
Dual Bay USB 3.0
to SATA Hard Drive
RAID Enclosure
Model: U357-002
Copyright © 2013 Tripp Lite. All rights reserved.
1
2
2
2
3
4
5
6
10/25/2013 2:43:03 PM
Advertisement
Table of Contents

Subscribe to Our Youtube Channel
Related Manuals for Tripp Lite U357-002


Summary of Contents for Tripp Lite U357-002
- Page 1 Package Contents Features System Requirements RAID Mode Setting the RAID Mode Installation Instructions Warranty & Warranty Registration 1111 W. 35th Street, Chicago, IL 60609 USA • www.tripplite.com/support Copyright © 2013 Tripp Lite. All rights reserved. 13-10-121-9332DF.indd 1 10/25/2013 2:43:03 PM...
-
Page 2: Package Contents
Package Contents: • U357-002 • USB 3.0 A/B Device Cable • External Power Supply with removable power cord • Screws for mounting 2.5” hard drives • Owner’s Manual Features: • Dual bay enclosure allows you to quickly turn any two 2.5” or 3.5” internal SATA hard drives into external hard drives. • Tested with up to 4 TB 3.5” HDD per bay (8 TB total), and up to 1 TB 2.5” HDD per bay (2 TB total). • Features RAID 0, RAID 1, JBOD, and Normal disk modes, giving you the flexibility to access your data in whatever way works best for you. • Supports USB 3.0 data transfer rates up to 5 Gbps. Backwards compatible with USB 2.0 and 1.1. • Compatible with SATA I, II and III hard drives. • Built-in cooling fan keeps drives from overheating during prolonged use. • Plug and play; no software or drivers required. System Requirements: • (x2) 2.5” or 3.5” SATA Hard Drive • Computer with an available USB port. A USB 3.0 port is required to achieve maximum speeds. • Compatible with Windows , Mac, and Linux ®... -
Page 3: Raid Mode
RAID Mode The enclosure can be set to function in one of four modes; Normal, JBOD, RAID 0, and RAID 1, giving you the flexibility to access your data in whatever way works best for you. The available modes are described below, with their corresponding dip switch setting displayed on the left side of the image. Normal Mode – This mode treats both hard drives as separate disks, allowing them to be accessed independently of each other. Your computer will recognize them as if they were flash drives being plugged into separate USB ports, not changing them in any way. 2 Disk Volume 2 Disk Volume SATA1 1000G SATA2 750G SATA1 1000G SATA2 750G JBOD Mode – This mode combines the two hard drives into one large drive for the purpose of increased storage space. Data is stored on one drive at a time, so when the first one is full, the next one begins to be used. The computer’s operating system will recognize them as a single drive. -
Page 4: Setting The Raid Mode
RAID Mode RAID 1 Mode – This mode creates two mirror disk drives for the purpose of data redundancy. If one drive fails, the other drive serves as a back-up. When using this mode, it is recommended that you use hard drives with the same capacities. If hard drives of different capacities are used, the storage capacity will be limited to that of the smaller drive, with the remaining space on the larger drive going unused. Note: In RAID1 mode, if one of the drives fails, the Red LED to the right of the hard drive tray will blink. Replacing the drive will cause the enclosure to automatically enter rebuild mode, in which the Red LED will continue to blink to indicate that the RAID1 array is being rebuilt. -
Page 5: Installation Instructions
Setting the RAID Mode When Powered Off: 1. Install the hard drives in the enclosure according to the installation instructions in this manual, but do not power on the unit. 2. By default, the dip switches on the back of the unit are both set to the OFF (Up) position, which will display the hard drives in Normal mode. 3. Set the dip switches on the back of the unit according to the desired mode. See the RAID Mode section in this manual for each mode’s dip switch configuration. Note: When changing from RAID 1 mode to another mode, you must first switch to RAID 0 mode. Once set to RAID 0 mode, you can change to any other mode. 4. After setting the dip switches accordingly, power on the unit. -
Page 6: Warranty & Warranty Registration
Use of this equipment in life support applications where failure of this equipment can reasonably be expected to cause the failure of the life support equipment or to significantly affect its safety or effectiveness is not recommended. Do not use this equipment in the presence of a flammable anesthetic mixture with air, oxygen or nitrous oxide. WARRANTY REGISTRATION Visit www.tripplite.com/warranty today to register the warranty for your new Tripp Lite product. You’ll be automatically entered into a drawing for a chance to win a FREE Tripp Lite product!* * No purchase necessary. Void where prohibited. Some restrictions apply. See website for details. Tripp Lite follows a policy of continuous improvement. Product specifications are subject to change without notice. FCC Notice, Class B This device complies with part 15 of the FCC Rules. Operation is subject to the following two conditions: (1) This device may not cause harmful interference, and (2) this device must accept any interference received, including interference that may cause undesired operation. - Page 7 Notes 13-10-121-9332DF.indd 7 10/25/2013 2:43:04 PM...
- Page 8 1111 W. 35th Street, Chicago, IL 60609 USA • www.tripplite.com/support 13-10-121 • 93-32DF_revA 13-10-121-9332DF.indd 8 10/25/2013 2:43:04 PM...
Need help?
Do you have a question about the U357-002 and is the answer not in the manual?
Questions and answers