
Related Manuals for ZMODO H.264


Summary of Contents for ZMODO H.264
-
Page 1: User Manual
H.264 Standalone DVR 16 CH User Manual DVR User Manual For further help, please visit kb.zmodo.com... -
Page 2: Table Of Contents
16-Channel H.264 DVR User Manual Chapter 1: Overview ..................1 1.1 Introduction ..................1 1.2 Packaging and Accessories ............1 1.3 Main Features ................. 1 1.5 Product Appearance and Interface Definition ......... 3 1.5.1 Front Panel ................3 1.5.2 Back Panel ................3 1.5.3 Setup Diagram .............. - Page 3 16-Channel H.264 DVR User Manual 3.6.2 Time setup ................ 15 3.6.3 User Password ..............16 3.6.4 Cameras ................16 3.6.5 Video / Audio ..............17 3.7 : Advanced ................... 18 3.7.1 Alarm ................. 18 3.7.2 System Info ............... 19 3.7.3 Motion Detection ............... 20 3.7.4 Mobile Phone Monitoring ..........
- Page 4 This device may be returned for a refund from the seller within 30 days. Outside the return policy and within 90 days of the purchase a defective device will qualify for a replacement at the discretion of Zmodo. This device otherwise comes with a 1 year limited parts and labor warranty.
-
Page 5: Chapter 1: Overview
16-Channel H.264 DVR User Manual Chapter 1: Overview 1.1 Introduction This SFN Series DVR is 16-channel standalone digital video record that uses H.264 video compression for playback main profile with multiplex functions: record, playback, live preview, remote preview, and backup supported. -
Page 6: Technical Parameters
16-Channel H.264 DVR User Manual 1.4 Technical Parameters Features Description Operating System Embedded LINUX Video Compression H.264 Video Input / Output 16channel BNC 1 VGA Audio Input / Output 2/1 channel BNC Alarm Input / Output 8 channel input 1 channel output (switch) -
Page 7: Product Appearance And Interface Definition
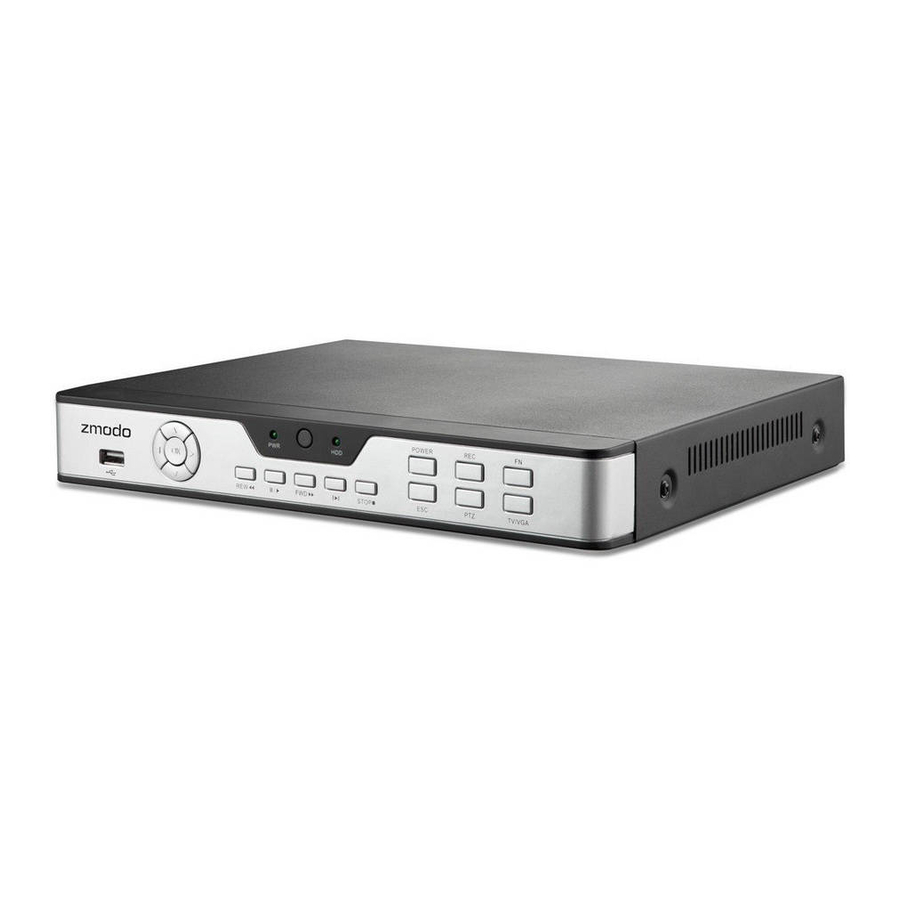
16-Channel H.264 DVR User Manual 1.5 Product Appearance and Interface Definitions 1.5.1 Front Panel 9 10 Definition Definition Definition Power Switch Mute PTZ Control Rewind Video Search Exit/Return Display: Display Mode Play ALARM: Alarm Indicator Menu: Main Menu ALARM: Network... -
Page 8: Setup Diagram
16-Channel H.264 DVR User Manual 1.5.3 Setup Diagram Functional definition 1.6 Remote controller Not Used For reference only Mute 0~10 Channel Selection; Number Keys PTZ Control Single and Multi-Split Screen Quit Shortcut Menu Shortcut Menu Direction Buttons OK or 10+x Channel(x=1-6) -
Page 9: Mouse
16-Channel H.264 DVR User Manual 1.7 Mouse This equipment supports a wired USB mouse that is used to navigate the DVR’s menus. Insert the USB plug directly into the USB port. Mouse operation is similar to WINDOWS operations. Mouse Function Action Enter System Main Menu. -
Page 10: Chapter 2: Quick Installation
16-Channel H.264 DVR User Manual Chapter 2: Quick Installation 2.1 HDD Installation The manufacturer recommends that the hard disk be installed by a technician t o avoid damage to the equipment and hard disk. The DVR must be powered off before installation. -
Page 11: Shortcut Menu
16-channel H.264 DVR User Manual 2.4 Shortcut Menu Click the right button on the DVR interface or right-click on the mouse after system startup to open the Quick Operations popup menu. This menu has the following setting options: MAIN MENU, KEYLOCK, CHANNEL SWITCH, VIDEO SEARCH, START SEQUENCE, START CRUISE, PTZ CONTROL, MUTE, MANUAL RECORD, STOP RECORD and PIP MODE. -
Page 12: Mute
16-channel H.264 DVR User Manual PTZ speed (fast or slow) can be controlled in this interface. Zoom, focus, and aperture are also adjustable in this menu. Cruise Setting: Select the PTZ channel. Set the pause time(s). Adjust the arrow keys to the position which needs to be monitored. -
Page 13: Pip
16-channel H.264 DVR User Manual 2.4.11 PIP In the single-channel full-screen mode, PIP enables floating images of other channels. Chapter 3: Menu Settings 3.1 Main menu The main menu has PLAYBACK, RECORD, HDD, BASIC, ADVANCED, and EXIT options as shown below: Notes: The setup of all the submenus below will not take effect until ENTER is pressed.. -
Page 14: Recording Mode
16-channel H.264 DVR User Manual 3.2 Recording Mode Enter the “Recording Mode” screen from MAIN MENU—RECORD, as shown below: Video Channel: Select either a specific channel or all channels. Resolution: CIF (352 x 288). Quality: Available in BEST, FINE, and Normal. -
Page 15: Video Search
16-channel H.264 DVR User Manual 3.3 Video search Enter the “Video Search” screen from SUB MENU →VIDEO SEARCH or MAIN MENU→PLAYBACK as shown below: This unit supports 3 video search modes: A. Time Based Playback Time input: First, select the corresponding channel and then adjust the date and time to be searched. -
Page 16: Backup
16-channel H.264 DVR User Manual Notes: In file list the user will be given information pertaining to the channel, time frame of the recording, size of the individual file, and the recording type. The operation of backing up files to the USB port can be performed by checking the BACKUP checkbox at the far right side of the file. -
Page 17: Hard Disk Management
16-channel H.264 DVR User Manual 3.5 Hard Disk Management Enter the “ HDD Management” screen from MAIN MENU →HDD, as shown below: STATUS: After connecting the hard disk, the system will automatically detect if the hard disk is formatted. If the hard disk needs formatting, UNFORMATTED will be displayed in the hard disk state. -
Page 18: System Language
16-channel H.264 DVR User Manual The “Basic Setup” includes the 6 options of LANGUAGE, DATE/TIME, PASSWORD, CAMERAS, VIDEO/AUDIO SETUP, and EXIT. 3.6.1 System Language Move the cursor to the LANGUAGE option (The icon is enlarged and highlighted to indicate selection.), and press ENTER to enter the “Setup” screen of this option, as shown below: The system supports 15 languages. -
Page 19: User Password
This unit has no initial password. When the user sets passwords, it is recommended that the two passwords are set up at the same time. If any set password is forgotten (or both are set to the same), please, contact Zmodo. Zmodo will not reset a password without proof of ownership. -
Page 20: Cameras
CAMERA SYSTEM: Left-click or press Enter to change over between PAL and NTSC. (All Zmodo Cameras sold in the US are NTSC). Volume setup: Move the cursor to Volume Setup, left-click or press Enter to enter the Volume “Setup” screen, and press Left, Right or drag the cursor with the mouse directly to adjust the volume. -
Page 21: Advanced
16-channel H.264 DVR User Manual 3.7 Advanced Enter the following screen from MAIN MENU →ADVANCED: The advanced functions include the seven options of ALARM, SYSTEM INFORMATION, MOTION DETECTION, MOBILE PHONE SETTINGS, SYSTEM MAINTENANCE, PTZ SETUP, and NETWORK SETUP. 3.7.1 Alarm Move the cursor to the ALARM option, (The icon is surrounded by a yellow frame to indicate selection.) and press Enter to enter the “Setup”... -
Page 22: System Info
SMTP PORT: The port used by the SMTP server that some e-mail services employ. SMTP: The server address of the mailbox used. All information must be obtained from the e-mail service provider. Zmodo is not responsible for the performance and upkeep of mail servers. -
Page 23: Motion Detection
16-channel H.264 DVR User Manual 3.7.3 Motion Detection Enter the “Motion Detection” screen from MAIN MENU →ADVANCED, as shown below: MD CHANNEL and STATUS: Each channel has an independent status. Press Enter to select motion detection On or Off. SENSITIVITY: Each channel has a corresponding sensitivity setting, with the four levels of 1, 2, 3 and 4, where 4 the is the most sensitive. -
Page 24: Mobile Phone Monitoring
16-channel H.264 DVR User Manual 3.7.4 Mobile Phone Monitoring The mobile phone monitoring function of this series DVR is supported by mobile phones of the Android and iOS operating system. Mobile Phone Settings: Enter the following screen from MAIN MENU →ADVANCED FUNCTIONS →MOBILE: Mobile Username: The username that will be entered on the smart-phone when connecting to the DVR. -
Page 25: Network Setup
16-channel H.264 DVR User Manual 3.7.6 PTZ Enter the “PTZ” screen from MAIN MENU →ADVANCED, as shown below: CHANNEL: Displays the channel for the PTZ settings that will be adjusted. PROTOCOL: Select the protocol of the corresponding brand and model. Pelco-D and Pelco-P are supported with Pelco-D being the default. - Page 26 DDNS Setup Click DDNS SETUP to enter the following screen: DDNS: When a domain name resolution server is available, please select DDNS ON SERVICE: The user may select their desired DNS service. Zmodo’s hosted DNS...
-
Page 27: Chapter 4: Dvr Network
16-channel H.264 DVR User Manual service is available free for use with all Zmodo DVRs. Please visit http://www.zmododns.com/ for our free DNS service. Host name: Enter the host name registered with the selected DNS service. User name: Enter the user name registered with the DNS account created with the specified DNS service. -
Page 28: Record Playback
The progress bar will display above the video control keys place of the playback timeline. (See section 4.10 for the Save Directory). After downloading a file, the user may use the h.264>AVI button to convert the downloaded file into something that can be played back in most standard media players. - Page 29 Shown to the right is the .264 to AVI conversion window. Click the … on the Source File line to select the desired file to convert. Then select the … on the Destination File line to select a location to save it. Finally, press the H.264 -> AVI button to convert the file.
-
Page 30: Recording Mode
16-channel H.264 DVR User Manual 4.6 Recording Mode Click SETUP →RECORD to enter the remote recording mode, as shown below: The setup method is the same as seen directly on the DVR’s monitor. See Recording Mode in Chapter 3 for details. -
Page 31: Network Setup
16-channel H.264 DVR User Manual The setup method is the same as seen directly on the DVR’s monitor. See Chapter 3 Network Setup in this manual for the setup method. 4.9 Network Setup Click SETUP →NETWORK SETUP to enter the “Network Setup” screen, as shown below: See Chapter 3 Network Setup in this manual for the setup method and explanation of ports and addresses. -
Page 32: System Setup
16-channel H.264 DVR User Manual 4.10 System Setup Click SETUP →SETTING to enter the “Settings” screen, as shown below: INTERNET: Here you may set the bandwidth that the video stream will use. The higher you set the bandwidth, the clearer the image will be. Setting the bandwidth higher than the resources available for the DVR will still result in lower video quality in addition to video lag. -
Page 33: Appendix A: Android Setup
Appendix A: Android Setup Figure 1 Figure 2 Figure 3 Figure 4 Connecting to a Device Playing Video From the main interface, tap the settings gear 1. From the main page, tap any blank in the bottom left corner to enter the device list. window and you will see an orange (Fig1) highlight around the perimeter of the... -
Page 34: Appendix B: Ios Setup
Appendix B: iOS Setup Figure 1 Figure 2 Figure 3 Figure 4 Device Management: Connecting to a Device From the home screen (Fig1) press the From the home screen (Fig1) select 1 of the 4 settings arrow in the bottom left and select windows so that an orange highlight is around “Device Manage”... -
Page 35: Appendix C: Faq
Appendix C: Q&A How do I recover a forgotten password?? A: Please contact Zmodo Tech Support if you have forgotten the password. Please set a password you will remember, or write the password down and keep it with the DVR. - Page 36 16-channel H.264 DVR User Manual Why won’t my mouse or remote, or the buttons on the front of the DVR control anything?? A: The DVR has 2 video outputs, but it can only output the menu system and control functions to one at a time. If you press and hold the rewind button on the front of the DVR it will alternate which output is actively showing the menu and should allow you to regain control of the DVR.
- Page 37 A: Please exit all menus on the DVR and close all connections from computers and mobile devices. Log back in on only 1 device. If the error persists restart the DVR. Visit our online knowledge base at kb.zmodo.com for more answers to common questions.
- Page 38 16-channel H.264 DVR User Manual...
- Page 39 16-channel H.264 DVR User Manual Your Security · Our Priority Zmodo encourages the customer to use a qualified installer for installation. The installer should take full responsibility of installing the equipment properly and safely.