Table of Contents
Advertisement
Advertisement
Table of Contents

Subscribe to Our Youtube Channel
Related Manuals for Apex Digital LDP706


Summary of Contents for Apex Digital LDP706
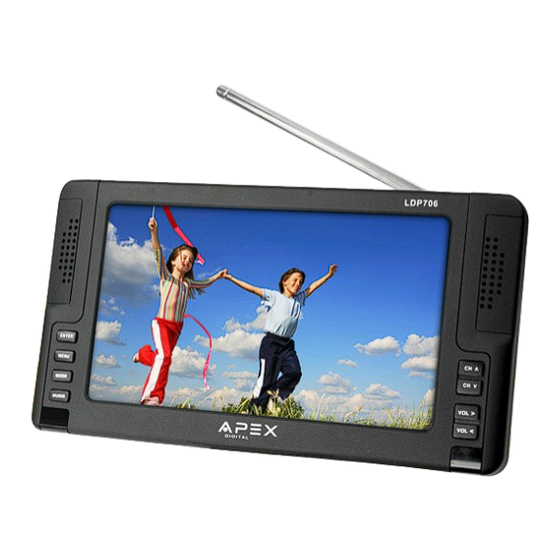
- Page 1 LDP706 7” Digital LCD TV User’s Manual...
-
Page 2: Safety Precautions, Instructions
To ensure proper use of this product, please read this user manual carefully and retain for future reference. Should the unit require maintenance, contact an authorized service location or contact Apex Digital directly. Only qualified service personnel should remove the cover. FCC Notice: This equipment has been tested and found to comply with the limits for a Class B digital device pursuant to the Part 15 of FCC Rules. - Page 3 Do not use attachments not recommended by Apex Digital as they may be hazardous to the unit. Water and moisture – do not use this product near water or expose to dripping and or splashing. Objects filled with liquid such as a vase should not be placed near the unit.
-
Page 4: Table Of Contents
Table of Contents Safety Precautions, Instructions ................Table of Contents....................... Introduction / What’s in the Box................Initial Setup / Battery Installation & Charging............Remote Control Installation..................Remote Control Overview..................TV Function Overview (Front & Side Controls)............Picture Menu (Picture Contrast, Brightness, Tint, Color, Mode, Battery Level)..TV Menu (TV Source, Channel Scan, Guide, Favorite List) ........ -
Page 5: Introduction / What's In The Box
DVD player or video camera. The rechargeable battery pack offers up to 2.5 hours of continuous power and its quick release makes it easy to swap out with another (optional) battery to double your viewing time. The LDP706 includes an external RF antenna input to connect the enclosed telescoping antenna or other external antenna/cable. -
Page 6: Initial Setup / Battery Installation & Charging
The battery takes about 3 hours to fully charge and under normal conditions will function for up to 2.5 hours. The LDP706 features a quick release battery latch that makes it easy to detach the battery pack. To open, using finger pressure slide the spring-loaded tab and the battery will release out of its compartment. -
Page 7: Remote Control Installation
Remote Control Installation Battery Installation Your remote control handset is pow- ered by two (2) AAA type batteries To insert batteries, turn the remote control over and remove the battery cover. Place two AAA batteries into the com- partment with correct polarity. Replace the battery cover. -
Page 8: Remote Control Overview
Remote Control Overview – Press to power off the television. To power the television on, press the POWER button on the television unit (see page 8). GUIDE – Display daily television schedule for the channel viewed (if available). Sound is muted while displayed. -
Page 9: Tv Function Overview (Front & Side Controls)
16. INPUT *YELLOW – Use an A/V cable to connect an external device (ie. DVD Player) See pg.14 OUTPUT *YELLOW – While in TV mode connect an AV cable to output LDP706 content on to an external video display. See pg.14 17. -
Page 10: Picture Menu (Picture Contrast, Brightness, Tint, Color, Mode, Battery Level)
Picture Menu Overview The PICTURE menu offers display options to enhance and refine the picture displayed on your How to Navigate: Press the MENU button to highlight PICTURE, then press the down arrow button to highlight your preferences. • Use the down arrow button to highlight Contrast. -
Page 11: Tv Menu (Tv Source, Channel Scan, Guide, Favorite List)
TV Menu Overview The TV menu provides user preferences for your television to receive TV channels, display closed captions, parental controls and store your favorite channels. How to Navigate: Press the MENU button then the right arrow button to highlight TV; Press the down arrow button to highlight your preferences. -
Page 12: Closed Captions
TV Menu Overview cont’d Closed Caption Find adjustments to enable the Closed Caption feature and customize CCD display types and font styles. How to Navigate: Press the MENU button then the right arrow button to highlight TV. Use the down arrow button to select Closed Caption. -
Page 13: Parental Controls
TV Menu Overview cont’d Parental Controls Parental controls allow you to dictate what children may or not view. The technology that blocks the display of programming based upon its rating is called V-Chip. The V-chip reads information encoded in the rated TV program and blocks programs based on the setting made here in the Setup menu. -
Page 14: Setup Menu (Menu Language, Sleep Timer, Time Zone, Factory Reset)
Setup Menu Overview The SETUP menu provides user preferences for the on-screen menu language, Sleep Timer to shut off the television automatically and Time Zone so local time can be established. How to Navigate: Press the MENU button then the right arrow button to highlight SETUP;... -
Page 15: Connecting An External Video Device
EXTERNAL VIDEO DEVICE AV OUTPUT View TV programming originating from the LDP706 tuner to an external video display. Connect the supplied A/V cable from the 3.5 mm AV input/output jack on the LDP 706 to AV inputs on the display. Select the appropriate input on your external display to view. -
Page 16: Troubleshooting Guide
Troubleshooting Guide Symptom Possible Solution Cannot receive • Signal from the TV station may not be strong enough in your area certain channels • Readjust the antenna or relocate to another area • Rescan in a more favorable area with less interference •... -
Page 17: Index
Index AC power plug 5 Languages 13 Air / Cable 10 LCD Display Off 8 Antenna installation 5 LED Light 8 Arrow buttons 7 Menu 7-13 AV Input / Output 7, 8, 13, 14 MTS 7 Mute 7 Movie Ratings 12 Battery Indicator 7-9 Mode 7-9 Battery Installation 5,6,8... -
Page 18: Specifications
Specifications Screen Size: 7” diagonal (6.8” viewable) Resolution: 480X 234 Aspect Ratio: 16 x 9 Luminance: 350cd/m2 Contrast Ratio: 400:1 Response Time: 5ms Audio Output: 1.5W x 2 Continuous Battery Playback: up to 2.5 hours Battery Charging Time: 3 hours Interchangeable Battery: Yes AV Input / Output (3.5mm): Yes RF In: Telescoping Antenna... -
Page 19: Warranty
Limited One (1) Year Warranty on Parts Apex Digital warrants the parts in this product against defects in material or workmanship for a period of one (1) year from the date of original purchase. During this period, Apex Digital will replace a defective part with a new or refurbished part without charge to you. - Page 20 1091409...
Need help?
Do you have a question about the LDP706 and is the answer not in the manual?
Questions and answers