Advertisement
Advertisement
Table of Contents

Subscribe to Our Youtube Channel
Related Manuals for Apex Digital AVL2776


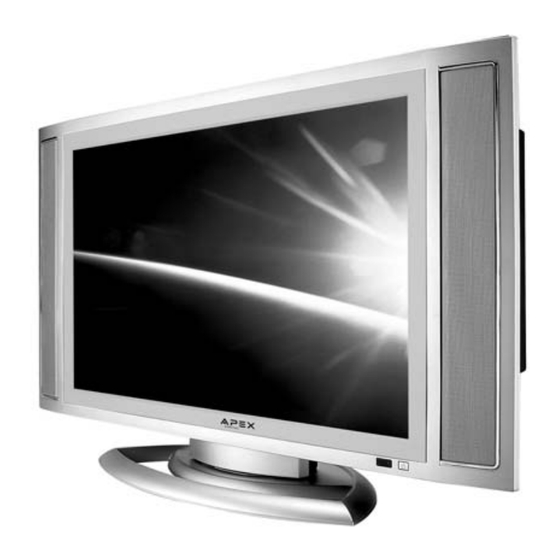
Summary of Contents for Apex Digital AVL2776
-
Page 2: Warning
WARNING: TO REDUCE THE RISK OF ELECTRIC SHOCK DO NOT REMOVE COVER (OR BACK). NO USER SER- VICEABLE PARTS INSIDE. REFER TO QUALIFIED PERSONNEL. The lighting flash with arrowhead symbol, within an equilateral triangle, is intended to alert the user to the presence of uninsulated “dangerous voltage”... - Page 3 Important safeguards for you and your new product Your product has been manufactured and tested with your safety in mind. However, improper use can result in potential electrical shock or fire hazards. To avoid defeating the safeguards that have been built into your new product, please read and observe the following safety points when installing and using your new product, and save them for future ref- erence.
- Page 4 11. Power Sources This product should be operated only from the type of power source indicated on the marking label. If you are not sure of the type of power supply to your home, consult your product dealer or local power company. For products intended to oper- ate from battery power, or other sources, refer to the operating instructions.
-
Page 5: Safety Instruction
20. Damage Requiring Service Unplug this product from the wall outlet and refer servicing to qualified service personnel under the following conditions: a. If the power-supply cord or plug is damaged. b. If liquid has been spilled, or objects have fallen into the product. -
Page 6: Table Of Contents
Warning Safety Instruction Remote control handset Controls Battery installation Controls of Front & Top panel Connections of Back panel Connection to External equipment Menu Adjustments TV Mode S-Video / AV Mode Component (YPbPr1, YPbPr2) Mode DVI Mode VGA Mode TV Menu Closed Caption V-Chip Change Password... -
Page 7: Remote Control Handset
- All functions can be controlled using the remote control handset. - Some functions can also be adjusted with the buttons on the top panel of the set POWER To turn on LCD display. MUTE Press the button to turn off the sound. Press again or press volume +/- to restore the original volume. - Page 8 Your remote control handset is powered by two AAA type batteries. To insert batteries, turn the remote control over and remove the battery cover. To avoid damage from possible battery leakage, remove the batteries if you do not plan to use the remote control handset for an extended period of time.
-
Page 9: Main Power
1. MAIN POWER Turn on/off HDTV monitor. Press the power button in the lower right corner of the television to turn on/off HDTV monitor. When power is on, the LED indicator turns green, then the screen image will appear in a few seconds. When power is off, the LED indicator turns red. - Page 10 Power Input Supply power for LCD TV display. PC RGB Input (analog) Inputs RGB analog signals; can be used with personal computers or certain older HDTV set-top boxes. PC DVI Input (digital) Input digital signals from an HDTV Source. RS232 (Reserved for Service Technician) PC &...
- Page 11 You can connect external video equipment, such as VCRs, camcorders etc. to your set. However please check with your manufacturers instruction booklets for specific information. Make sure that all appliances are unplugged before all con- nections are made. The diagrams shown may be different from your set. Connecting Video Equipment by using the RF Connector 1.
-
Page 12: External Equipment
For Good Performance Connecting the Video Equipment to Composite Video (Video) or S-Video - Connect to equipment using optional video and audio cables. - When connecting the set to external equipment, match the colors of connecting ports (Video - yellow, Audio (L) - white, Audio (R) -red). - Page 13 Connecting the Video Equipment to PC RGB Input (Digital SET-TOP-BOX, Personal Computer...etc.) - Connect to equipment using optional video and audio cables. - To watch digitally broadcast programs, you must use a digital cable set-top box or satellite receiver. How to connect 1.
- Page 14 Video Signal Resolution MODE Resolution H/V Frequency 704x480 15 kHz, 60/50 Hz 480i 720x480 15 kHz, 50/60 Hz 704x480 31 kHz, 60 Hz 480p 720x480 31 kHz, 60 Hz 720p 1280x720 33.75 kHz, 60 Hz 1080i 1920x1080 33.75 kHz, 60 Hz Aspect Ratio Remarks 858x525...
-
Page 15: Menu Adjustments
Menu adjustments are available to change the settings of your LCD TV to your preferences. Over the next few pages you will be shown how to adjust all available input sources. Press the TV button on the remote. Use Once you’ve selected your desired menu, you may then use the 1 : T V 2 : O F F V G A... - Page 16 Press the S-Video or AV button on the remote. Use Once you’ve selected your desired menu, you may then use the 1 : S - Vi d e o 2 : O F F V G A D V I Y P b P r 1 Y P b P r 2 D I S P L AY...
- Page 17 Press the Component (YPbPr1, or YPbPr2) button on the remote. Use menu. Once you’ve selected your desired menu, you may then use the 1 : Y P b P r 1 1 : Y P b P r 2 2 : O F F T V AV S V 2 : O F F T V AV S V...
- Page 18 Press the DVI button on the remote then MENU button. Use Once you’ve selected your desired menu, you may then use the 1 : D V I 2 : O F F T V AV S V D I S P L AY C O N T R A S T B R I G H T N E S S R E S E T <...
- Page 19 Press the VGA button on the remote for the input source when used as a PC Monitor and then use button to select each sub menu. Once you’ve selected your desired menu, you may then use the 1 : V G A 2 : O F F T V AV S V A U TO...
- Page 20 O F F C C D V- CH IP C H A N G E PA S S W O R D C H S C A N C A B L E CATV/AIR C H A D D / D E L Descriptions Use this to activate the subtitle and teletext function.
- Page 21 To Activate PIP PIP Mode While your main signal is on, press PIP on the Your LCD TV can display the main signal and an remote control. auxillary signal input simultaneously. The PIP signal appears in a small box within the As an example, we will use TV as your main screen when the PIP feature’s activated.
- Page 22 RGB Mode MODE Resolution 640x350 720x400 640x480 SVGA 800x600 (Synchronization input form: separate) Note: a. If the set is cold, there may be a small “flicker” when the set is switched on. This is normal, there is nothing wrong with the set. b.
-
Page 23: Dvi Mode
DVI Mode Horizontal MODE Resolution Frequency (KHz) 31.468 640x350 37.861 31.469 640x400 37.927 31.469 37.861 37.500 640x480 43.269 35.156 37.879 48.077 SVGA 800x600 48.875 53.674 (Synchronization input form: separate) c. Some dot defects may appear on the screen, like Green or Blue spots. However, this will have no impact or effect on the monitor performance. - Page 24 We encourage you to visit our website at www.apexdigitalinc.com and review the customer support and FAQ’s page for updates to this list. You may register to activate your warranty at our website and order accessories for your product. Problems No picture Abnormal colors Twisted picture Picture too dark...
- Page 25 Problems Cannot receive certain channels through antenna No color Video noise or choppy picture TV blocked at certain channels Overlapping images or ghost image Cannot use the functions No sound Black box on screen Possible solutions Use the automatic scanning function to add the chan- nels not included in memory.
- Page 26 Display panel Signals Input / out Compatibility Audio Output Regulation Other 597.12(H) X 335.88(V)mm (diagonal 26.97 inches) Screen Size 16:9 WIDE Aspect Ratio 0.1555(H) X 0.4665(V)mm Pixel Pitch 1280(H) X 720(V) Number of Pixels 550cd/m (Typical) Luminance 600:1(Typical) Contrast 16ms Response Time Typical 170 Degree(Horizontal/Vertical) Viewing Angle...
-
Page 27: Troubleshooting
Apex Digital warrants the parts in this product against defects in material or workmanship for a period of one (1) year after date of original purchase with the exception of the remote control which is guaranteed for 90 days. During this period Apex Digital will replace a defective part with a new or refurbished part without charge to you. You are responsible to pay all labor charges involved in the part replacement including all packing, transportation and insurance charges for the set to the Service Center.
Need help?
Do you have a question about the AVL2776 and is the answer not in the manual?
Questions and answers