Table of Contents
Advertisement
Quick Links
Advertisement
Table of Contents

Summary of Contents for DeLonghi HCA
- Page 1 ELECTRIC HEATING CONVECTOR...
-
Page 2: Description Of Appliance
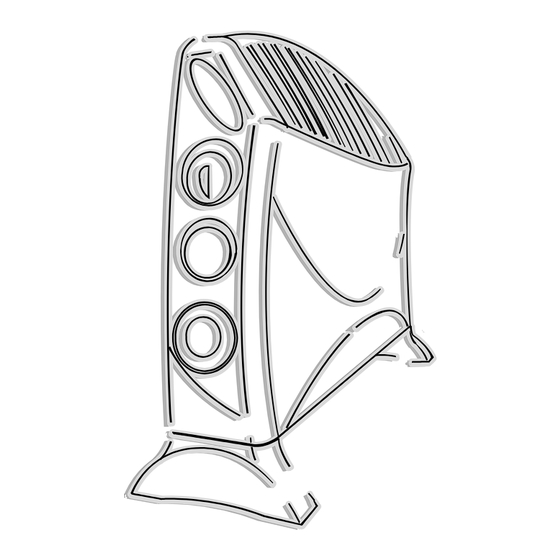
Description of Appliance The following terms are used throughout the instruction manual Power selector Knob Indicator lights Thermostat knob Timer Turbo fan switch Manual (Timer override) Timed Operation Heater off Electric Heating Convector HCA... -
Page 3: General Instructions
4. Fit the convector to the 2 brackets “A”. Insert Brackets “B” to the convector base and fix brackets “B” to the wall plugs by Fig.1 means of 2 x No 8 screws ( minimum lenght 25 mm). Electric Heating Convector HCA... -
Page 4: Adjusting The Thermostat
(see fig. 5). Fig.3 6. Maximum power example (fig.5) Display LEDs Selected Power Power used Cycles between Fig.4 Electric Heating Convector HCA... -
Page 5: Using The Timer
= Timed operation 0 = Heater off Fig.5 Setting the correct time Check the time on your watch. If for example it is 4.00 pm. (16.00), turn the dial in a clockwise direction until the number 16 Electric Heating Convector HCA... -
Page 6: Maintenance
- The heater must be positioned at least 50cm from furniture or other objects. - If the power cable is damaged, it must be replaced by the manu- facturer or an authorised technical service centre. Electric Heating Convector HCA... - Page 7 - As with any electrical appliance, whilst the instructions aim to cover as many eventualities as possible, caution and common sense should be applied when operating your appliance, particu- larly in the vicinity of young children. Electric Heating Convector HCA...
-
Page 8: Electrical Connection (U.k. Only)
Electrical connection (U.K. only) A) Your appliance comes fitted with a plug, it will incorporate a 13 Amp fuse. If it does not fit your socket, the plug should be cut off from the mains lead, and an appropriate plug fitted, as below. WARNING:Very carefully dispose of the cut off plug after removing the fuse: do not insert in a 13 Amp socket elsewhere in the house as this could cause a shock hazard. - Page 9 5713003700/ 07.02...


Need help?
Do you have a question about the HCA and is the answer not in the manual?
Questions and answers