DeLonghi HCX Series Instructions For Use Manual
Hide thumbs
Also See for HCX Series:
- Instructions for use manual (8 pages) ,
- Instructions for use manual (6 pages) ,
- Instructions for use manual (7 pages)
Advertisement
Advertisement
Table of Contents

Related Manuals for DeLonghi HCX Series


Summary of Contents for DeLonghi HCX Series
- Page 1 De’Longhi Appliances via Seitz, 47 31100 Treviso Italia www.delonghi.com...
- Page 2 HCX Series CONVECTOR Instructions for use...
-
Page 3: On/Stand-By Button
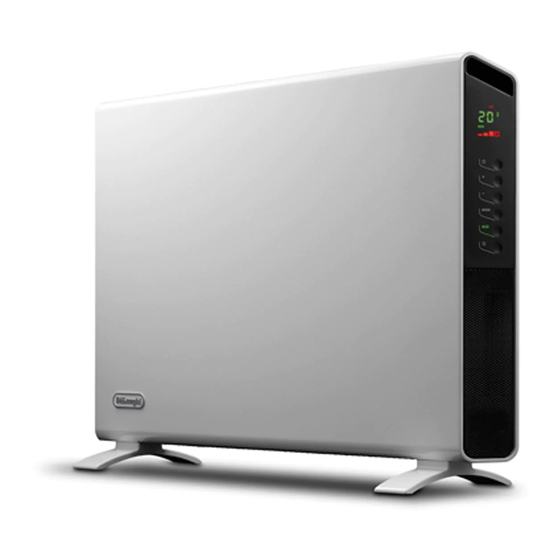
DESCRIPTION Fig. 2 Fig. 1 Fig. 3 Display Power indicator light ON/STAND-BY button +/- adjustment buttons MODE button (selects the operating mode) “ECO plus” button Timer button... -
Page 4: Important Warnings
circumstances cover the appliances IMPORTANT WARNINGS during operation, as this would lead to Safety warnings dangerous overheating. Important! - The appliance must not be located - To avoid risk of cable overheating, immediately below a fixed socket-outlet. extension leads must not be used in - When the heater is used with feet do powering this appliance. -
Page 5: General Instructions
to avoid obstruction to the air intake grille located under it. Disposing of the appliance Do not obstruct the hot air outlet grilles or the air intake In compliance with European directive 2002/96/EC, the grille on the bottom of the appliance. appliance must not be disposed of with household Position the appliance so that the plug and the outlet can waste, but taken to an authorised waste separation and... -
Page 6: Wall Mounting Installation
Electrical connection 4. Hang the appliance on the bracket. Before connecting the appliance to the current outlet, 5. Mark out the 2 lower fixing points. Remove the appliance, check that the voltage indicated on the appliance rating drill the lower holes and insert the wall anchors D. plate is the same as your electric plant and that it can stand 6. -
Page 7: Maintenance
Delayed stop: with the appliance on, press the timer button fan modes only. To activate the function, press the “ECO plus” button. . The symbol is displayed flashing together with the When this function is active the appliance automatically sets the hours left before the appliance goes on-standby. -
Page 8: Troubleshooting
TROUBLESHOOTING PROBLEM CAUSE SOLUTION The appliance doesn't work Be sure it is plugged in and that the electrical Plug into the power outlet outlet is working The temperature may be set too low Set the temperature higher The Key lock may be activated See the section "Key lock"... -
Page 9: Electrical Requirements
ELECTRICAL REQUIREMENTS A) If your appliance comes fitted with a plug, it will incorporate a 13 Amp fuse. If it does not fit your socket, the plug should be cut off from the mains lead and an appropriate plug fitted, as below. With alternative plugs not incorporating a fuse, the circuit must be protected by a 15 Amp fuse.
Need help?
Do you have a question about the HCX Series and is the answer not in the manual?
Questions and answers