Advertisement
Quick Links
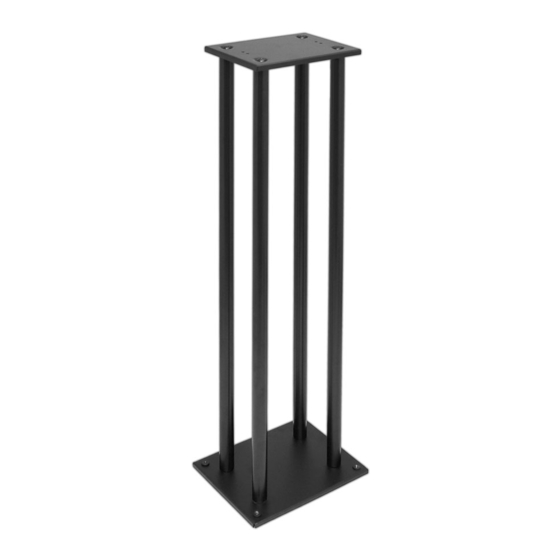
Thank you for purchasing the PSTND14. Use this pair of bookshelf speaker stand to keep your
speakers stable and secure. Heavy-duty steel construction looks great, conceals cables, and
optimizes the performance of your speaker by minimizing floor distortion. The columns can even be
sand-loaded to deaden resonance and increase stability. Adjustable spikes on bottom of stand
provide additional security. Maximum weight capacity: 75 lbs. Setup height: 38".
Your kit includes two (2) sets of the following items:
The following instructions are for the construction of one of your stands. To build the second stand,
simply follow the directions from the beginning again.
PSTND14
Heavy-Duty Steel Quad Support
Bookshelf / Monitor Speaker Stands
http://www.pyleaudio.com
1
1 x large base plate
1 x speaker plate
4 x steel columns
2 x sticky-backed pads
8 x long black screws
4 x silver spikes
4 x silver nuts
12 x black nuts
16 x plastic stoppers
1 x Allen wrench
Note: your package may
include a different
amount of black and
silver nuts. They are the
same size and
interchangeable.
Advertisement

Subscribe to Our Youtube Channel
Summary of Contents for Pyle PSTND14
- Page 1 Bookshelf / Monitor Speaker Stands http://www.pyleaudio.com Thank you for purchasing the PSTND14. Use this pair of bookshelf speaker stand to keep your speakers stable and secure. Heavy-duty steel construction looks great, conceals cables, and optimizes the performance of your speaker by minimizing floor distortion. The columns can even be sand-loaded to deaden resonance and increase stability.
- Page 2 1. Begin with the larger base plate. Insert four 3. Place a nut in the hex-holed plastic stopper (4) black screws through the underside of the and screw this whole structure each black plate. screw with the nut facing up, or away from the plate.
- Page 3 4. Now, fit the four (4) steel columns onto each 7. Repeat the stopper procedure for this plate; pole. line up two rubber stoppers with the hex side up, slide on the plastic stopper combo, and then loosely screw on a nut to hold into place. 5.
-
Page 4: Product Specifications
9. Again, tighten all the screws to secure the 11. From the bottom, screw each spike into the stand. four remaining holes. Note: Steps 10 and 11 are Congratulations! Your stand is complete. To optional. The pads will help build the other stand in your pair, simply repeat prevent your stand from these instructions from step 1.


Need help?
Do you have a question about the PSTND14 and is the answer not in the manual?
Questions and answers