Table of Contents
Advertisement
12
Month Warranty
All trademarks and design copyrights are held exclusively by Creedon Technologies UK
www.nix-digital.com
USER GUIDE
and Creedon Technologies USA LLC
Hu-Motion Digital Frame
With Motion Detection Sensor
Simple and Convenient!
High Resolution Backlit LCD
Plays Photos,Videos & Music
Photo Calendar
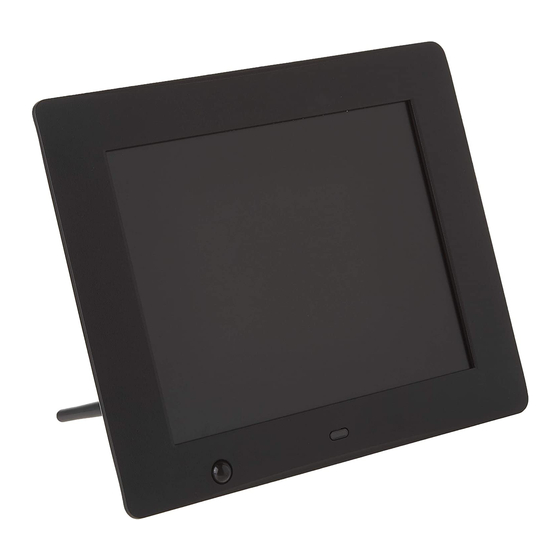
8" Digital Photo Frame by NIX
X08D Hu-Motion Frame
Advertisement
Table of Contents

Related Manuals for NIX Hu-Motion X08D


Summary of Contents for NIX Hu-Motion X08D
- Page 1 With Motion Detection Sensor Simple and Convenient! High Resolution Backlit LCD Plays Photos,Videos & Music Photo Calendar 8” Digital Photo Frame by NIX X08D Hu-Motion Frame Month Warranty USER GUIDE All trademarks and design copyrights are held exclusively by Creedon Technologies UK...
- Page 2 This frame comes with a full one-year Manufacturer's Warranty. You do not need to register your Warranty. In the event your frame requires any servicing, you just need to contact us via our website: www.nix-digital.com Please provide a copy of your original order information as proof of purchase.
-
Page 3: Features
Introduction: Congratulations on owning a NIX Digital Photo Frame. Please take some time to read this User Manual before getting started. If there is something you are not sure of, please refer to our website FAQ’s or contact one of our friendly team for advice via our website. -
Page 4: Table Of Contents
CONTENTS 1. Product Diagram ·········································································································· 4 1.1 Remote Control······································································································· 4 1.2 Back buttons & left side of frame············································································· 5 2. Installing & Replacing the Battery on the Remote Control············································ 5 3. Getting Started ············································································································· 5 4. Operating Instructions ·································································································· 6 4.1 Card and USB·········································································································... -
Page 5: Product Diagram
1. Product Diagram 1.1 Remote Control 1) POWER Switch On/Off 2) SLIDESHOW Starts a slideshow directly. 3) MUTE Mutes the sound. 4) EDIT – Allows you to delete and edit photos. Up Selection 6) RETURN Go back a step. Left Selection Right Selection Down Selection 10) SETUP... -
Page 6: Back Buttons & Left Side Of Frame
1.2 Back buttons & left side of frame 1. POWER 2. PREVIOUS/UP 3. PLAY/PAUSE/ENTER 4. VOL +/LEFT 5. VOL - /RIGHT 6. NEXT/DOWN 7. EDIT( Press and hold for 3s )/ RETURN( Short press ) Press and hold for 3s: VOL+/ VOL - . Short press: LEFT/RIGHT NOTE: 1. -
Page 7: Operating Instructions
4. Operating Instructions 4.1 Card and USB After turning on the unit, this interface will appear. Once you insert a card or USB device into the frame, a slideshow automatically starts. Press the RETURN button three times to get back to the Main Menu that will display what memory devices are inserted. -
Page 8: Music Mode
Auto-Rotation Simply rotate the frame 90 degrees anti-clockwise and your photos will automatically rotate,so you can view your vertical photos the correct way up. This only applies to single pictures. frame placed horizontally frame placed vertically Delete function In the thumbnail screen, use select the picture you want to delete , then press EDIT to enter the deletion interface. -
Page 9: Video Mode
to select the music you want to delete, then press EDIT to enter the next interface. Highlight ‘Delete File’, then press OK to confirm. 4.4 Video Mode From the Main Menu, choose Video, then press OK to enter the video interface. Now press to select the video from the playlist, then press OK to confirm. -
Page 10: File & Folder Management
5. File & Folder Management From the Main Menu, choose File, then press OK to access the file interface. You can browse all the files or folders on the memory device. To view just the contents of a folder, press OK, select any picture from the folder, then press OK again. -
Page 11: Setup & 'Hu-Motion' Setup
7. Setup Select Setup from the main menu, then press OK to access the setup interface. to select the item you want to set up. Press OK to activate the sub menu, select with , then press OK to confirm. Press RETURN to move back to the setup interface. -
Page 12: Technical Specifications
resuming the display that was on the screen before it switched off. Videos will restart themselves. If you do not want to use Motion Sensor feature, select it to ‘Off ‘. PLEASE NOTE: When you have highlighted and selected your desired time by pressing OK, you need to press EXIT on the Remote Control or MENU on the back of the frame twice. -
Page 13: Troubleshooting Guide
Technical Support via the website. No power: Press and hold the power button on the back of the frame for 3 seconds. If you suspect the power adapter might be faulty, email ‘support@nix-digital.com’ and we will provide a replacement. No power: Please check whether the battery has power. -
Page 14: Precautions And Maintenance
Cautions Precautions and maintenance For indoor use only. To avoid risk of fire or electric shock, do not expose the unit to moisture or condensation. To avoid overheating, do not block the ventilation holes on the back of the Digital Photo Frame. - Page 15 Contact us via our website or email: support@nix-digital.com NIX is a registered trademark of Creedon Technologies Ltd., UK and Creedon Technologies USA LLC This product is designed in London, UK and made in China.
Need help?
Do you have a question about the Hu-Motion X08D and is the answer not in the manual?
Questions and answers