Table of Contents
Advertisement
Advertisement
Table of Contents

Subscribe to Our Youtube Channel
Related Manuals for Grundig Sonoclock 51 SC 5301


Summary of Contents for Grundig Sonoclock 51 SC 5301
-
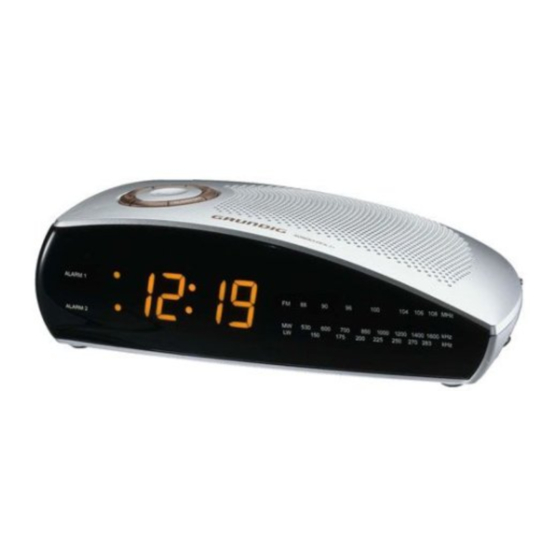
Page 1: Clock Radio
CLOCK RADIO Sonoclock 51 SC 5301... - Page 2 ___________________________________________________________________ Sicherheit/Informationen Einstellungen DEUTSCH Stromversorgung Betrieb Auf einen Blick Service Safety/Information Settings Power supply Operation ENGLISH Overview Service Sécurité/Informations Réglages FRANÇAIS Alimentation électrique Fonctionnement Vue d’ensemble Service après-vente Sicurezza/Informazioni Impostazioni Alimentazione elettrica Funzionamento ITALIANO In breve Service Segurança/Informações Regulações PORTUGUÊS Alimentação de corrente Funcionamento Vista geral...
-
Page 3: Dimensions And Weight
SAFETY/INFORMATION____________ ENGLISH Safety This device is designed for the playback of audio signals. Any other use is expressly prohibited. Protect the device from moisture (water drops or splashes). Do not place any vessels such as vases on the device. These may be knocked over and spill fluid on the electrical components, thus presenting a safety risk. -
Page 4: Mains Operation
POWER SUPPLY ___________________ Mains operation Note: Check that the mains voltage on the type plate (on the bottom of the device) corresponds to your local mains supply. If this is not the case, contact your specialist dealer. Plug the mains cable into the socket (230V~, 50 Hz). ALARM 1 104 106 108 MHz Note:... -
Page 5: Additional Information For Units Sold In The Uk
“E”, earth symbol “ ”, coloured green, or green & yel- low. Replacement mains lead sets can be obtained from your local dealer, or by contacting Grundig Consumer Relations (01788 570088) Moulded 3-pin lead set, suitable for UK use: Ref: Leadset UK 8290-991-224... - Page 6 OVERVIEW ________________________ ALARM ALARM DIMMER 1• 1+2 •2 ALARM 1 104 106 108 MHz ALARM 2 MW 530 600 700 850 1000 1200 1400 1600 kHz 175 200 225 250 270 283 Controls on the top Interrupts the alarm function. SNOOZE Dipslays the seconds.
-
Page 7: The Display
OVERVIEW ____________________________________ Switches the display between two brightness levels. DIMMER Sliding switch on the left side of the device. Headphone jack for connecting a headphone set with a jack plug (ø 3,5 mm), on the left side of the device. –... -
Page 8: Setting The Clock
SETTINGS __________________________ Setting the clock When you switch on the device for the first time, the time flashes in the dis- play to indicate that you must set the clock. The same applies if the device has been disconnected from the mains and no back-up battery is inserted. Press »TIME«... -
Page 9: Radio Operation
OPERATION _______________________ Switching on and off Press »RADIO ON« to switch on the device. Press »RADIO/ALARM OFF« to switch off the device. Radio operation For the best FM (VHF) reception, it is sufficient to direct the wire antenna accordingly. Tuning radio stations Select the required bandwidth with »BAND FM•MW•LW«... - Page 10 OPERATION ___________________________________ Displaying the alarm times Note: Depending on the setting – »ALARM 1« or »ALARM 2« – either alarm time 1 or alarm time 2 is displayed. Press »ALARM« and hold it down. – Display: the last alarm time set. Release »ALARM«...
-
Page 11: Timer Mode
OPERATION ___________________________________ Cancelling/activating alarm stand-by »ALARM 9 e Switch « (left side of the device) to » « stand-by to cancel the alarm function. • • – Display: The »ALARM 1 « and »ALARM 2 « LEDs stop glo- wing. –... -
Page 12: Grundig Service
Unser Kundenberatungszentrum steht Ihnen werktags Montags bis Freitags stets von 8.00 – 19.00 Uhr zur Verfügung. Haben Sie Fragen zur Umweltverträglichkeit unserer von 8.00 bis 19.00 Uhr Geräte, wenden Sie sich an die GRUNDIG Öko- Deutschland: 0180 / 530 21 22* Technologie, Österreich: 0800 / 700 600* Fax: 0911/703-9213. - Page 13 Grundig AG Beuthener Str. 41 • D-90471 Nürnberg • http://www.grundig.com 72011 402 4500 •...
Need help?
Do you have a question about the Sonoclock 51 SC 5301 and is the answer not in the manual?
Questions and answers