Table of Contents
Advertisement
Advertisement
Table of Contents

Related Manuals for Zanussi ZWG6141P


Summary of Contents for Zanussi ZWG6141P
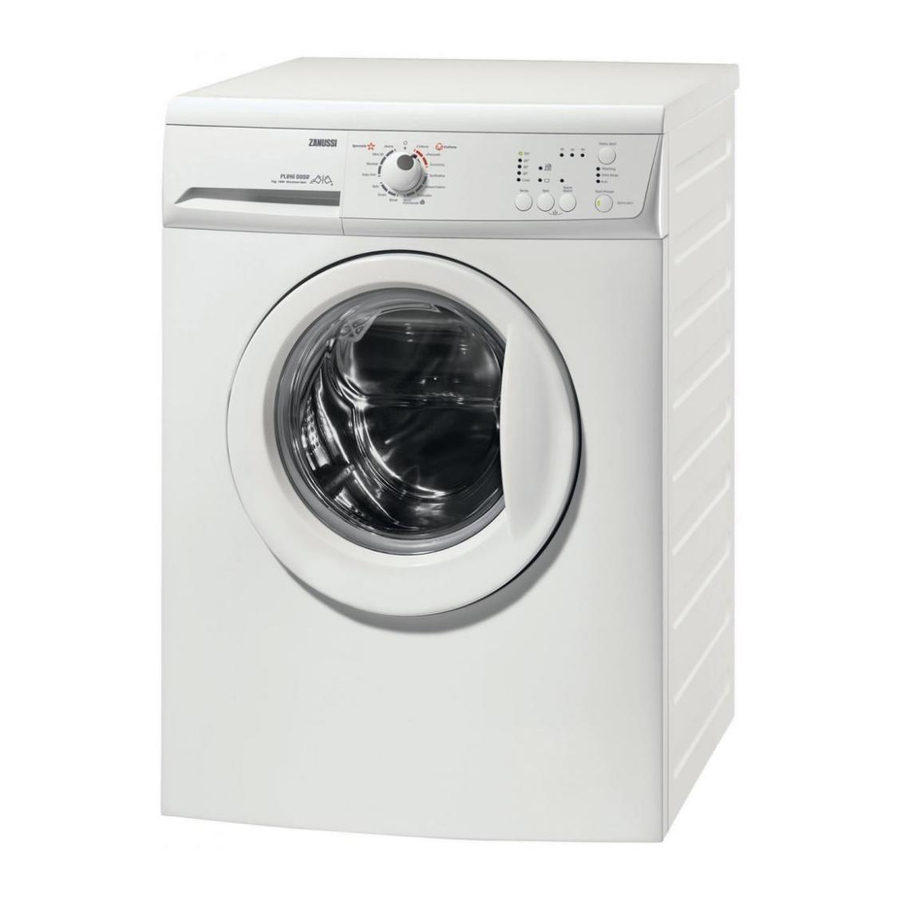
- Page 1 User manual Washing Machine ZWG 6141 P...
-
Page 2: Table Of Contents
Contents Safety information _ _ _ _ _ _ _ _ _ _ _ _ _ _ _ _ _ _ 2 First use _ _ _ _ _ _ _ _ _ _ _ _ _ _ _ _ _ _ _ _ _ _ 10 Frost precaution _ _ _ _ _ _ _ _ _ _ _ _ _ _ _ _ _ _ _ 4 Daily use _ _ _ _ _ _ _ _ _ _ _ _ _ _ _ _ _ _ _ _ _ 10 Environment concerns _ _ _ _ _ _ _ _ _ _ _ _ _ _ _ _ 4... - Page 3 not pressing the electrical supply cable against the • The detergent dispenser drawer is provided with an in- wall. sert for liquid detergent. Do not use the insert down- wards for gelatinous detergents, with programmes in- • Install the appliance on a flat hard floor. cluding prewash, with the delay start option.
-
Page 4: Frost Precaution
To activate this device, ro- To disable this device and tate the button (without restore the possibility of pressing it) inside the closing the door, rotate the door clockwise until the button anti-clockwise until groove is horizontal. If the groove is vertical. necessary use a coin. -
Page 5: Product Description
>PP<=polypropylene • The machine works more economically if it is fully loa- This means that they can be recycled by disposing of ded. them properly in appropriate collection containers. • With adequate pre-treatment, stains and limited soiling can be removed; the laundry can then be washed at a Ecological hints lower temperature. -
Page 6: Installation
Electrical connection Information on the electrical connection is given on the rating plate, on the Voltage - Overall power - Fuse inner edge of the appliance door. Water supply pressure Minimum 0,05 MPa Maximum 0,8 MPa Maximum Load Cotton 6 kg Spin Speed Maximum 1400 rpm... - Page 7 • Open the door and re- Warning! Do not re- move the plastic hose move the drain hose guide, the bag contain- from the rear support. Re- ing the instruction move this hose only if it is booklet and the plastic necessary to drain the wa- plug caps from the ter.
- Page 8 Positioning and levelling 35° 45° Loosen the ring nut to angle the hose to the left or right depending on the position of your water tap. Do not place the inlet hose downwards. After positioning the inlet hose, be sure to tighten the ring nut again to pre- vent leaks.
- Page 9 If your drain hose looks like this (see beside) you do not require the “U” piece”. Just push the hose firmly in to the standpipe. • Directly to a built-in drain pipe in the room wall. Push the drain hose onto the spigot and secure with a clip, ensure a loop is formed in the drain hose to pre- vent waste from the sink entering the appliance.
-
Page 10: First Use
In the interest of the environment Electrical connection The appliance should be connected to the FOUL drainage • The appliance must be earthed. system, the water will then be taken to a sewage works for • Make sure that the electrical information on the rating treatment before being discharged safely into a river. - Page 11 Before Loading The Laundry Ink: depending on the type of ink, moisten the fabric first with acetone , then with acetic acid; treat any residual Important! Make sure that marks on white fabrics with bleach and then rinse thor- no metal objects are left in oughly.
- Page 12 Although biodegradable, detergents contain substances Warning! If you wish to carry out the prewash, pour which, in large quantities, can upset the delicate balance the detergent among washing items into the drum. of nature. Warning! Depending on the type detergent you use The choice of detergent will depend on the type of fabric (powder of liquid), ensure that the flap, placed in the (delicates, woollens, cottons, etc.), the colour, washing...
- Page 13 Warning! Do not use the flap in "DOWN" position • Measure out the deter- with: gent. • Gelatinous detergent or thick detergent. • Pour the powder deter- • Powder detergent. gent into the main wash • With programmes with prewash. compartment •...
- Page 14 Programme selector dial Turn the programme selector dial to the required programme. The selector dial can be turned either clockwise or counter-clockwise. The green pilot light of the button 6 starts flashing: the appliance is now switched on. Specials Jeans Cottons Cottons If you turn the programme selector dial to another programme when...
- Page 15 Automatic Spin reduction and By selecting a programme, the appliance proposes automatically the maxi- Rinse Hold mum spin speed provided for that programme. By selecting Automatic Spin reduction ( ) the spin speed is reduced to a half, but not less than 400 rpm. The relevant light illuminates. Rinse Hold By selecting this function the water of the last rinse is not emptied out to prevent the fabrics from creasing.
-
Page 16: At End Of Programme
Important! The selected delay can be changed only after selecting the wash- ing programme again. The door will be locked throughout the delay time. If you need to open the door, you must set the appliance to PAUSE (by press- ing the button 6) and then wait a few minutes. -
Page 17: Washing Programmes
another wash, close the water tap. Leave the door open to Door seal prevent the formation of mildew and unpleasant smells. At the end of every cycle, Warning! If there are children or pets in the house, check from the door seal activate the child safety device in the inner side of and remove objects that the door frame (for more details read "... - Page 18 Programme - Maximum and Minimum Temperature - Cycle De- Detergent Com- scription - Maximum Spin Speed - Maximum Fabrics Load - Type Options partment of Laundry MIXED FABRICS Cold AUTOMATIC SPIN RE- Main wash - Rinses - Maximum spin speed at 1200 rpm DUCTION Max.
-
Page 19: Consumption Values
Programme - Maximum and Minimum Temperature - Cycle De- Detergent Com- scription - Maximum Spin Speed - Maximum Fabrics Load - Type Options partment of Laundry EASY IRON 60°- Cold AUTOMATIC SPIN RE- Main wash - Rinses - Maximum spin speed at 900 rpm DUCTION In order to obtain the best anti-creasing result, reduce the load of RINSE HOLD... -
Page 20: Care And Cleaning
Standard programmes for the Energy Label consumption in terms of combined energy and water consumption for values washing that type of cotton laundry. The cotton 60 °C economy and cotton 40 °C economy are They agree with EN60456. the standard cotton programmes for normally soiled cot- The actual water temperature may differ from the de- ton laundry. - Page 21 • turn the drum and align the filter cover (FILTER) with the arrow on the door seal; • open the filter cover by pressing the special hook and by rotating the cover upwards; Warning! Keep the filter cover open un- til the filter removal.
-
Page 22: What To Do If
• Screw the hose back onto the tap. Make sure the • Screw the hose back to the appliance and make sure connection is tight. the connection is tight. • Turn on the water tap. • Unscrew the hose from the appliance. - Page 23 The drain hose is squashed or kinked. • Check the drain hose connection. The drain filter is clogged • If the appliance stops working without discharging the water , first carry out an emergency drain: – Turn the programme selector dial to –...
- Page 24 Malfunction Possible cause / Solution The plug is not properly inserted in the power socket. • Insert the plug into the power socket. There is no power at the socket. • Please check your domestic electrical installation. The main fuse has blown. The appliance does not start: •...
- Page 25 Malfunction Possible cause / Solution The electronic unbalance detection device has cut in because the laundry is not even- ly distributed in the drum. The laundry is redistributed by reverse rotation of the drum. This may happen several times before the unbalance disappears and normal spinning can resume.
- Page 28 www.zanussi.com/shop...
Need help?
Do you have a question about the ZWG6141P and is the answer not in the manual?
Questions and answers