GE EGR2000 Owner's Manual And Installation Instructions
Xl44 self-cleaning gas ranges
Hide thumbs
Also See for EGR2000:
- Owner's manual & installation instructions (56 pages) ,
- Owners and installation manual (57 pages) ,
- Owner's manual & installation instructions (56 pages)
Table of Contents
Advertisement
Safety Instructions
. . . . . .2-5
Anti-tip Device . . .2, 3, 34, 42, 43
Operating Instructions, Tips
Aluminum Foil .5, 15, 20-22, 29
Clock and Timer . . . . . . . .10, 11
Baking . . . . . . . . . . . . . . .14-16
Broiling, Broiling
Guide . . . . . . . . . . . . . . . .22, 23
Control Settings . . . . . . .10, 11
Door Latch . .17, 20, 22, 25, 26
Light Bulb
Replacement . . . . . . . . . .12, 31
Preheating . . . . . . . . . . . . . . .15
Roasting, Roasting
Guide . . . . . . . . . . . . . . . .20, 21
Self-cleaning
Instructions . . . . . . . . . . .24-26
Shelves . . . . . . . . . . . .13-15, 24
Timed Baking . . . . . . . . .17, 18
Surface Cooking . . . . . . . . . .8-11
Control Settings . . . . . . .10, 11
. . .27-32
Broiler Pan and Grid . . . . . . . .30
Burner Assembly . . . . . . . .27, 28
Cooktop . . . . . . . . . . . . . . . . . . .29
Door Removal . . . . . . . . . . . . . .30
Lift-up Cooktop . . . . . . . . . . . .32
Oven Bottom . . . . . . . . . . . . . . .29
Oven Vents . . . . . . . . . . . . . . . .32
Self-cleaning
Instructions . . . . . . . . . . . . .24-26
Storage Drawer . . . . . . . . . . . . .31
Troubleshooting
Tips
. . . . . . . . . . . . . . . . . .46-48
Thermostat Adjustment -
Do It Yourself . . . . . . . . . . . . . .19
. . . . . . . . . .33-43
Air Adjustment . . . . . . . . . . . . .41
Flame Size . . . . . . . . . . . . . . .9, 40
Flooring under the Range . . .35
Installation Instructions . .33-43
Leveling . . . . . . . . . . . . . . . . . . .42
LP . . . . . . . . . . . . . . . . . . . . . . . .43
www.geappliances.com
GE Appliances
Consumer Services
Important Phone
Numbers . . . . . . . . . .Back Cover
Model and Serial Number
Location . . . . . . . . . . . . . . . . . . . .2
Product Registration . . . . . .2, 49
Warranty . . . . . . . . . . . . . . . . . .51
183D5580P080
Owner's Manual
and Installation
Instructions
EGR2000
JGBP24
JGBP25
JGBP26
JGBP27
JGBP28
JGBP30
LGB356
RGB744
RGB745
49-80026
05-00 JR
Advertisement
Table of Contents

Related Manuals for GE EGR2000


Summary of Contents for GE EGR2000
-
Page 1: Table Of Contents
Air Adjustment ... . .41 Flame Size ....9, 40 Flooring under the Range . . .35 Installation Instructions . .33–43 Leveling . -
Page 2: Help Us Help You
Write down the model and serial numbers. Depending on your range, you’ll find the model and serial numbers on a label on the front of the range, behind the kick panel or storage drawer. These numbers are also on the Consumer Product Ownership Registration Card that came with your range. -
Page 3: Important Safety Instructions
If it is not, there is a possible risk of the range tipping over and causing injury if you or a child stand, sit or lean on an open door. -
Page 4: Surface Cooking
Air openings are located at the rear of the cooktop, at the top and bottom of the oven door, and at the bottom of the range under the storage drawer or kick panel. • Do not use a wok on models with sealed burners if the wok has a round metal ring that is placed over the burner grate to support the wok. -
Page 5: Baking, Broiling And Roasting
• When flaming foods are under the hood, turn the fan off. The fan, if operating, may spread the flames. • If range is located near a window, do not hang long curtains that could blow over the top burners and create a fire hazard. -
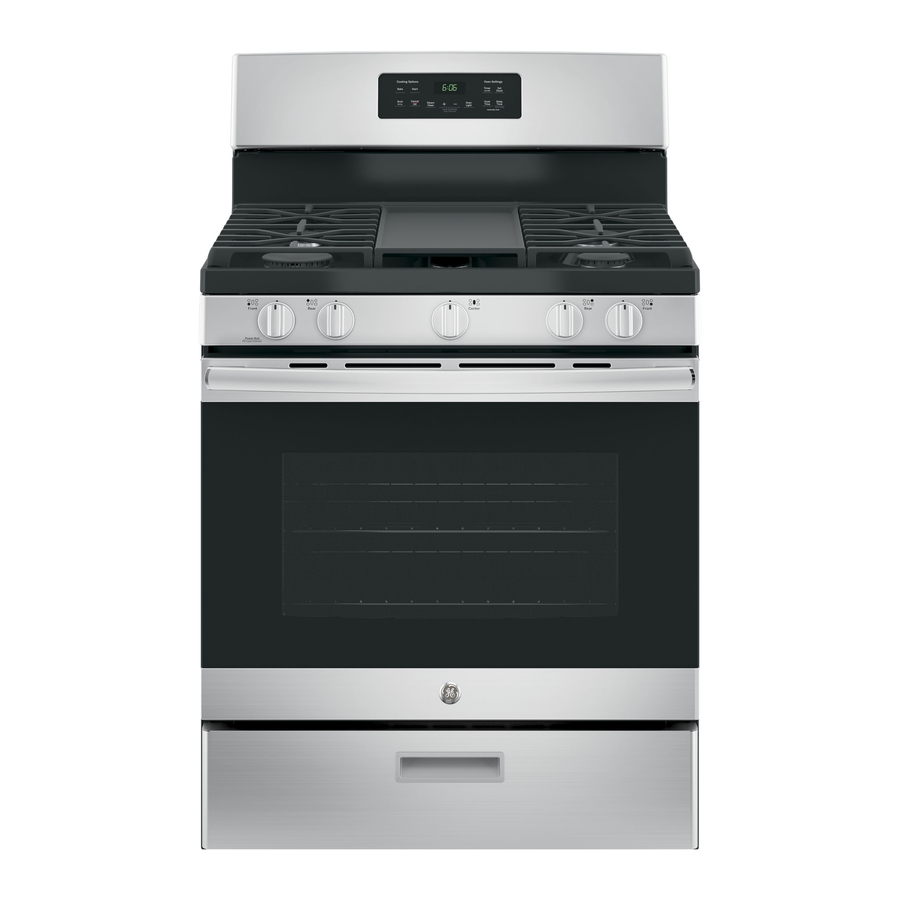
Page 6: Features Of Your Range
FEATURES OF YOUR RANGE MASK FOR SHELVES Features and appearance vary. - Page 7 1 Air Intake (under storage drawer or kick panel) 2 Model and Serial Numbers (on front frame of range, behind storage drawer or removable kick panel) 3 Anti-Tip Device (Lower right rear corner on range back. See the Installation Instructions.)
-
Page 8: Surface Cooking
Before Lighting a Burner • If drip pans are supplied with your range, they should be used at all times. • Make sure all grates on the range are in place before using any burner. To Light a Surface Burner Push the control knob in and turn it to LITE. -
Page 9: Top-Of-Range Cookware
SURFACE COOKING Glass: There are two types of glass cookware—those for oven use only and those for top-of-range cooking (saucepans, coffee and teapots). Glass conducts heat very slowly. Heatproof Glass Ceramic: Can be used for either surface or oven cooking. - Page 10 FEATURES OF YOUR OVEN CONTROL Not all features are on all models. Appearance may vary. 1. COOK TIME ON/OFF. Press this for Timed Baking operations. 2. TIMER ON/OFF. Press this pad to select the timer feature. The timer does not control oven operations.
-
Page 11: To Cancel The Timer
OVEN CONTROL, CLOCK AND TIMER Automatic Clock The clock must be set for the automatic oven timing functions to work properly. The time of day cannot be changed during a Timed Baking or Self-Cleaning cycle. Timer The timer is a minute timer only. The timer does not control oven operations. -
Page 12: Electric Ignition
Read the information and tips on the following pages. Keep this guide handy where you can refer to it, especially during the first weeks of using your new range. Oven Light Use the switch on the control panel to turn the light on or off. -
Page 13: Oven Shelves
Oven Shelves The shelves are designed with stop-locks so when placed correctly on the shelf supports, they will stop before coming completely out of the oven and will not tilt when you are removing food from them or placing food on them. When placing cookware on a shelf, pull the shelf out to the bump on the shelf support. -
Page 14: Baking
How to Set Your Range for Baking To avoid possible burns, place the shelves in the correct position before you turn the oven on. -
Page 15: Pan Placement
Preheating Preheat the oven if the recipe calls for it. Preheat means bringing the oven up to the specified temperature before putting the food in the oven. To preheat, set the oven at the correct temperature— selecting a higher temperature does not shorten preheat time. -
Page 16: Baking Pans
Pies For best results, bake pies in dark, rough or dull pans to produce a browner, crisper crust. Stagger the pies for most even browning. Frozen pies in foil pans should be placed on an aluminum cookie sheet for baking since the shiny foil pan reflects heat away from the pie crust;... -
Page 17: Timed Baking
How to Time Bake Do not lock the oven door with the latch during timed baking. The latch is used for self-cleaning only. The oven control allows you to turn the oven on or off automatically at specific times that you set. Examples of Immediate Start (oven turns on now and you set it to turn off automatically) and Delay Start and Stop (setting the oven to turn on automatically at a... -
Page 18: Questions And Answers
NOTE: • The low temperature zone of this range (between WARM and 200°F.) is available to keep hot cooked foods warm. Food kept in the oven longer than two hours at these low temperatures may spoil. -
Page 19: Adjust The Oven Thermostat
ADJUST THE OVEN THERMOSTAT— You may find that your new oven cooks differently than the one it replaced. We recommend that you use your new oven for a few weeks to become more familiar with it, following the times given in your recipes as a guide. -
Page 20: Use Of Aluminum Foil
Do not lock the oven door with the latch during roasting. The latch is used for self-cleaning only. Roasting is cooking by dry heat. Tender meat or poultry can be roasted uncovered in your oven. Roasting temperatures, which should be low and steady, keep spattering to a minimum. -
Page 21: Roasting Guide
Questions and Answers Q. Is it necessary to check for doneness with a meat thermometer? A. Checking the finished internal temperature at the completion of cooking time is recommended. Temperatures are shown in Roasting Guide. For roasts over 8 lbs., check with thermometer at half- hour intervals after half the time has passed. -
Page 22: Guide
1/8 thick. 2. Place the meat on the broiler grid in the broiler pan which comes with the range. Always use the grid so fat drips into the broiler pan; otherwise the juices may become hot enough to catch fire. -
Page 23: Broiling Guide
The oven door must be closed during broiling. • Always use the broiler pan and grid that comes with your range. It is designed to minimize smoking and spattering by trapping juices in the shielded lower part of the pan. -
Page 24: Operating The Self-Cleaning Oven
OPERATING THE SELF-CLEANING OVEN Before a Clean Cycle We recommend venting with an open window or using a ventilation fan or hood during the first self-clean cycle. 1. Remove the broiler pan, broiler grid, all cookware and any aluminum foil from the oven—they cannot withstand the high cleaning temperatures. - Page 25 How to Set the Oven for Cleaning Quick Reminder: 1. Latch the door. 2. Turn the Oven Set knob to CLEAN. If the oven is too hot and you start to set a clean cycle, you will not be able to slide the latch. Allow additional time for cooling before you try to set the cycle.
- Page 26 OPERATING THE SELF-CLEANING OVEN How to Set Delay Start of Cleaning Quick Reminder: 1. Latch the door. 2. Turn the Oven Set knob to CLEAN. 3. Press the START TIME ON/OFF pad. 4. Press the HOUR and MIN. pads to set the time of day you want cleaning to start.
-
Page 27: Care And Cleaning
Wipe off surface burners. If heavy spillover occurs, remove the surface burners from the range. Burners lift out for cleaning. Lift up the cooktop and then lift out the surface burners. Drip pan... -
Page 28: Sealed Burner Assemblies
A sewing Electrode needle or wire twist-tie works well to unclog it. The slits in the burner heads of your range must be kept clean at all times for an even, unhampered flame. You should clean the surface burners routinely, especially after bad spillovers, which could clog these openings. -
Page 29: Burner Grates
After cleaning, dry them thoroughly by putting them in a warm oven for a few minutes. Don’t put the grates back on the range while they are wet. When replacing the grates, be sure they’re positioned securely over the burners. -
Page 30: Lift-Off Oven Door
Both the broiler pan and grid can also be cleaned in a dishwasher. Do not store a soiled broiler pan and grid anywhere in the range. CAUTION: Do not clean the broiler pan or grid in a self-cleaning oven. Inside gasket... -
Page 31: Control Panel And Knobs
Oven Light Replacement (on some models) CAUTION: Before replacing your oven light bulb, disconnect the electrical power to the range at the main fuse or circuit breaker panel. Be sure to let the light cover and bulb cool completely. The oven light bulb is covered with a removable glass cover that is held in place with a bail-shaped wire. -
Page 32: Cooktop
Air openings are located at the rear of the cooktop, at the top and bottom of the oven door, and at the bottom of the range, under the kick panel or storage drawer (depending on the model). Lift-Up Cooktop (on models with standard twin burners) Clean the area under the cooktop often. -
Page 33: For Your Safety
Always use NEW flexible connectors when installing a gas appliance. CAUTION Do not attempt to operate the oven of this range during a power failure (Electric Ignition models only). IMPORTANT Remove all packing material and literature from oven before connecting gas and electrical supply to range. -
Page 34: Important Safety
The Anti-Tip device should engage and prevent the range from tipping over. If you pull the range out from the wall for any reason, make sure the Anti-Tip device is engaged when you push the range back against the wall. -
Page 35: Preparation
(see Gas Pipe and Electric Outlet Locations) may be adjusted to meet specific requirements. • The range may be placed with 0 clearance (flush) at the back wall and side walls of the range. LOCATION Do not locate the range where it may be subject to strong drafts. -
Page 36: Provide Adequate Gas Supply
This range is convertible for use on natural or propane gas. If you decide to use this range on LP gas, conversion must be made by a qualified LP installer before attempting to operate the range on that gas. - Page 37 Flexible Connector Hookup for Models Equipped with Sealed Burners Pressure Regulator Gas Flow into Range 90° Elbow (provided) Adapter Installer: Inform the consumer of the location of the 1/2 " or 3/4 " gas shut-off valve. Gas Pipe Rigid Pipe Hookup for Models Equipped...
-
Page 38: Electrical Connections
1. Install a manual gas line shut-off valve in the gas line in an easily accessed location outside of the range. Make sure everyone operating the range knows where and how to shut off the gas supply to the range. 2. Install male 1/2 flare union adapter to the 1/2 NPT internal thread elbow at inlet of regulator. - Page 39 CAN/CSA ground and Z240/MH Mobile Home Installation Code. firm connection before use Electric Disconnect 1. Locate disconnect plug on the range back. 2. Pinch sides of connector and pull out of range back. (continued next page)
-
Page 40: Seal The Openings
INSTALLATION INSTRUCTIONS SEAL THE OPENINGS Seal any openings in the wall behind the range and in the floor under the range when hookups are completed. CHECK IGNITION OF SURFACE BURNERS Operation of all cooktop and oven burners should be checked after the range and gas supply lines have been carefully checked for leaks. -
Page 41: Air Adjustment
1. Remove the knurled screws holding down rear of the oven bottom. 2. Grasp the oven bottom at finger slots on each side. 3. Lift the rear of the oven bottom enough to clear the lip of the range frame, then pull out. (continued next page) -
Page 42: Installation Instructions
6. Adjust the leveling legs until the range is level. 7. After the range is level, slide the range away from the wall so that the Anti-Tip device can be installed. -
Page 43: Off Position
1. Mark the wall where the RIGHT EDGE of the range is to be located. Be sure to allow for the countertop overhang if you intend to install the range next to cabinets. Anti-Tip device Slotted head Wallplate screw 20°... - Page 44 NOTES...
- Page 45 NOTES...
-
Page 46: Before You Call For Service
• Make sure the drip pans (on some models) are installed correctly. • If range is connected to LP gas, contact the person who installed your range or made the conversion. - Page 47 FLASH IN THE DISPLAY • Disconnect all power to the range for 5 minutes and then reconnect power. THE DISPLAY GOES • Disconnect power to the range at the fuse box or circuit breaker for at least BLANK OR INDICATOR LIGHTS COME ON...
- Page 48 • Oven bottom not securely seated in position. • Oven temperature is too high to set self-clean operation. Allow the range to cool to room temperature and reset the controls. • Oven Set knob not set to CLEAN.
- Page 49 You can rest easy, knowing that all your valuable household products are protected against expensive repairs. Place your confidence in GE and call us in the U.S. toll-free at for more information. *All brands covered, up to 20 years old, in the continental U.S.
-
Page 50: Serial Number
After mailing the registration below, store this document in a safe place. It contains information you will need should you require service. Our service number is 800 GE CARES (800-432-2737). Model Number Model Number Last Name E-mail Address State Phone... -
Page 51: Warranty
Warrantor—In the United States: General Electric Company If further help is needed concerning this warranty, write: Manager, Customer Relations, GE Appliances, Louisville, KY 40225 If further help is needed concerning this warranty, write: Manager, Consumer Relations, Camco Inc., 1 Factory Lane, Suite 310, Moncton, N.B. E1C 9M3 Staple sales slip or cancelled check here. -
Page 52: Parts And Accessories
Special Needs Service 800.626.2000 800-TDD-GEAC (800-833-4322) GE offers, free of charge, a brochure to assist in planning a barrier-free kitchen for persons with limited mobility. In Canada, contact: Manager, Consumer Relations, Camco Inc., 1 Factory Lane, Suite 310. Moncton, N.B., E1C 9M3.
Need help?
Do you have a question about the EGR2000 and is the answer not in the manual?
Questions and answers