Table of Contents
Advertisement
Advertisement
Table of Contents

Related Manuals for Easypix DVC 527


Summary of Contents for Easypix DVC 527
- Page 1 use manual...
-
Page 2: Parts Of The Camcorder
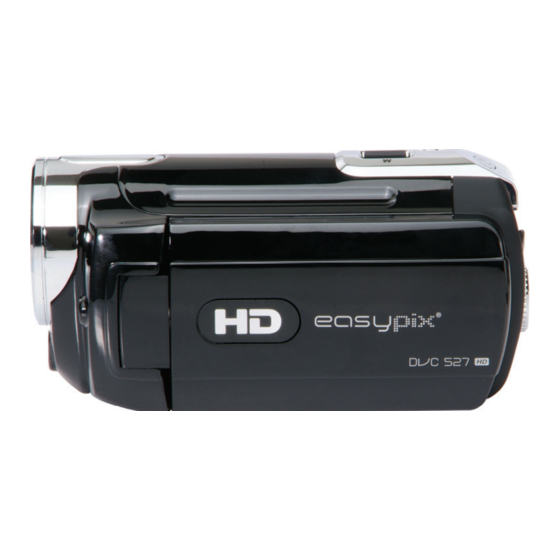
1. Parts of the camcorder 1: Zoom switch 2: Capture /voice record button 3: Power button 4: Power LED 5: Video record mode 6: Charging LED 7: Mode dial 8: AV out jack 9: Earphone jack 10: DC in jack 11: USB Jack 12: HDMI jack 13 : Display button... - Page 3 17:Joystick/ OK button 18: Delete/ Flash button 19: Compensating LED 20: Flash strobe 21: Microphone 22: Lens 23: Battery cover 24: Tripod socket...
-
Page 4: Preparing For Using
2. Preparing for using Installing the Battery Slide the battery cover. Place the accessory lithium-ion battery into the compartment. Note that the metallic contacts must be aligned with the contacts in the compartment. After the battery is properly installed, replace the battery cover. Charging the battery Please charge the battery at least 8 hours for first time use. -
Page 5: Inserting The Memory Card
Power OFF; connect the camcorder to a PC by the attached USB cable. Charging starts when charging LED turns BLUE. The charge indicator light turns OFF when charging is completed. Disconnect the camcorder. Inserting the Memory Card This camcorder has an internal memory, it can only record a few pictures or movie clips. -
Page 6: Using This Camcorder
Turn off the camcorder. Slide the battery cover and then you will see the SD card slot. Insert the memory card as illustrated. Close the battery cover. • To release the memory card press the edge of the card gently. 3. -
Page 7: Change The Record Mode
saving function has been active for the set time, the power will turn off completely. Press the Power button to power the camera back on. You can change the power-off time by setting the function [Auto off] in the Setup menu. -
Page 8: Recording A Video Clip
Recording a video clip 1: Turn on the camcorder and set the camcorder to video record mode 2: Zooming: Moving the Zoom switch rightward or leftward to zoom in or zoom out the screen. The value of magnification level appears on the LCD monitor. 3: Press the VIDEO RECORD button to start recording. -
Page 9: Recording Audio
screen. Zooming: Moving the Zoom switch rightward or leftward to zoom in or zoom out the screen. he value of magnification level appears on the LCD monitor. Hold the camcorder steady and then press the CAPTURE/VIOCE RECORD button down to take a picture. Recording audio 1: Turn the camcorder on and set it to audio record mode. -
Page 10: Playing Back Movie Clips
5.Playback Playing back movie clips 1: Set the camcorder to playback mode. 2: Push the joystick leftward or rightward to select the movie clips you want to playback. 3: Press the VIDEO RECORD button to start playing. Press the OK button to pause it and press it again to continue. -
Page 11: Playing Back Audio Files
3: Zooming: Moving the ZOOM switch leftward or rightward to zoom in or zoom out the image. When the picture is enlarged you can push the joystick upward/downward/Leftward/Rightward to browse the details of the image. Playing back audio files 1: Set the camcorder to playback mode. 2: Push the joystick leftward or rightward to select the audio file you want to playback. -
Page 12: Technical Specifications
9. Technical Specifications Sensor 5MegaPixels CMOS, Display 2.7 " TFT Color LCD Focus range Standard:80cm ~ infinity Aperture F3.2, f=7.36mm Shutter Electronic Shutter: Resolution StillImage:12M;8M;5M;3M; 0.3M; Video:1280x720, 720x480. Sensitivity Auto White balance Auto / Daylight / Tungsten / Fluoresce / Cloudy Exposure control -2EV to +2EV in 0.5 step Burst... - Page 13 TV system NTSC / PAL Power Supply Lithium-ion battery Ambient Operating: 0° C to 40° C temperature Storage: -20 to 60° C Microphone Built-in Speaker Built-in Dimension 128X62X59 (mm) Weight Camera Body w/o battery: Approx. 220g...
Need help?
Do you have a question about the DVC 527 and is the answer not in the manual?
Questions and answers