iRobot Roomba 500 Series Owner's Manual
Vacuum cleaning robot
Hide thumbs
Also See for Roomba 500 Series:
- Owner's manual (175 pages) ,
- Servicing and repair manual (30 pages) ,
- Quick start manual (2 pages)
Table of Contents
Advertisement
Advertisement
Table of Contents
Troubleshooting

Related Manuals for iRobot Roomba 500 Series


Summary of Contents for iRobot Roomba 500 Series
- Page 1 500/600 Series Owner's Manual...
- Page 2 We’d love to hear from you! Register your robot right now at www.irobot.com/register. On behalf of the entire team, thank you for choosing iRobot; we appreciate your business, feedback and loyalty. Here’s to robots that make a difference!
-
Page 3: Table Of Contents
• Yellow batteries should be stored after being fully charged. Roomba contains electronic parts. DO NOT submerge Roomba or spray it iRobot Customer Care ..........35 with water. Clean with a dry cloth only. iRobot Roomba 500 Series For more detailed information, visit: www.irobot.com... -
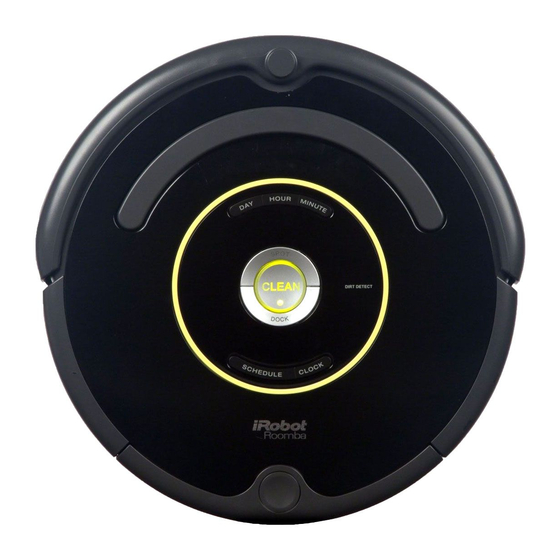
Page 4: Irobot Roomba Anatomy
Side Brush Removable Brush Wall to confine Roomba to one room. Caster Wheel End Caps Right Wheel Left Wheel Brush Module Module Guard Dirt Detect ™ Sensor Brush Guard Release Tabs iRobot Roomba 500 Series For more detailed information, visit: www.irobot.com... -
Page 5: Cleaning Modes
Roomba may make a clicking noise when anti-tangle is activated. iRobot Roomba 500 Series For more detailed information, visit: www.irobot.com... -
Page 6: Cleaning Bins
The dual action, counter-rotating brushes pick up Battery Life debris, while the vacuum sucks up the dirt and dust. To extend the battery life, iRobot recommends always storing Roomba plugged in. For more details on how to maintain Roomba’s battery life, High-Capacity Sweeper Bin (optional accessory for all models) visit www.irobot.com/support. -
Page 7: Virtual Wall
16-hour refresh charge the length of the barrier. A higher range will drain the battery faster. CLEAN/Power Button TIP: Point the iRobot logo towards the opening you would like to block. iRobot Roomba 500 Series For more detailed information, visit: www.irobot.com... -
Page 8: Virtual Wall ® Lighthouses
Compact Virtual Wall Battery Installation With two Virtual Wall Room 3 To open the battery compartment, simply apply pressure on both iRobot Lighthouses in lighthouse mode, Roomba will clean logos located on either side of the Virtual Wall and pull the bottom out, Room 1 for approximately separating the pieces. -
Page 9: Home Base
In Lighthouse mode, place the Virtual Wall Lighthouse in the doorway Always keep the Home base plugged in. between two rooms with the iRobot logo facing forward. Original Home Base When Roomba is on the Home Base, the power and Place Lighthouse docked lights are green to indicate Roomba is charging. -
Page 10: Wireless Command Center
The Remote WILL NOT work flash in sequence from left to right until Roomba is under control. when Roomba is near Virtual Walls. iRobot Roomba 500 Series For more detailed information, visit: www.irobot.com... -
Page 11: Scheduling Roomba (Selected Models)
Roomba’s clock will switch back to the default 12 hour (AM/PM) format when Roomba’s battery is disconnected or significantly Release SCHEDULE. discharged. iRobot Roomba 500 Series For more detailed information, visit: www.irobot.com... -
Page 12: Regular Maintenance
B. Clean filter compartment *Replace filter every 2 months Visit www.irobot.com/support for information on keeping Roomba running at peak performance. Excessive build up of hair can permanently damage Roomba. Remove brushes and inspect brush bearings regularly. -
Page 13: Language Selection Mode (Selected Models)
(selected models) Wheel Pull firmly on Roomba’s front wheel to remove it from the Roomba 500 Series can provide troubleshooting messages in English, robot. Axle French, German, Spanish, Italian, Dutch, Danish, Swedish, Norwegian, Finnish, Polish, Russian, Portuguese, Japanese, Korean and Chinese. -
Page 14: Troubleshooting
Refer to the chart below to resolve Roomba’s problem. Roomba may be stuck in If Roomba is in an extremely If the problem is not resolved, visit www.irobot.com/support. one place. large room, use a Virtual Wall to create a smaller cleaning area. -
Page 15: Replaceable Modules
Right side wheel module Remove Roomba’s faceplate by pulling up from the bin. The Left side wheel module faceplate is secured in several places. Side brush module Bin module Chassis Replaceable faceplate iRobot Roomba 500 Series For more detailed information, visit: www.irobot.com... -
Page 16: Battery Removal
(models 500 and above) Follow these instructions to remove and reinstall Roomba’s battery. Remove Roomba’s side brush screw. Reinsert Roomba’s bin. Remove Roomba’s side brush. iRobot Roomba 500 Series For more detailed information, visit: www.irobot.com... -
Page 17: Frequently Asked Questions
Reinstall Roomba’s battery with the iRobot logo facing up. Replace Roomba’s bottom cover and the four screws. TIP: For additional assistance, visit www.irobot.com/support. -
Page 18: Important Safety Instructions
Important Safety Instructions iRobot Customer Care USA If you have questions or comments about Roomba, please contact iRobot CAUTION: DO NOT EXPOSE THE ELECTRONICS OF ROOMBA, before contacting a retailer. ITS BATTERY, OR THE POWER SUPPLY. THERE ARE NO USER- SERVICEABLE PARTS INSIDE. - Page 19 © 2009-2010 iRobot Corporation, 8 Crosby Drive, Bedford, MA 01730. All rights reserved. iRobot, Roomba, Virtual Wall and Home Base are registered trademarks of iRobot Corporation. Dirt Detect and Lighthouse are trademarks of iRobot Corporation. [00152.0110.v1] U.S. Pat. Nos. D556,961 | 6,594,844 | 6,690,134 | 6,809,490 | 6,883,201 | 6,956,348 | 7,155,308 | 7,173,391 | 7,196,487 | 7,288,912 | 7,332,890 | 7,388,343 | 7,389,156 | 7,429,843 | 7,430,455 | 7,441,298 | 7,441,298 | 7,448,113.
Need help?
Do you have a question about the Roomba 500 Series and is the answer not in the manual?
Questions and answers