
Related Manuals for Jensen JIMS-125I


Summary of Contents for Jensen JIMS-125I
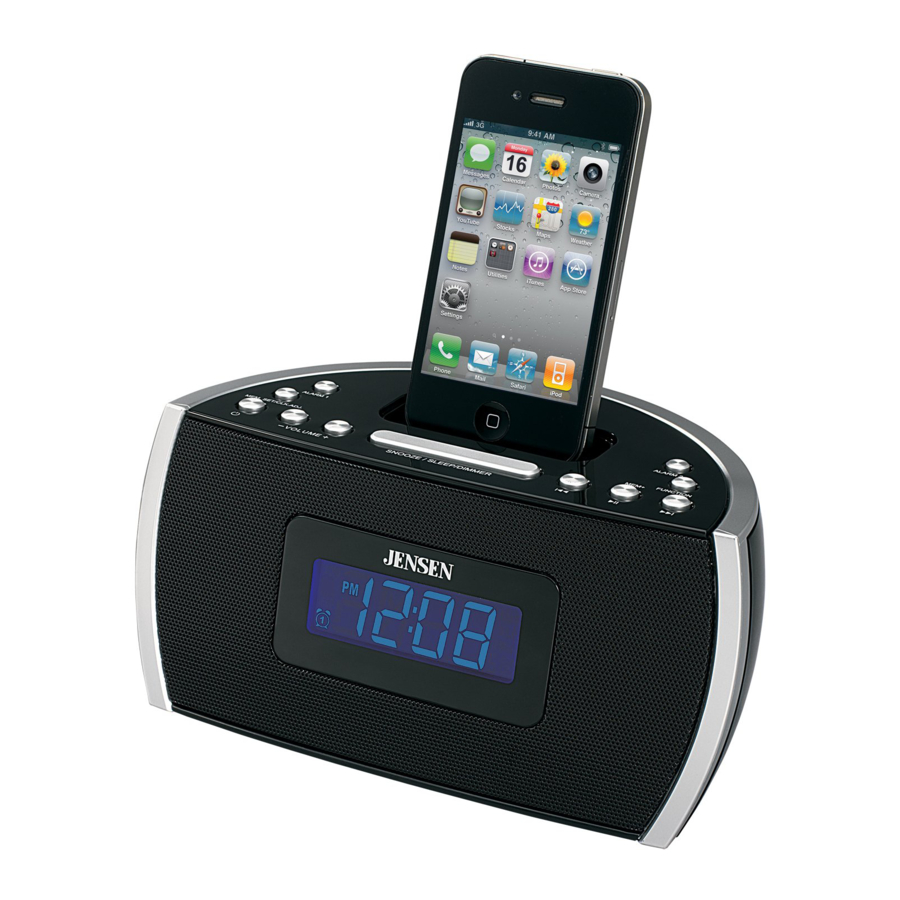
- Page 1 ® DOCKING DIGITAL MUSIC SYSTEM FOR iPod AND iPhone USER MANUAL JiMS-125i (iPhone/iPod Not Included) PLEASE READ THIS USER MANUAL COMPLETELY BEFORE OPERATING THIS UNIT AND RETAIN THIS BOOKLET FOR FUTURE REFERENCE.
-
Page 2: Dear Jensen® Customer
The serial number of this product is found on its bottom cover. You should note the serial number of this unit in the space provided as a permanent record of your purchase to aid in identification in the event of theft of loss. Model Number: JiMS-125i Serial Number: ____________________... -
Page 3: Important Safety Instructions
IMPORTANT SAFETY INSTRUCTIONS When used in the directed manner, this unit has been designed and manufactured to ensure your personal safety. However, improper use can result in potential electrical shock or fire hazards. Please read all safety and operating instructions carefully before installation and use, and keep these instructions handy for future reference. -
Page 4: Compliance With Fcc
13. This appliance shall not be exposed to dripping or splashing water and that no object filled with liquids such as vases shall be placed on the apparatus. 14. Power Sources – The appliance should be connected to a power supply only of the type described in the operating instructions or as marked on the appliance. - Page 5 Protect Your Furniture This product is equipped with non-skid rubber 'feet' to prevent the product from moving when you operate the controls. These 'feet' are made from non-migrating rubber material specially formulated to avoid leaving any marks or stains on your furniture.
-
Page 6: Location Of Controls
LOCATION OF CONTROLS 1. POWER On/Standby button button MEMORY SET/CLOCK ADJUST 3. ALARM 1 button 4. iPhone/iPod docking connector 5. ALARM 2 button 6. FUNCTION button 7. SKIP FORWARD / TUNING UP button 8. VOLUME- (DOWN) button 9. VOLUME+ (UP) button 10. -
Page 7: Getting Started
GETTING STARTED Clock Back-up Battery Installation 1. Remove the screw from the BATTERY COMPARTMENT COVER and remove the cover. 2. Install a CR2032 lithium battery (not included) in the battery compartment following the polarity markings shown on it. Replace the BATTERY COMPARTMENT COVER and tighten the screw to secure the compartment. -
Page 8: Alarm Setting
2. Your iPod/iPhone will communicate with the unit and automatically sync the time with your iPod/iPhone time and show it on the LCD Display after about 5 seconds. Tips: The iPhone receives constant updates from the phone service provider, so the ... - Page 9 5. Press the or button to adjust the minute. Press and hold the button for fast advance / reverse setting. 6. Press the ALARM 1 or ALARM 2 button to confirm the minute setting, the alarm sound icons will flash. 7.
-
Page 10: Listening To Radio
The iPod / iPhone alarm will sound for 60 minutes and then turn off automatically if no snooze button pressed. To stop the iPod / iPhone sound immediately, tap the button. Snooze Function When the alarm sounds, it can be temporarily stopped by pressing the SNOOZE ... -
Page 11: Listening To Your Iphone/Ipod
LISTENING TO YOUR iPhone/iPod iPod Bracket The JiMS-125i comes with a removable insert bracket for iPod Classic 160GB, but it should also work with other models too. If the included adaptor does not fit your iPod, you can still use the dock without an adaptor or use the original adaptor included with your iPod instead by inserting it into the docking area. -
Page 12: Auxiliary Input
button for five seconds to switch off the device and then gently remove it from the docking connector. 8. Press the POWER button to turn off the unit. CHARGING Your iPhone/iPod will charge in all function modes when docked. NOTE: To prevent damaging of the dock connector, never twist the iPhone/iPod when inserting or removing it. -
Page 13: Care And Maintenance
3. Turn on the external audio device. 4. To select auxiliary audio input, press the FUNCTION button to select AUX mode. 5. The volume level can now be controlled through the main unit. Operate all other functions on the auxiliary device as usual. NOTE: If you connect this unit to the Line-Out Jack of your external device then you only ... -
Page 14: Troubleshooting Guide
TROUBLESHOOTING GUIDE Symptom Possible Problem Solution The unit is disconnected from The unit does not Reconnect to the AC outlet. the AC outlet. respond (no power) The AC outlet has not power. Try the unit on another outlet. Unit is ON but there The volume control has been Turn the Volume control to a is low or no volume... -
Page 15: Specification
Unit gets warm after Turn the unit off for a period of time extended play at This is normal. or lower volume. high volume SPECIFICATION Power requirement: AC-DC adaptor Input: AC 120V~, 60Hz Main Unit DC Input: DC 5V, 2000mA Backup Battery for Clock 1 X 3V CR2032 Lithium Battery Frequency Range... - Page 16 90 DAY LIMITED WARRANTY AND SERVICE VALID IN THE U.S.A ONLY SPECTRA MERCHANDISING INTERNATIONAL, INC. warrants this unit to be free from defective materials or factory workmanship for a period of 90 days from the date of original customer purchase and provided the product is utilized within the U.S.A.
Need help?
Do you have a question about the JIMS-125I and is the answer not in the manual?
Questions and answers