Table of Contents
Advertisement
Quick Links
Advertisement
Table of Contents

Related Manuals for Audiovox HDP100 - Acoustic Research HD Powerlink


Summary of Contents for Audiovox HDP100 - Acoustic Research HD Powerlink
- Page 1 HD P OWERLINK YSTEM SER MANUAL HDP100...
-
Page 2: Product Information
CAUTION Caution: To reduce the risk of electric shock, do not remove RISK OF ELECTRIC SHOCK. cover (or back). No user serviceable parts inside. Refer DO NOT OPEN. servicing to qualified service personnel. FCC Information WARNING: To reduce the risk of fire or electric shock, do not expose this product to FCC Regulations state that unauthorized rain or moisture. -
Page 3: Table Of Contents
ntroductIon Introduction..............1 Welcome ................1 HDP100 System Requirements ........1 Getting.Started.............. 2 Other.Setup.Options............3 Connecting to an AV Receiver or HDMI Switcher ..3 Placing the Attachable Feet ..........4 Mounting the Receiver on the Wall ........ 5 Installing the IR Extender Kit ........... 6 Troubleshooting. -
Page 4: Getting.started
ettInG tarted The Quickstart Guide takes you through the steps for the basic HDP100 setup. Briefly, those steps are: 1..Unpack Make sure your package has the following items: power power link link data data a. HDP100 transmitter and d. One wall mount kit receiver •... -
Page 5: Other.setup.options
ther etup ptIonS Connecting to an AV receiver or HDMI Switcher If you want to use multiple HDMI sources with the HD Powerlink system, you can connect the HDP100 transmitter to an AV receiver or HDMI switcher. 1. Make sure your signal source, display, and AV receiver or HDMI switcher are all working properly. -
Page 6: Placing The Attachable Feet
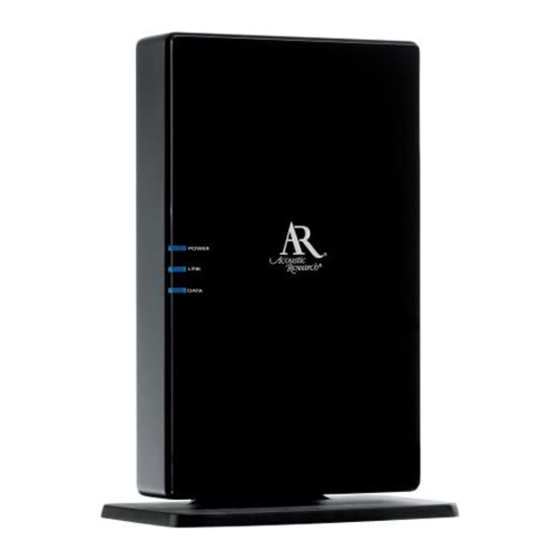
ther etup ptIonS 5. Turn on both units. The Power switches are on the back panels. The POWER, LINK, and DATA indicators light up on both. 6. Switch the AV receiver or HDMI switcher to the source you want to watch. -
Page 7: Mounting The Receiver On The Wall
ther etup ptIonS Mounting the Receiver on the Wall 1. Find a good location on your wall for the HDP100 receiver. If you’re mounting it behind a TV, make sure you have enough clearance for the cables and the unit. 2. -
Page 8: Installing The Ir Extender Kit
ther etup ptIonS Installing the IR Extender Kit The HDP100 has an IR window on its receiving unit, which means that it can receive remote commands for your signal source device (your DVD player, for example) and pass these commands to this device. To send remote commands to your signal source device, you must first install the IR extender kit. - Page 9 ther etup ptIonS Installing.the.Receiver.IR.Extender.(Optional) If you’ve positioned the HDP100 receiver where its IR window is covered or inaccessible, you can use a second IR extender to capture remote commands. 1. Plug the mini-jack end of the receiver’s IR extender into the IR EXTENDER jack on the receiver’s back panel.
- Page 10 ther etup ptIonS POWER.indicator.on;.LINK.and.DATA.indicators.don’t.light Make sure both units are plugged directly into unswitched, non-GFI outlets. Do not plug them into a surge protector. The units may be too far from each other. Try moving them to outlets that are closer together.
-
Page 11: Troubleshooting
roubleShootInG Resetting and Linking Manually The HDP100 transmitter and receiver come pre-linked at the factory, so they normally don’t need to be manually paired. If you have problems with the link, however, go through the following steps to reset and manually link the transmitter and receiver. -
Page 12: 12.Month.limited.warranty
USA: Audiovox Electronics Corporation, 150 Marcus Blvd., Hauppauge, NY 11788 CANADA: Audiovox Return Center, c/o Genco, 6685 Kennedy Road, Unit 3, Door 16, Mississauga, Ontario L5T 3A5 HDP100_US_IB_00 ©...
Need help?
Do you have a question about the HDP100 - Acoustic Research HD Powerlink and is the answer not in the manual?
Questions and answers