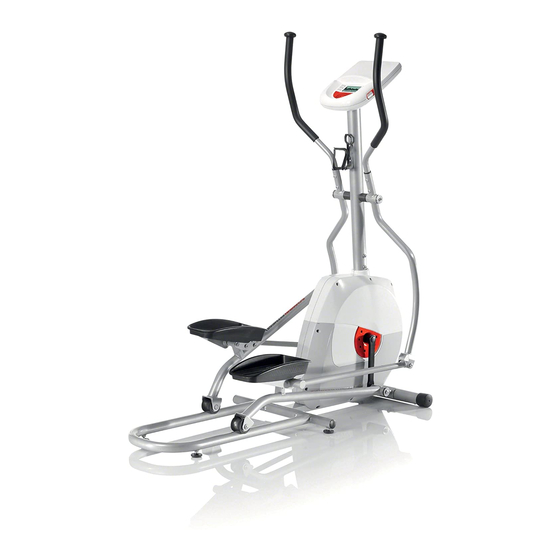
Schwinn Fitness A40 Assembly Manual
Hide thumbs
Also See for Fitness A40:
- User manual ,
- Owner's manual (30 pages) ,
- Owner's manual (16 pages)
Summary of Contents for Schwinn Fitness A40
- Page 1 003-3790.060112.D...
-
Page 2: Before Assembly
859-5180, technics-APLA@nautilus.com | Patent information: This product may be covered by US and Foreign Patents and Patents Pending. See Product for more information. | Printed in China | © 2010 Nautilus, Inc., All rights reserved. ™ and ® indicate a trademark or registered trademark. Nautilus, Inc. (www.NautilusInc.com) trademarks include NAUTILUS®, BOWFLEX®, SCHWINN® and UNIVERSAL®... - Page 3 Specifications Specifications and Specifications and T T T ools ools ools Included Included Included Not Included Included Included (recommended) 6mm (x2) (recommended) Parts Parts Parts A decal has been applied to all right (“R R R ”) and left (“L L L ”) parts to assist with assembly. Item Item Item...
-
Page 4: Hardware
Hardware Hardware Hardware Item Item Item Description Description Description Item Item Item Description Description Description Flat Head Hex Screw, M8x25 Shaft Flat Washer, M6 Button Head Hex Screw, M8x15 Flat Washer, M8 Button Head Hex Screw, M6x12 Spring Washer, M8 Wave Washer,Small (D16.5) Flat Washer, Wide Sleeve, Plastic... - Page 5 2. 2. 2. Attach Attach Rail Rail Assembly Assembly to to to Frame Frame Assembly Assembly Attach Rail Assembly Frame Assembly 3. 3. 3. Connect Connect Connect the the Console Console Console Cable Cable Cable Note: Note: Note: The cables must be fully connected for the Console to operate. Do not crimp the Console Cable. 5 5 5...
- Page 6 4. 4. 4. Attach Attach Attach Console Console Mast Console Mast Mast to to to Frame Frame Assembly Frame Assembly Assembly Note: Note: Note: Do not crimp the Console Cable. 5. 5. 5. Attach Attach Attach Lower Lower Handlebar Lower Handlebar Handlebar Arms Arms to to to Frame...
- Page 7 6. 6. 6. Attach Attach Upper Upper Handlebar Handlebar Arms Arms to to to Frame Frame Assembly Assembly Attach Upper Handlebar Arms Frame Assembly 7. 7. 7. Attach Attach Pedal Attach Pedal Pedal Arms Arms Arms to to to Frame Frame Assembly Frame Assembly...
- Page 8 8. 8. 8. Attach Attach Attach Legs Legs Legs to to to Frame Frame Frame Assembly Assembly Assembly 9. 9. 9. Attach Attach Pedals Pedals to to to Legs Legs Attach Pedals Legs 8 8 8...
- Page 9 10. Attach Attach Console Console to to to Frame Frame Assembly Assembly Attach Console Frame Assembly Note: Be sure the switch on the back of the Console is set to E E E . The cables must be fully connected for the Console to operate. Do not crimp the Note: Note: Console Cable.
- Page 10 12. T T T ighten ighten all all all Hardware Hardware ighten Hardware Note: Note: Note: Fully tighten all Hardware from the previous steps except where noted to only secure. 13. Install Install Batteries Install Batteries Batteries in in in Console Console Console Note:...
- Page 11 Optional Optional Power Optional Power Adapter Power Adapter Adapter The console for your machine can operate on battery power or AC power. For AC power, it is necessary to order the optional Power Adapter. If batteries and the Power Adapter are installed, the console will use the Power Adapter to operate. Note: Note: Note:...
-
Page 12: Adjustments
Adjustments Adjustments Adjustments Moving Moving the Moving the Machine Machine Machine Do not move the machine without aid. Injury to you or damage to the machine can occur. 1. Remove the power cord (if equipped). 2. Use the back of the Rail Assembly to carefully lift the machine onto the transport rollers. - Page 13 13 13 13...
- Page 14 14 14 14...
- Page 15 15 15 15...
- Page 16 Printed in China...


Need help?
Do you have a question about the Fitness A40 and is the answer not in the manual?
Questions and answers