Table of Contents
Advertisement
Quick Links
All about the
Installation
Use
of your
Downdraft Ventilation
System
Welcome & Congratulations ...................................2
Important Safety Instructions .................................3
Shipping Pack .......................................................4
Product Dimensions ...............................................5
Planning ...............................................................6
www.frigidaire.com USA 1-800-944-9044
and
&
Telescoping
TA B L E O F C O N T E N T S
www.frigidaire.ca Canada 1-800-265-8352
Care
Installation ...........................................................9
Use & Care .........................................................13
Before You Call ...................................................15
Major Appliance Warranty ....................................16
Advertisement
Table of Contents

Related Manuals for Frigidaire FH30DD50MS


Summary of Contents for Frigidaire FH30DD50MS
-
Page 1: Table Of Contents
TA B L E O F C O N T E N T S Welcome & Congratulations ........2 Installation ............9 Important Safety Instructions .........3 Use & Care ............13 Shipping Pack ............4 Before You Call ...........15 Product Dimensions ..........5 Major Appliance Warranty ........16 Planning ...............6 www.frigidaire.com USA 1-800-944-9044 www.frigidaire.ca Canada 1-800-265-8352... -
Page 2: Welcome & Congratulations
WELCOME & CONGRATULATIONS Congratulations on your purchase of a new appliance! At Product Registration Electrolux Home Products, we are very proud of our product and are completely committed to providing you Register Your Product with the best service possible. Your satisfaction is our The PRODUCT number one priority. -
Page 3: Important Safety Instructions
IMPORTANT SAFETY INSTRUCTIONS Read all instructions before using this appliance. WARNING Save these instructions for future reference. DEFINITIONS TO REDUCE THE RISK OF A RANGE TOP GREASE FIRE: This is the safety alert symbol. It is used to alert • Never leave surface units unattended at high you to potential personal injury hazards. -
Page 4: Shipping Pack
SHIPPING PACK Stabilizing Brackets Instruction Manual Cutout Template Warranty Card Telescoping Downdraft Duct Transition Tools You Will Need IMPORTANT • Phillips Screwdriver Retain all packing and materials until the telescoping downdraft and all components have • 1/4” Nut Driver / Ratchet been installed. -
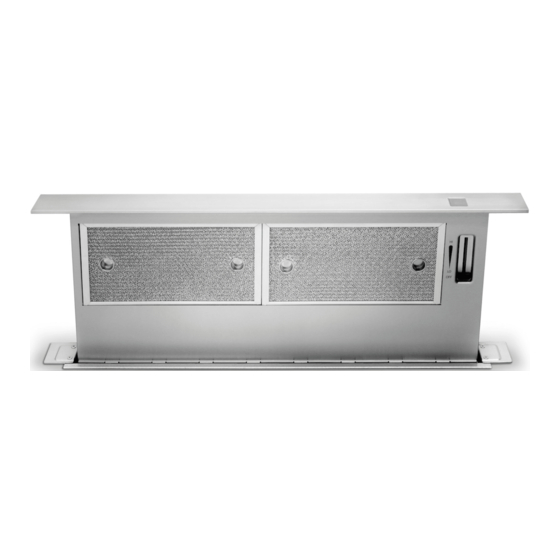
Page 5: Product Dimensions
PRODUCT DIMENSIONS Downdraft Top Trim Rise ” (3.6 cm) ” (5.7 cm) ” (29.0 cm) Model Rise FH30DD50MS 30” (76.2 cm) ” (68.3 cm) ” ” ” 10” (25.4 cm) (45.2 cm) (87.2 cm) (5.5 cm) FH36DD50MS 36” (91.4 cm) ”... -
Page 6: Planning
PLANNING Basic Information Take Measurements A qualified technician must complete the installation of this Refer to the cooktop installation instructions for dimensions appliance. This downdraft blower system is designed to be of the cooktop, countertop cut-out and cabinet requirements. used to exhaust airborne contaminants when cooking with It is recommended that oversized cabinets be used for easier a variety of gas, electric or induction cooktops. - Page 7 PLANNING Plan the Ductwork This downdraft blower system is designed for use with 3¼ x 10” ductwork (can be transitioned to 6” round). For best performance, choose the ducting option which allows the shortest length of ductwork and a minimum number of elbows and transitions.
- Page 8 All vertical dimensions relative to top surface of the countertop. Model M - From Center All horizontal dimensions relative to cutout in the countertop. FH30DD50MS 13 ½” (34.3 cm) Ensure that access to the electrical outlet will not be blocked by the ducting after installation.
-
Page 9: Installation
INSTALLATION 1. Cut Countertop Opening 3. Prepare the Downdraft Blower System Duct Connection - Lay out and cut the cooktop cut-out far enough forward so downdraft will fit behind it (refer to cooktop installation The downdraft is shipped with blower oriented for exhaust instructions). - Page 10 INSTALLATION 4. Install Duct Transition to Blower of the cabinet so that the vent chassis housing is vertical, check the level of the vent on both the right and left sides, Install the duct transition on the blower, using the three and tighten the screws.
-
Page 11: Install Ductwork
INSTALLATION 6. Install Ductwork - Use galvanized or aluminum duct in 6” round or 3 ¼” x 10” size, or a combination of both. PVC duct should be used if installing under a poured concrete slab. Use the shortest and straightest duct run possible. The system will operate most efficiently when the ductwork does not exceed 60 feet of equivalent duct. - Page 12 INSTALLATION Calculating Duct Length Table For maximum efficiency, use the shortest and straightest duct possible. The system will operate most efficiently when the ductwork does not exceed 60 feet of equivalent duct. The downdraft will operate properly with ductwork up to 100 equivalent feet of duct.
-
Page 13: Use & Care
USE & CARE Operating the Telescoping - The blower can also be turned off by simply pressing the raise/lower push button and lowering the telescoping Downdraft System vent. - Raise the downdraft by pressing the raise/lower push button. The telescoping vent will rise up to full height. - The blower can then be turned on by sliding the control knob up. - Page 14 USE & CARE Cleaning the Telescoping Downdraft Vent Cleaning of the Telescoping Vent WARNING - Clean the stainless steel and plastic controls with a dishcloth and hot soapy water. It is advised to disconnect power from the downdraft when - Rinse with a dishcloth and clean water. cleaning to minimize risk of electrical shock or damaging - Wring excess water from the dishcloth when cleaning or the appliance due to spills onto electrical components.
-
Page 15: Before You Call
BEFORE YOU CALL (Solutions to Common Problems) IMPORTANT Before you call for service, review this list. It may save you time and expense. The list includes common occurrences that are not the result of defective workmanship or materials in this appliance. OCCURRENCE POSSIBLE CAUSE/SOLUTION Telescoping Vent... -
Page 16: Major Appliance Warranty
MAJOR APPLIANCE WARRANTY Your appliance is covered by a one year limited warranty. For one year from your original date of purchase, Electrolux will pay all costs for repairing or replacing any parts of this appliance that prove to be defective in materials or workmanship when such appliance is installed, used and maintained in accordance with the provided instructions.
Need help?
Do you have a question about the FH30DD50MS and is the answer not in the manual?
Questions and answers
My fh36dd50 ms will not rise and turn on. Is there a reset button?
Yes, the Frigidaire FH30DD50MS has a reset button. The manual states that pressing the raise/lower push button will reset the unit, allowing normal operation to resume.
This answer is automatically generated
MODEL#FH30DD50MS THE KNOB ON THE COOK TOP THAT CONTROLS THE SMALLEST BURNER WILL NOT TURN, IT IS STUCK WHAT CAN I DO