
Related Manuals for Siemens CMTC1913


Summary of Contents for Siemens CMTC1913
-
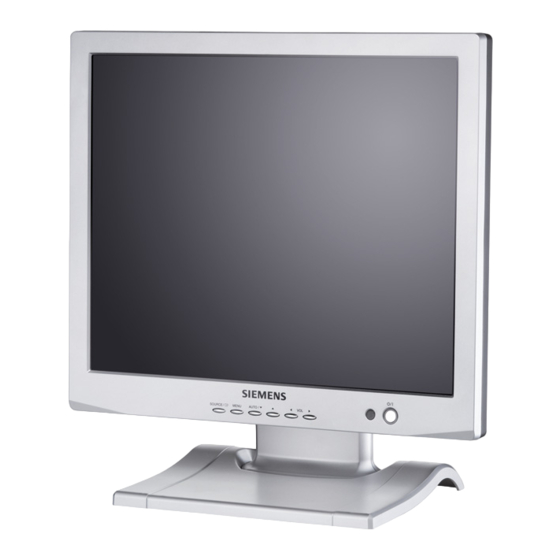
Page 1: Tft Lcd Monitor
CMTC1713 / CMTC1913 TFT LCD Monitor User Manual Building Technologies Fire Safety & Security Products... - Page 2 Technical specifications and availability subject to change without notice. © 2008 Copyright Siemens Switzerland Ltd We reserve all rights in this document and in the subject thereof. By acceptance of the document the recipient acknowledges these rights and undertakes not to publish the document nor the subject thereof in full or in part, nor to make them available to any third party without our...
-
Page 3: Table Of Contents
Table of contents General safety instructions................4 Installation .......................4 Standards and guidelines ................5 EU directives ....................5 Technical data ....................6 Details of ordering ..................6 Dimension drawings ..................7 Package contents..................7 Hardware Description ...................8 Connections ....................8 Buttons and controls ..................8 Remote functions ....................9 Power management ..................9 Mounting the monitor .................10 Adjusting the OSD screen................11 Picture ......................11... -
Page 4: General Safety Instructions
General safety instructions General safety instructions Read the general safety precautions before operating the device. Keep this document for reference. Always pass this document on together with the product. Please also take into account any additional country-specific, local safety standards or regulations concerning project planning, operation and disposal of the product. -
Page 5: Standards And Guidelines
Standards and guidelines EU directives This product complies with the requirements of the following European directives. The EU declaration of conformity is available to the responsible agencies at: Siemens Building Technologies Fire & Security Products GmbH & Co. oHG 76181 Karlsruhe Germany European Directive 2004/108/EC „Electromagnetic Compatibility”... -
Page 6: Technical Data
Technical data Technical data CMTC1713 CMTC1913 Panel type 17˝ TFT color LCD panel 19˝ TFT color LCD panel Screen size 431 mm (diagonal) 480 mm (diagonal) Viewable Size (H x V) 337.9 x 270.3 mm 376.32 x 301 mm Dot pitch (H x V) 0.264 x 0.264 mm... -
Page 7: Dimension Drawings
Dimension drawings Dimension drawings Dimension CMTC1713 CMTC1913 Width monitor 382 mm 430 mm Width base 243 mm 243 mm Height monitor 330 mm 371 mm Height monitor (with base) 392 mm 423 mm Depth monitor 60 mm 62 mm Depth monitor (with base) 195.5 mm... -
Page 8: Hardware Description
Hardware Description Hardware Description Connections DC 12V IN DC power input DVI IN PC signal input VIDEO 1 IN Composite signal input for AV1 VIDEO 1 OUT Video looping output for AV1 VIDEO 2 IN Composite signal input for AV2 VIDEO 2 OUT Video looping output for AV2 7, 8... -
Page 9: Remote Functions
Hardware Description Remote functions POWER: Turns the power ON or OFF SOURCE: Selects input source (AV1, AV2, S-Video, DVI-D, DVI- APC (Auto Picture Control): Selects Picture mode [ ACC (Auto Color Control): Selects Color tone [ AV1: Selects AV1 input source AV2: Selects AV2 input source S-VIDEO: Selects S-VIDEO input source PC: Selects DVI input source (DVI-A, DVI-D) -
Page 10: Mounting The Monitor
Mounting the monitor Mounting the monitor The LCD monitor CMTC1713/1913 is suitable for wall mounting by using the VESA 100 standard wall mount design. 1. Remove the base from the monitor by loosen the screws on the back panel. 2. Install the monitor to the wall as shown in the picture below. Building Technologies CMTC1713_1913 User Manual Fire Safety &... -
Page 11: Adjusting The Osd Screen
Adjusting the OSD screen Adjusting the OSD screen All picture and sound settings for the monitor can be adjusted in the OSD menu (On Screen Display). To adjust the OSD screen: 1. Press the Menu button to enter the OSD menu. 2. -
Page 12: Sound
Adjusting the OSD screen Color tones Custom* To manually adjust the color tones (Red, Green, Blue) Cool Gives the white colors a bluish tint Normal Gives the white colors a neutral tint Warm Gives the white colors a reddish tint In DVI-A mode only Picture modes Dynamic... -
Page 13: Setup
Adjusting the OSD screen Setup Option Function Values Language Sets the language of the OSD menu English, Français, Deutsch, Italiano, Español, Português, Nederland Key Lock Locks all buttons of the monitor On, Off Note: Use remote control to unlock [ OSD Tone Changes background color of monitor menus Transparency, Blue... -
Page 14: Information
Adjusting the OSD screen PC setup (only in DVI-A mode) Option Function Values Auto Adjust Auto geometry adjustment Phase Adjusts the number of horizontal picture elements 0 - 100 H-Position Adjusts the horizontally picture position 0 - 100 V-Position Adjusts the vertically picture position 0 - 100 Frequency Adjusts the vertical noise of screen image... -
Page 15: Troubleshooting
Troubleshooting Troubleshooting Problem Troubleshooting No image on display 1. Check that the power cord of the monitor has been screen connected securely into wall outlet or grounded extension cable or strip. 2. Power switch should be in the ON position and LED is lit. -
Page 16: Disposal
Disposal Disposal All electrical and electronic products should be disposed of separately from the municipal waste stream via designated collection facilities appointed by the government or the local authorities. This crossed-out wheeled bin symbol on the product means the product is covered by the European Directive 2002/96/EC. -
Page 17: Index
Index Index Adjusting OSD screen, 11 OSD language, 13 Auto adjust, 14 OSD menu, 11 Buttons, 8 PC setup, 14 Picture mode, 12 Picture settings, 11 Color tone, 12 Power management, 9 Connections, 8 Power status, 8 Input signal, 8 Remote functions, 9 Resetting, 13 Key lock, 13... - Page 18 Issued by © 2008 Copyright Siemens Switzerland Ltd Technical specifications and availability subject to change without Siemens Building Technologies notice. Fire & Security Products GmbH & Co. oHG Siemensallee 84 D-76181 Karlsruhe www.buildingtechnologies.siemens.com Document ID A6V10230457 Edition 19/12/2008...
Need help?
Do you have a question about the CMTC1913 and is the answer not in the manual?
Questions and answers