Table of Contents
Advertisement
Quick Links
Advertisement
Table of Contents

Related Manuals for ADDER AdderView Omega


Summary of Contents for ADDER AdderView Omega
- Page 1 AdderView Omega User Guide...
-
Page 2: Table Of Contents
Stage C - Copy the files and edit the control file ....16 Using channel isolation mode........... 8 Using lock (password protection) mode ......8 Stage D - Reconnect the AdderView Omega and reboot .. 17 Using autoscanning mode..........8 Solving problems Getting assistance and Troubleshooting ......... -
Page 3: Key Features
Computer 1 Common keyboard, monitor, mouse and audio To create the AdderView Omega we have drawn upon our many years of designing and producing our professional switches for large data centers. We hope that you will find AdderView Omega straightforward to install and easy to use. -
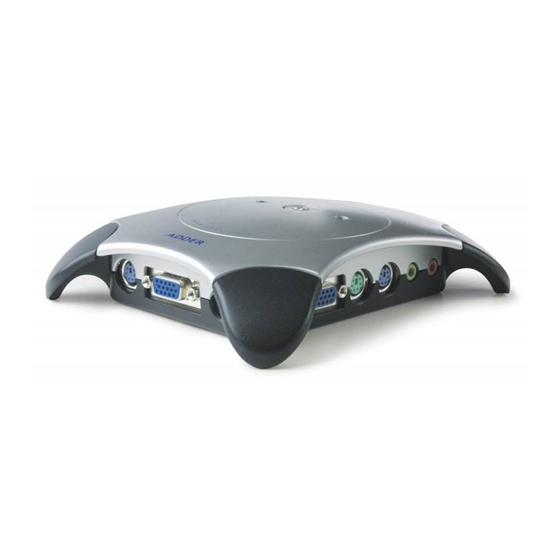
Page 4: Your Adderview Omega At A Glance
These allow the AdderView Omega to be connected to computers that use USB keyboard and mouse links * Note: Depending on the purchased package, the cable sets and USB adaptors may, or may not, be included with the AdderView Omega. -
Page 5: Making Connections
Before connecting your AdderView Omega, first decide where you will position it: • AdderView Omega can be located on your desk, on the floor or can even be attached to a wall or desk side using Velcro strips (not supplied). - Page 6 7 Connect the Audio cable set to the microphone and speaker sockets of channel 1 (on the left side) of the AdderView Omega. 4 Decide which of your two computers will connect to channel 1 – the sockets for this channel are located on the left side of the AdderView Omega.
-
Page 7: Usb Keyboard And Mouse Connections
Support for extra keys and country codes on Sun keyboards To make a USB keyboard and mouse connection As supplied, your AdderView Omega supports all of the keys of a Follow the standard connection standard PS/2 keyboard, however, certain Sun workstation keyboards instructions given previously, contain extra function keys. -
Page 8: Everyday Use
The relevant channel indicator on the AdderView Omega is in automatic screen saver mode. The AdderView Omega will light and will flicker whenever you type or use AdderView Omega will automatically ‘wake up’ and activate the the mouse. -
Page 9: Other Switching Options
In addition to the basic switching options (mentioned previously), your the screen saver mode. In addition, a password must be entered AdderView Omega offers various extra switching modes to meet your before normal operation may continue. To use this feature, you first various requirements. -
Page 10: Special Features
Special features Configuration You can alter the way that your AdderView Omega operates to suit 2 Using the keyboard, press the first letter of the required your requirements. This is done using the Configuration mode and you configuration option, for instance can affect the following settings: On your keyboard, the ‘Scroll Lock’... -
Page 11: Configuration Options
This section lists all of the configuration options that you can use to buttons are used as the hotkeys to initiate channel switching and alter the operation of your AdderView Omega. A full description of other AdderView Omega features. how to use configuration mode is given above, here is a quick... -
Page 12: Autoscanning Dwell Timing
T1 Dwell at each computer for 2 seconds before switching to the mouse. Adding a switch, such as the AdderView Omega, can cause next port (default setting). slight timing changes that result in the on-screen mouse pointer T2 Dwell at each computer for 5 seconds before switching to the responding very slowly. -
Page 13: Setting And Using A Password
• Using the keyboard – press . The screen will go blank both of the AdderView Omega indicators light as well as all three and the AdderView Omega and keyboard indicators will begin of the keyboard indicators (‘Num Lock’, ‘Caps Lock’ and ‘Scroll flashing alternately. -
Page 14: Hot Plugging And Mouse Restoration
Omega. However, if this is not possible then you need to ‘hot plug’ Recognizing an Intellimouse-style mouse your AdderView Omega while power is still applied to the system (or The Intellimouse format was introduced to support, among other systems). There is not normally a danger of damage to the systems, features, the scroll wheel function. -
Page 15: Resetting
1 Press and hold the Omega button for roughly five seconds until by an extended keyboard sequence. both of the AdderView Omega indicators light as well as all three of the keyboard indicators. 2 Release the Omega button and then press (and release it) once again. -
Page 16: Software Upgrades And Keyboard Emulations
For this stage you will need a floppy diskette that is either blank or 3½ The internal software of your AdderView Omega can be upgraded to has existing contents that are no longer required. The write protect fulfill two main functions: tab must be moved to the ‘unprotected’... -
Page 17: Stage C - Copy The Files And Edit The Control File
• STANxxx.S19 - This is the standard driver that is suitable for most In order to choose the appropriate upgrade/keyboard emulation systems and is loaded by default into the AdderView Omega. options, you now need to copy the downloaded files to the diskette and then edit the AUTOEXEC.BAT control file. -
Page 18: Stage D - Reconnect The Adderview Omega And Reboot
Stage D - Reconnect the AdderView Omega and reboot 1 Using one of the KVM cable sets, connect the keyboard port from channel 1 of your AdderView Omega to the keyboard socket of the computer from which you will run the upgrade (your AdderView Omega may already be connected in this manner). -
Page 19: Solving Problems
If you are still experiencing problems after checking the list of solutions in the Troubleshooting section then we provide a number of • If the indicator does not flash - the AdderView Omega is not receiving data from the mouse. Check the mouse connection other solutions: or, if possible, try a different mouse. -
Page 20: Fcc Statement
If indirectly from the use of this product. Adder’s total liability under the this equipment does cause harmful interference to radio or television...
Need help?
Do you have a question about the AdderView Omega and is the answer not in the manual?
Questions and answers