
Related Manuals for Miele M 8151


Summary of Contents for Miele M 8151
-
Page 1: Operating Instructions
Operating instructions Microwave oven M 8151 M 8161 To avoid the risk of accidents or damage to the appliance it is essential to read these instructions before it is installed and used for the first time. M.-Nr. 06 542 950... -
Page 2: Table Of Contents
Contents Description of the appliance ......... 4 Oven interior and accessories . - Page 3 Contents "door" message..........24 Interrupting or re-starting a programme .
-
Page 4: Description Of The Appliance
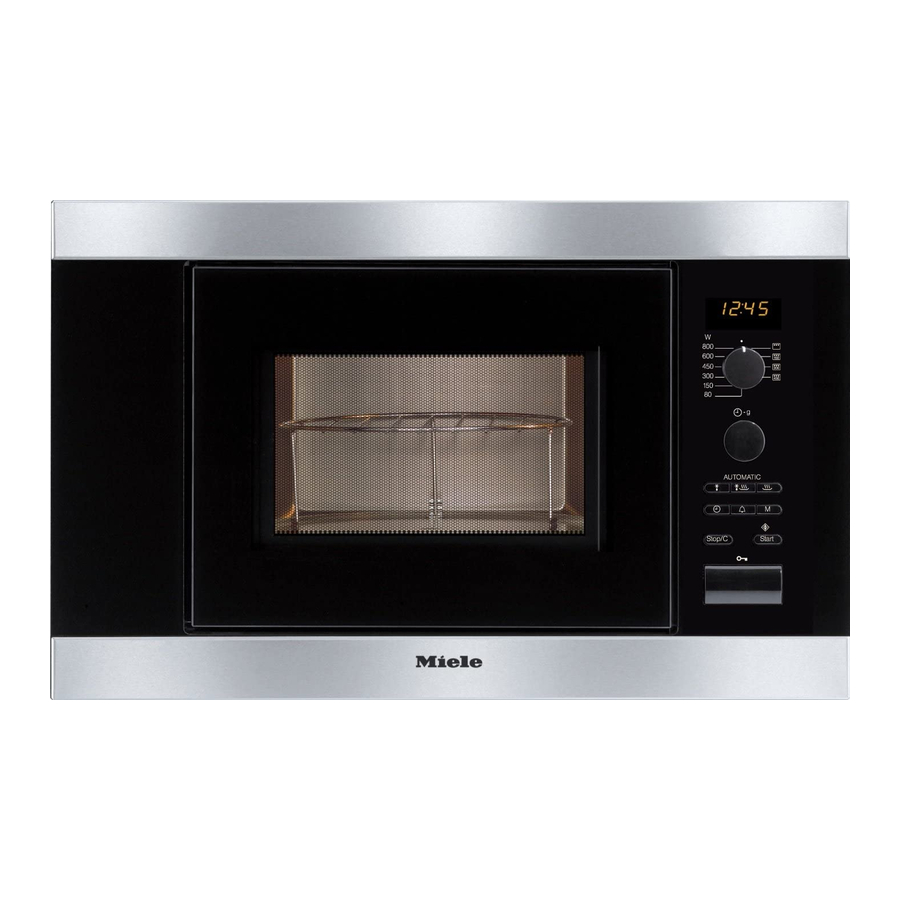
Description of the appliance Oven interior and accessories a Oven door f Grilling rack b Door locking mechanism g Glass tray c Grill/browning element h Gourmet plate d Control panel i Cover e Turntable j Boiling rod... -
Page 5: Control Panel
Description of the appliance Control panel k Electronic timer and clock display l Rotary selector for microwave power, grill and combination programmes m Rotary selector to enter time and weight n Automatic programme buttons o Time of day button m p Minute minder button l q Memory button (to save a 1-3 stage programme sequence) -
Page 6: Accessories Supplied
Description of the appliance Accessories supplied Cover The cover supplied must only be used Grilling rack in the Microwave-solo mode. The grilling rack can be used for all It prevents the food from drying out and functions with and without the oven from becoming dirty, and it microwave power, except for accelerates the heating process. -
Page 7: Caring For The Environment
Caring for the environment Disposal of the packing Disposal of your old appliance material Electrical and electronic appliances often contain materials which, if The transport and protective packing handled or disposed of incorrectly, has been selected from materials which could be potentially hazardous to are environmentally friendly for human health and to the environment. -
Page 8: Warning And Safety Instructions
If the connection cable is relevant local and national safety damaged, the new cable must be requirements. Improper use can fitted by a Miele approved service present a risk of both personal injury technician. and material damage. Do not use the microwave if... - Page 9 Warning and Safety instructions Do not connect the appliance to This equipment may only be used the mains electricity supply by an in mobile installations such as extension lead. ships, caravans, aircraft etc. if a risk Extension leads do not guarantee the assessment of the installation has been required safety of the appliance (e.g.
- Page 10 Warning and Safety instructions It is important that the heat is Do not use full power to warm allowed to spread evenly empty dishes. Do not use the throughout the food being cooked. This appliance without food, or if it is can be achieved by stirring and/or incorrectly loaded.
- Page 11 Warning and Safety instructions When heating liquids, the boiling To avoid fuelling any flames, do not rod provided should always be open the oven door if smoke placed into the container. occurs in the oven interior. Interrupt the process by pressing the Stop/C button twice.
- Page 12 Warning and Safety instructions Do not use any containers or Eggs can only be cooked in their cutlery made from or containing shells in the microwave oven in a metal, aluminium foil, lead crystal specially designed egg-boiling device glassware, temperature-sensitive available from specialist shops.
- Page 13 Warning and Safety instructions Do not use the appliance for deep Never place the hot glass tray (or frying food, and do not leave it any other hot cooking containers) unattended when cooking with oils and on a cold surface, such as a tiled or fats as these can be a fire hazard if granite worktop.
- Page 14 Warning and Safety instructions When using browning dishes: Disposal of your old appliance Always use oven gloves when Before disposing of your old handling the browning dish to appliance, first make it unusable. avoid burns. Disconnect it from the mains, cut off the cable near the appliance and cut off Never place the browning dish and render any plug unusable.
-
Page 15: Microwave Power
Microwave power How does the microwave oven As heat is produced directly in the food, function? – food can generally be cooked In a microwave oven there is a without adding much liquid or high-frequency tube called a cooking oil. magnetron. -
Page 16: Operating Modes
Operating modes What can a microwave oven In what ways can a microwave oven be used? In the microwave oven, food is cooked, Microwave-solo mode reheated or defrosted quickly. Suitable for defrosting, reheating and You can use your microwave in the cooking. -
Page 17: Suitable Containers For Microwave Ovens
Suitable containers for microwave ovens Material and shape Microwaves The material and shape of containers used affect cooking results and times. Heat distribution is more even in round and oval shaped flat containers than in rectangular containers, providing better results. Metal –... - Page 18 Suitable containers for microwave ovens – Pieces of aluminium foil Earthenware can get very hot, and For even defrosting and to avoid may crack. overcooking unevenly shaped cuts of meat, poultry or fish, small pieces of Glazes and colours aluminium foil may be used to mask wingtips or other thin parts for the last Some glazes and colours contain few minutes of the programme.
-
Page 19: Testing Dishes For Their Suitability
Suitable containers for microwave ovens Testing dishes for their Roasting bags and tubes can also be used. Roasting tubes should be about suitability 40 cm longer and roasting bags about If in doubt as to whether glass, 20 cm longer than the food being earthenware or porcelain plates or roasted, and carefully tied with string. -
Page 20: The Cover
Suitable containers for microwave ovens The cover Do not use a lid or cover if – prevents too much steam escaping, – food coated with breadcrumbs is especially when cooking foods which being cooked. need longer to cook, such as –... -
Page 21: Before Using For The First Time
Before using for the first time ^ Check the appliance for any Important: damage. After unpacking, let the appliance stand for approx. 2 hours at room Do not use the microwave if temperature after transporting it to - the door is warped. its final location before connecting it - the door hinges are loose. -
Page 22: Time Of Day Display
Time of day display ^ Press the m button to confirm, or wait Setting the time of day a few seconds. ^ Connect the appliance to the mains The m symbol will flash, and the electricity supply. current minutes will light up for a few 12:00 and the m symbol will flash in seconds. -
Page 23: Operation
Operation To open the door To close the door ^ Press the a button to open the door. ^ Push the door firmly shut. If the microwave oven is being used, Press the START button again to opening the door will interrupt the resume an interrupted cooking cooking programme. -
Page 24: Door" Message
Operation When heating up food which cannot be – the frequency of stirring or turning stirred or turned during cooking, as with the food. a plated meal, it is best to use a lower Frequent stirring or turning heats the microwave power level. -
Page 25: Interrupting Or Re-Starting A Programme
Operation Interrupting or re-starting a To cancel a programme programme ^ Press the Stop/C button twice. At any time you can . . At the end of a programme . . . interrupt a programme: An audible tone will sound when the ^ Press the Stop/C button, or open the cooking programme is complete. -
Page 26: Quick Start (Programmable)
Operation Quick start (programmable) System lock Pressing the START button c is The system lock prevents the appliance sufficient to set the appliance operating being used by children, for example. on maximum power. Three set times are stored in the To activate the system lock memory: ^ Press and hold the Stop/C button... -
Page 27: Minute Minder
Operation Minute minder Minute minder + cooking function The minute minder can be used to time The minute minder can be used at the any activity in the kitchen, e.g. boiling same time as a cooking function, and eggs. The time set counts down in one counts down in the background. -
Page 28: Operation - Grilling
Operation - Grilling The grill can be used on 4 settings: by itself, and in combination with the Microwave function at one of three different power levels. If the total grilling time required is less than 15 minutes, the grill should be pre-heated for approx. - Page 29 Operation - Grilling Combination mode - To change a cooking duration Microwave + Grill The cooking duration entered can be changed during operation if required. This function is very good for baking Interrupt the process by pressing the and browning. The microwave cooks Stop/C button, and change the the food, and the grill browns it.
-
Page 30: Gourmet Plate
Gourmet plate Do not use the gourmet plate to The gourmet plate gets extremely cook eggs or reheat cooked eggs. hot when in use. Always use oven The eggs can burst. gloves when handling it to avoid burns. Place it on a suitable The gourmet plate has an easy to heat-resistant mat or pot rest. -
Page 31: Recipes
Gourmet plate Recipes Vegetable medley (Serves 3) 2 onions Croque monsieur (Serves 3) 2 tbsp oil 100 g mushrooms, cleaned 6 slices of bread 30 g soft butter 150 g baby carrots or carrot slices 75 g grated Emmental cheese 100 g broccoli florets 1 red pepper 3 slices of cooked ham... - Page 32 Gourmet plate Home-made potato rösti Pork fillets (Serves 2) (Serves 2) 400 g peeled potatoes 1 piece pork fillet (approx. 400 g) 2 small onions 4 rashers streaky bacon 50 g grated Emmental cheese Salt, pepper Salt, pepper 10 g butter 20 g butter 200 g sliced mushrooms 200 ml double cream...
- Page 33 Gourmet plate Curried chicken Fisherman's salmon (Serves 2) (Serves 3) 2 pieces of salmon fillet (each 150 g) 1 tbsp lemon juice 600 g chicken or turkey breasts 2 tbsp oil Salt, white pepper 2 tbsp white wine Drizzle the salmon with the lemon juice, 2 tbsp apple juice and leave to stand for approx.
- Page 34 Gourmet plate Pineapple cake Quick almond tart For the cake: For the pastry: 2 eggs 100 g plain flour 80 g sugar level tsp baking powder ripe bananas 75 g butter or margarine 30 g chocolate chips 30 g sugar 100 g plain flour Filling: tsp.
-
Page 35: Operation - Automatic Programmes
Operation - Automatic programmes AC 3 4 Chicken drumsticks All of the automatic programmes are weight dependent. (0.25 - 0.75 kg) AC 4 _ Fish pie (0.6 - 1.2 kg) After selecting a programme, enter the weight of the food. The microwave AC 5 W Savoury bakes, e.g. - Page 36 Operation - Automatic programmes ^ Interrupt the programme to turn or stir the food, and then continue the programme. The programmed time can, if necessary, be extended by a few minutes during operation by pressing the START button repeatedly until the time required shows in the display.
-
Page 37: Saving Your Favourite Programme
Saving your favourite programme One favourite programme can be saved in memory. This programme can have up to 3 stages (e.g.: 1 minute at 600 W, followed by 2 minutes on Grill, and finally 3 minutes at 150 W + Grill). Programming (The example given is for a 3-stage programme.) - Page 38 Saving your favourite programme To call up your favourite programme ^ Turn the programme selector to the 12 o'clock position. ^ Press the M button. ^ Press the START button. In the event of a power cut, the favourite programme is no longer saved and must be re-entered.
-
Page 39: Changing The Settings
Changing the settings Some of the standard settings for the The other settings can be changed in appliance (which are set at the factory) the same way. have an alternative which you can ^ When you have finished making the select if required. - Page 40 Changing the settings Setting Settings available (* factory default) Night time switch-off S 0* Night time switch-off is deactivated. Night time switch-off is activated. The time of day display is switched off from 11 pm to 4 am. P 2 Automatic warming S I* The automatic warming function is activated.
-
Page 41: Reheating
Reheating Select the following microwave power food, its initial temperature and the levels to reheat food: amount to be cooked. Drinks ..... 800 W Always ensure that food is Food . -
Page 42: Cooking
Cooking Place the food in a microwave-proof Food with a thick skin or peel, such as dish and cover it. tomatoes, sausages, jacket potatoes and aubergines, should be pierced or When cooking, it is a good idea to the skin cut in several places before select a power level of 800 W to start cooking to allow steam to escape and with and then when the food is hot... -
Page 43: Defrosting/Defrosting And Reheating Or Cooking
Defrosting/Defrosting and reheating or cooking Defrosting Defrosting followed by reheating or cooking Select the following microwave power settings to reheat food: Deep-frozen food can be defrosted and immediately reheated or cooked. – 80 W for defrosting very delicate food, e.g. After defrosting, select 800 W followed cream, butter, gateau and cheese. -
Page 44: Some Suggested Uses
Some suggested uses Food Quantity Micro- Time Notes wave power minutes) level (in watts) Melting butter and 100 g 1:00 - 1:15 Do not cover. margarine Melting chocolate 100 g 3:00 - 3:30 Do not cover. Stir halfway through melting. Dissolving gelatine 1 packet + 0:15 - 0:30 Do not cover. -
Page 45: Cleaning And Care
Cleaning and care Disconnect the microwave oven from the power supply before cleaning (e.g. switch off at the socket and remove the plug). Oven interior and inside of the door The oven interior can get hot during use. To avoid the danger of being burnt, wait until it has cooled down before cleaning. -
Page 46: Appliance Front And Control Panel
Miele authorised and trained service E-Cloth technician. ^ A microfibre "E-Cloth" is available from the Miele UK Spare Parts To clean the interior: Department, which is suitable for cleaning surfaces such as stainless steel, glass, plastic and chrome without the use of chemicals. - Page 47 To help prevent re-soiling, a proprietary Avoid: conditioning agent for stainless steel such as Neoblank (available from the – cleaning agents containing soda, Miele Spare Parts Department) can be acids or chlorides, used. Follow the manufacturer's – abrasive cleaning agents, e.g. instructions on the packaging.
-
Page 48: Accessories Supplied
Cleaning and care Accessories supplied Rack Wash and dry the rack after each use. Boiling rod It is dishwasher-proof, or can be washed by hand in hot water with a little The boiling rod can be washed in a dishwasher. washing up liquid. -
Page 49: Problem Solving Guide
. . . the display does not light up. Repairs to this appliance must only Check whether, be carried out by a Miele approved ^ the time of day display has been service technician in strict switched off (press and hold the m accordance with current local and national safety regulations. - Page 50 . . . the time of day in the display is If the microwave oven switches itself off not accurate. repeatedly, please call the Miele If there has been a power cut, the time Service Department. automatically switches back to 12:00.
-
Page 51: After Sales Service
In the event of any faults which you cannot remedy yourself, or if the appliance is under guarantee, please contact: – your Miele dealer, or – the Miele Service Department (see back cover for contact details). When contacting your Dealer or the... -
Page 52: Electrical Connection
If the connection cable is damaged suitable switched socket, or via a it must be replaced by a Miele suitable isolator, which complies with approved Service Technician only. national and local safety regulations,... -
Page 53: Installation
Installation When building in the appliance, For safety reasons, do not build the ensure that the vent outlets at the appliance into a wall unit that is front of the appliance are not directly above a hob. hindered, and that there is adequate A minimum installation height of ventilation to the rear of the housing 850 mm must be maintained. - Page 54 Installation M 8151 Building-in kit The following items are supplied in the accessory pack for installing the appliance: 4 x 16mm 4 x 20mm...
- Page 55 Installation Installation The appliance must be built in before it can be used. Otherwise it poses an electric shock hazard. ^ Position the fixing bracket on this middle line. There are two indented marks on the bracket to guide you. Use the appropriate one for the width of your kitchen cabinet.
- Page 56 Installation ^ If it is not aligned correctly, carefully 2. Niche height 360 mm pull it back out of the niche and ^ Remove all the accessories, realign it by slightly adjusting the including the turntable and the roller position of the bracket on the long ring, from the microwave oven cavity.
- Page 60 Alteration rights reserved/ 1606 M.-Nr. 06 542 950 / 04 gb - GB M 8151, M 8161...
Need help?
Do you have a question about the M 8151 and is the answer not in the manual?
Questions and answers