
Related Manuals for Hayter R48 447F


Summary of Contents for Hayter R48 447F
- Page 1 R48 Recycling Mower Code 446F, 447F Serial No. 310000001 and Up Manual Part No. 111-3375 Rev A...
-
Page 2: Table Of Contents
This product complies with all relevant European information and Note emphasizes general information directives, for details please see the separate product worthy of special attention. specific Declaration of Conformity (DOC) sheet. Contents Introduction Introduction..............2 Thank you for purchasing a Hayter mower. The Safety ................ -
Page 3: Safety
Safety • If petrol is spilled, do not attempt to start the engine but move the mower away from the area of spillage and avoid creating any source of ignition until petrol Improperly using or maintaining this mower can vapors have dissipated. result in injury. -
Page 4: Sound Pressure
– Do not mow excessively steep slopes. • To reduce the fire hazard, keep the engine, silencer, battery compartment and petrol storage area free of – Exercise extreme caution when on slopes. grass, leaves, or excessive grease. – Mow across the face of slopes, never up and •... -
Page 5: Safety And Instructional Decals
Safety and Instructional Decals Important: Safety and instruction decals are located near areas of potential danger. Replace damaged decals. Manufacturer’s Mark 1. Indicates the blade is identified as a part from the original machine manufacturer. 110-7126 1. Warning—read the 4. Cutting, dismemberment Operator’s Manual. -
Page 6: Setup
Setup Unfolding the Handle 1. Unlock the handle locks, move the handle sections into the operating position, and lock the handle locks (Figure 3). Figure 5 Filling the Engine with Oil Your mower does not come with oil in the engine. Figure 3 1. -
Page 7: Installing The Fuse (Model 447F Only)
Installing the Fuse (Model Charging the Battery (Model 447F Only) 447F Only) Your mower comes with a 40-amp fuse that protects the Refer to Charging the Battery in the Maintenance electric starter. section. Important: You cannot start the mower with the electric starter or charge the battery unless you install the fuse. -
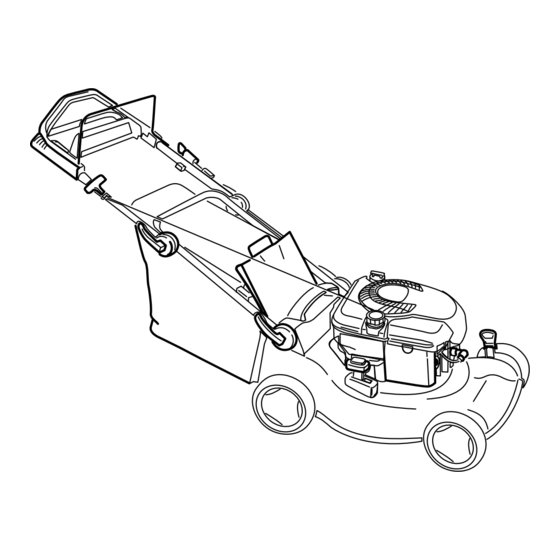
Page 8: Product Overview
Product Overview Operation Filling the Fuel Tank Petrol is extremely flammable and explosive. A fire or explosion from petrol can burn you and others. • To prevent a static charge from igniting the petrol, place the container and/or mower directly on the ground before filling, not in a vehicle or on an object. -
Page 9: Adjusting The Cutting Height
Starting the Engine detergent oil with an API service classification of SF, SG, SH, SJ, SL, or higher.) 1. Hold the blade control bar against the handle 3. Install the dipstick. (Figure 12). Adjusting the Cutting Height Adjusting the cutting height may bring you into contact with the moving blade, causing serious Figure 12 injury. -
Page 10: Stopping The Engine
sides, and the mower will automatically keep pace with you. Figure 17 1. Recycling mode 2. Bagging mode Figure 15 Bagging the Clippings Stopping the Engine Use the grass bag when you want to collect grass and 1. Release the blade control bar (Figure 16). leaf clippings from the lawn. -
Page 11: Rear-Discharging The Clippings
The blade is sharp; contacting the blade can result in serious personal injury. Stop the engine and wait for all moving parts to stop before leaving the operating position. Operating Tips General Mowing Tips • Clear the area of sticks, stones, wire, branches, and other debris that the blade could hit. - Page 12 – Raise the cutting height on your mower. – Cut the grass more frequently. – Overlap cutting swaths instead of cutting a full swath with each pass. – Set the cutting height on the front wheels one notch lower than the rear wheels. For example, set the front wheels at 60 mm and the rear wheels at 70 mm.
-
Page 13: Maintenance
Maintenance Recommended Maintenance Schedule(s) Maintenance Service Maintenance Procedure Interval • Change the engine oil. After the first 5 hours • Check the engine oil level. • Ensure that the engine stops within 3 seconds after releasing the blade control bar. Before each use or daily •... -
Page 14: Lubrication
Lubrication Engine Maintenance Lubricating the Wheel Gears Replacing the Air Filter Service Interval: Yearly—Lubricate the wheel gears. Service Interval: Yearly—Replace the air filter (more frequently in dusty operating 1. Remove the wheel bolts on the rear wheels and conditions). remove the rear wheels. 1. -
Page 15: Electrical System Maintenance
Electrical System Maintenance Charging the Battery (Model 447F Only) Service Interval: Every 25 hours—Charge the battery for 24 hours. (Model 447F only) Always use the charger in a sheltered area and charge the Figure 23 battery at room temperature (22° C) whenever possible. 1. -
Page 16: Drive System Maintenance
Drive System Maintenance Adjusting the Self-propel Drive If your mower does not self-propel properly, adjust the self-propel drive cable. 1. Loosen the nut on the cable mount (Figure 25). Figure 27 1. Exposed cable 4. Push the cable jacket upward 3/16 inch (5 mm) (Figure 28). -
Page 17: Blade Maintenance
Blade Maintenance Important: A bolt torqued to 82 N-m is very tight. While holding the blade with a block of wood, put your weight behind the ratchet or Replacing the Blade wrench and tighten the bolt securely. This bolt is very difficult to overtighten. Service Interval: Every 25 hours—Replace the blade or have it sharpened (more frequently if the edge dulls quickly). -
Page 18: Cleaning
Cleaning Storage Store the mower in a cool, clean, dry place. Cleaning the Mower Preparing the Mower for Service Interval: Before each use or daily—Clean the mower. Storage Tipping the mower may cause the fuel to leak Petrol vapors can explode. from the carburetor or the fuel tank. - Page 19 Notes:...
- Page 20 Notes:...
- Page 21 1st Year (12 months) 1st Year (12 months) Owner’s Name: We certify that this service has been carried out by an Authorised Hayter Serial Number: Service Dealer Date: Date: Note for dealer: Please retain this voucher for your records. 2nd Year (24 months) 2nd Year (24 months) Owner’s Name: We certify that this service has been...
- Page 23 LIMITED WARRANTY Hayter Limited warrants to the original user/purchaser that this unit shall be free from defects in material and workmanship under normal use and service for a period of three years from the date of purchase. The manufacturer of major proprietry components ie. engines, gearbox / transaxle (where applicable) furnish their own warranty and services are provided through their authorised network.
Need help?
Do you have a question about the R48 447F and is the answer not in the manual?
Questions and answers