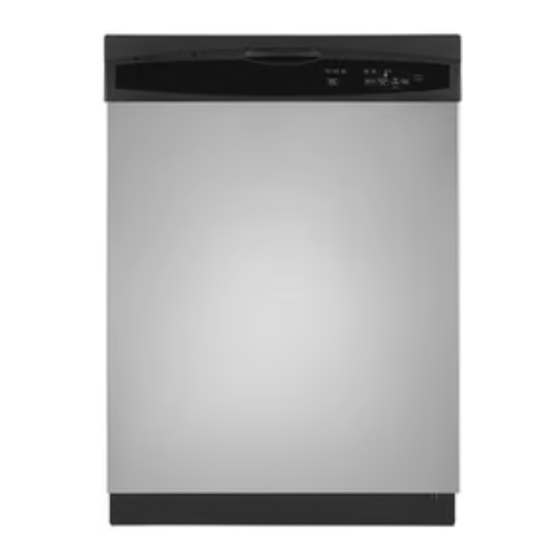
Table of Contents
Advertisement
Quick Links
DISHIMASHING
GUIDE
(DU2OJ)
HEATING
O
CLEAN
O
STATUS
CYCLE
SETTINGS
0
0
0
0
0
HEAT
OPTIONS
CONTROL
!
How
to Operate
Your
New
Dishwasher
STEP 1.
Load the dishwasher according to the instructions
on pages 5-7.
STEP 2.
Add detergent
to the detergent
dispenser.
See page 4. Use rinse aid to help prevent
spotting
and filming
and to improve
drying results. See page 5.
STEP 3,
Press the door until it latches. Select the appropriate
cycle. It can be changed
within the first 5 minutes.
Refer to the chart below for additional
information.
STEP 4,
Select (press the pad twice) heating options. Press the "START" pad.
STEP 5.
The clean indicator
light will come on at the end of the dry cycle. Items can be removed.
CYCLE DESCRIPTIONS
Super Scrub Cycle
For heavily soiled dishes, pots and pans;
Cycle Time: Approx. 66 minutes
*
Water Usage:
Approx. 10.5 gallons
Normal
Wash Cycle
For normally
soiled dishes.
Cycle Time: Approx. 56 minutes
*
Water Usage:
Approx. 9.0 gallons
Energy Saver Cycle
For medium
to lightly soiled dishes.
Cycle Time: Approx. 56 minutes
*
Water Usage:
Approx. Z5 gallons
*Cycle times will increase approximateIy
12 minutes
if the WATER HEAT option
is selected and temperatures
are too low for
good cleaning.
The Heating
indicator
light will be on during this time.
Nearing
Options:
DRYING HEAT. Available
on all cycles. Add 30 minutes
to the cycle times listed above.
Advertisement
Table of Contents

Subscribe to Our Youtube Channel
Summary of Contents for Magic Chef DU20J
- Page 1 DISHIMASHING GUIDE (DU2OJ) CYCLE SETTINGS HEATING CLEAN STATUS HEAT OPTIONS CONTROL to Operate Your Dishwasher STEP 1. Load the dishwasher according to the instructions on pages 5-7. STEP 2. Add detergent to the detergent dispenser. See page 4. Use rinse aid to help prevent spotting and filming and to improve...
- Page 2 CONTENTS Write your model and serial numbers in the spaces provided below. You'll find them on the data label located on the upper left corner of the door frame. Cycle Description .............. Use this information for any correspondence For Future Reference ............service calls concerning your dishwasher.
-
Page 3: Safety Instructions
IMPORTANT PERSONAL SAFETY INSTRUCTIONS Products with a (_) label have been listed with the Use only detergents and rinse additives designed Underwriters' Laboratories, Inc.--those with a CSA for an automatic dishwasher. Never use soap, laundry detergent, or hand washing detergent tag have been listed with Canadian Standards your dishwasher. -
Page 4: Hot Water
USING YOUR DISHWASHER fresh detergent and store it in a cool, dry place (not Water under the kitchen sink). For proper performance, hot water is necessary. Amount to Use best cleaning and drying results, set your water heater to deliver a minimum of 120°F (49°C) water to the The amount of detergent... -
Page 5: Rinse Aid
Rinse Aid Loading the Dishwasher Using a rinse aid makes water flow off the dishes Helpful Hints: Always load items on the racks so better. This lessens water spotting and filming and they are separated and face the center to insure the improves drying. - Page 6 Lower Rack Upper Rack Large dinner plates and other dishes may be placed in The upper rack is designed to hold glasses, cups, small any convenient location in the lower rack with soiled plates, bowls, etc. surfaces facing the center. The back half of the lower Bowls fit securely in the back right half of the top rack.
-
Page 7: Convertible Dishwasher Connection
Press down on the thumb release. Lift the connector Utensil Tray (Select Models) up onto the faucet and release your thumb pressure The removable utensil tray sits on top of the upper the connector is held firmly in place. rack and holds long, awkward items such as spatulas, Turn the hot water faucet on full force. - Page 8 WHAT CAN AND CANNOT BE WASHED Remember: It is the user's responsibility to determine if the item should be washed in a dishwasher. Special Instructions Exceptions (not safe) Material Some colored anodized Some darkening or spotting possible. Aluminum aluminum can fade. Remove by scouring with soap-filled steel wool pads.
-
Page 9: Care And Cleaning
CARE AND CLEANING each cycle with a drain for touch control models, press the Drain/Off pad. (See page 1.) Clean the control panel with a lightly dampened ° Disconnect the electrical supply and prop open the cloth. Dry thoroughly. Do not use abrasives or sharp door. -
Page 10: The Problem Solver
THE PROBLEM SOLVER Check the Problem Solver Chart if you have a problem. It may be something minor you can correct. Simply locate your problem on the chart and follow the suggested remedy. POSSIBLE CAUSE AND REMEDY PROBLEM DISHWASHER • A fuse in your home may be blown or the circuit breaker tripped. - Page 11 , ,, ,,,,,,,,,,,, ..PROBLEM POSSIBLE CAUSE AND REMEDY SPOTS AND FILM ON Spotting can be caused by all these things: GLASSES AND • Extremely hard water. (See page 4.) FLATWARE ° Low inlet water temperature. (To test, see page 4.) •...
-
Page 12: If You Need Service
PROBLEM POSSIBLE CAUSE AND REMEDY ,,,,,,, ......DISHWASHER WON'T If the entire bottom of the tub has water, you may have a drain problem. DRAIN Check the kitchen sink. Is it draining well? You may need a plumber. Check the drain hose for any kinks. If dishwasher drains into a disposer, run the disposer... -
Page 13: Warranty
Full One-Year Warranty For Dishwasher The manufacturer will repair or replace, without charge, any part of your product which has a defect in material or workmanship during the first year after the date of the original installation. Full Twenty-Year Warranty On Tub and Door Liner...


Need help?
Do you have a question about the DU20J and is the answer not in the manual?
Questions and answers