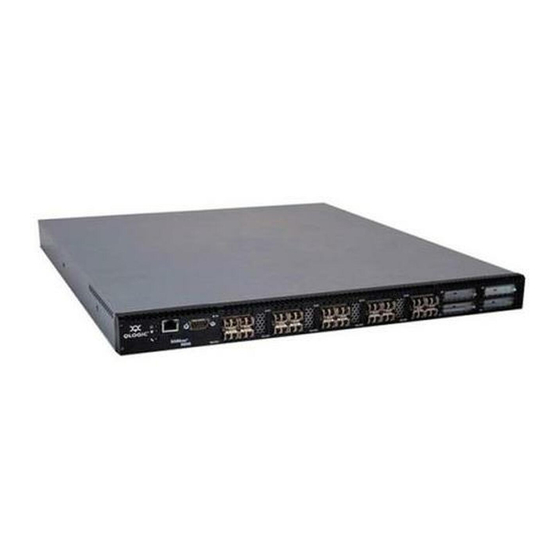
Qlogic SANbox 5800 V Series Quick Start Manual
Fibre channel switch
Hide thumbs
Also See for SANbox 5800 V Series:
- Interface manual (422 pages) ,
- User manual (256 pages) ,
- Installation manual (134 pages)
Advertisement
Table of Contents
- 1 Quick Start Guide
- 2 Installation Instructions
- 3 Step 1. Verify the Package Contents
- 4 Step 2. Mount the Switch
- 5 Step 3. Stack Switches
- 6 Step 4. Install Transceivers
- 7 Step 5. Apply Power to the Switch
- 8 Step 7. Connect the Workstation to the Switch
- 9 Step 6. Verify Workstation Requirements
- 10 Step 8. Log in to the Switch
- 11 Step 9. Run the Configuration Wizard
- 12 Step 10. Connect Devices
- Download this manual
Advertisement
Table of Contents

Subscribe to Our Youtube Channel
Related Manuals for Qlogic SANbox 5800 V Series


Summary of Contents for Qlogic SANbox 5800 V Series
-
Page 1: Quick Start Guide
Quick Start Guide F I B R E C H A N N E L S W I T C H I N S T A L L A T I O N S A N b o x 5 8 0 0 V S e r i e s f o r W i n d o w s O p e r a t i n g S y s t e m s... - Page 2 Technical Support can be reached by the following methods: http://support.qlogic.com E-mail support@qlogic.com The QLogic knowledge database contains troubleshooting information for the QLogic HBAs. Access the data base from the QLogic Support Web page, http://support.qlogic.com. Use the Support Center search engine to look for specific troubleshooting information.
-
Page 3: Installation Instructions
, Linux , and Mac OS X installations), refer to the SANbox 5800V Series Stackable Fibre Channel Switch Installation Guide, which is available at www.qlogic.com. NOTE: Do not apply power to the switch until instructed in Step 5. Step 1. Verify the Package Contents... - Page 4 Step 3. Stack Switches You can connect up to six switches together through the XPAK ports using XPAK switch stacking cables. Stacking provides performance and fail-over while preserving ports for devices. ❑ For a 2-switch stack, use two 3-inch stacking cables. ❑...
- Page 5 Step 4. Install Transceivers An SFP transceiver is required for each SFP port that will be connected to a device or another switch. The SFP ports support 2-Gbps, 4-Gbps, and 8-Gbps transmission. The XPAK ports support 10-Gbps transmission and can be upgraded to 20-Gbps with a license key.
- Page 6 Open an Internet browser and start a new QuickTools session. Enter the new IP address to log in to switch. Step 10. Connect Devices ❑ Connect fiber optic cables between the installed transceivers and their corresponding devices. Each port auto-negotiates the proper port type with the connected device. Congratulations You have successfully installed your QLogic SANbox 5800V Series Switch...
- Page 7 © 2009 QLogic Corporation. QLogic, the QLogic logo, SANbox, and Enterprise Fabric Suite 2007 are trademarks or registered trademarks of QLogic Corporation. Microsoft , Windows, and Internet Explorer are registered trademarks of the Microsoft Corporation. MacOS X is a registered trademark of Apple Computer, Inc. Linux is a registered trademark of Linus Torvalds.
- Page 8 *50861-02 QLogic Corporation 26650 Aliso Viejo Parkway Aliso Viejo, CA 92656 949.389.6000 www.qlogic.com 50861-02 B...
Need help?
Do you have a question about the SANbox 5800 V Series and is the answer not in the manual?
Questions and answers