Table of Contents
Advertisement
Quick Links
Download this manual
See also:
Setup & Installation
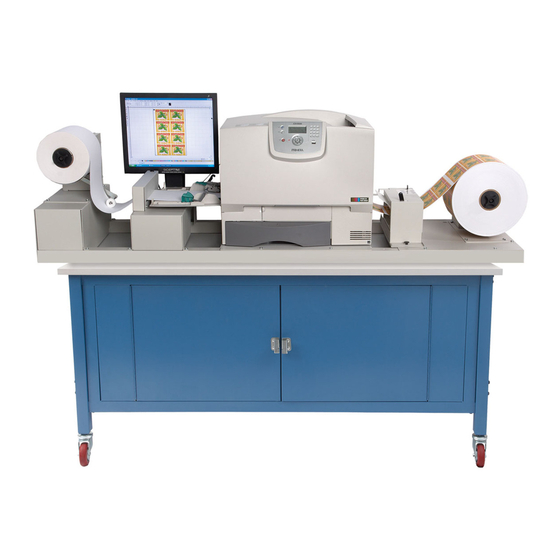
CX1200 Pre‐Die Cut Upgrade Instructions
Section 1: Update the Hardware
The following items are included in this upgrade kit:
•
Installation Disc
•
Replacement MP Feeder Door with integrated black mark sensor.
•
Installation Instructions
1. Disconnect the 6‐pin mini din cable from the MP Feeder door.
2. Remove 4 Phillips screws that secure the circuit board access cover. Be sure to keep the screw to the
black plastic door holder strap.
3. Remove the black cable from
circuit board. Use a flat screwdriver
to push back the catch so that the
connector can be removed.
1
511321‐021412
Advertisement
Table of Contents

Related Manuals for Primera CX1200 Pre?Die Cut


Summary of Contents for Primera CX1200 Pre?Die Cut
-
Page 1: Section 1: Update The Hardware
CX1200 Pre‐Die Cut Upgrade Instructions Section 1: Update the Hardware The following items are included in this upgrade kit: • Installation Disc • Replacement MP Feeder Door with integrated black mark sensor. • Installation Instructions 1. Disconnect the 6‐pin mini din cable from the MP Feeder door. 2. Remove 4 Phillips screws that secure the circuit board access cover. Be sure to keep the screw to the black plastic door holder strap. 3. Remove the black cable from circuit board. Use a flat screwdriver to push back the catch so that the connector can be removed. 1 511321‐021412 ... - Page 2 4. Pull the cable out of the plastic hook near the printer. 5. Once the black cable and the 6‐pin mini din cable are disconnected, you can remove the door. Press the gray button near the back of the printer. Lift up the back side of the door first to remove it. 6. Locate the replacement MP Feeder Door with integrated black mark sensor. 7. Remove 5 Phillips screws that secure the circuit board access cover and the metal sensor guard. 2 ...
- Page 3 8. Attach the replacement door to the printer. Connect the front side first. 9. Connect the back side of the door by pressing the grey button again and snapping the peg into the corresponding hole on the printer. Make sure the black cable and the black plastic door holder strap are above the door before you attach it on the printer. 10. Route the black cable as shown and connect it to the circuit board. 11. Replace the access cover and the metal sensor guard. Connect the black plastic door holder strap. 12. Reconnect the 6‐pin mini din cable. 3 ...
-
Page 4: Section 2: Update The Software
Section 2: Update the Software Update software from the website ‐ http://www.primeralabel.com/support/cx1000.html or insert the installation disc that you received with the upgrade kit. Browse to the disc through My Computer. There are three separate update files that should be run. 1. Firmware Run the CX1200FWUpdater.exe to update the firmware. The following window will appear. Click Update to update the firmware. 2. Status Monitor Run the CX1200v1.8.0StatusMonitor.exe to update the Status Monitor. 3. PTPrint 1. Run the PTPrint‐012712.exe to update PTPrint. Follow the prompts and choose the default options except for the items mentioned below. 2. You will be prompted to enter the location of the license files. Browse to C:\PTPrint. 4 ... - Page 5 3. Choose “No” when prompted about using your existing configuration file. 4. Finally, choose FULL Install for the installation type. 5. This installation will take several minutes to complete. 5 ...
-
Page 6: Section 3: Printing To Pre-Die Cut Stock
Section 3: Printing to Pre‐Die Cut Stock. 1. To open PTPrint go to Start ‐ All Programs ‐ PTPrint folder ‐ PTPrint or click the PTPrint icon on your desktop. 2. The print layout wizard will appear. Click the Browse button to find the label you want to print. The following formats are supported via the print layout wizard: BMP, EPS, JPG, GIF, PCX, PNG, TIFF. 3. Once the graphic has been selected the size and dpi will automatically appear in the fields below. The graphic should be 300 dpi or greater to achieve the best quality. Resolutions above 300 dpi are not necessary and only serve to increase the file size. Adjust the label size as necessary. By default, aspect ratio will be maintained. The DPI will be increased if you decrease the size of the label. 4. Make sure “Using Pre‐diecut stock” has been checked. Design Tip! Design your label with the .125” bleed included. This will increase the size of your graphic. For example, if you want your final label to be 3” x 4”, design your label to be 3.125” x 4.125”. Adding a bleed is NOT the same as increasing the size of your image. Typically you would add a bleed to an image by doubling the size of the border around the image in your design program. Cut Position No Bleed WithBleed 6 ... -
Page 7: Setup Wizard
5. If you have purchased Primera Pre‐die cut stock, you will find a stock sticker attached to every roll of pre‐diecut label stock. 6. Match the values on the stock sticker with the corresponding values in the setup wizard. Stock Sticker Setup Wizard 7. Once you have chosen the imported graphic and the Step & Repeat columns are set, click OK to view the layout. 8. Save the File. Go to File ‐ Save. 9. Before printing make sure that “Using Pre‐diecut stock” is check under the settings tab of the status monitor. ... -
Page 8: Section 4: Adjusting Print Offsets
Section 4: Adjusting Print Offsets Use the following table to diagnose print offset problems. Before adjusting any offsets make sure you have entered the correct label size, vertical spacing, and horizontal spacing in the PTPrint label setup wizard. Offsets can be adjusted on the options tab of the status monitor. Only vertical offsets can be adjusted while the printer is printing! Cut (Black Line) Front of Printer Printed Image with bleed (Gray Area) Feed Direction Problem: Image is offset to the left or Right. Solution: Adjust Vertical Offset. Measure the offset amount accounting for the bleed. Adjust in the direction indicated using the offset adjustments on the options tab of the Status Monitor. ‐ ... - Page 9 Problem: Image is offset to the back or front. Solution: ‐ Adjust Horizontal Offset. Measure the offset amount accounting for the bleed. + Adjust in the direction indicated using the offset adjustments on the options tab of the Status Monitor. Problem: Image is offset both front or back and left or right. Solution: Adjust Horizontal and Vertical Offset. Measure the offset amount accounting for the bleed. Adjust in the direction indicated using the offset adjustments on the options tab of the Status Monitor. Problem: Image is too short/narrow or tall/wide for the cut. Solution: The image size may not be set correctly in PTPrint. Problem: Images lines up with cut on the right side of the page but gets gradually worse as it moves left. Solution 1: Printer Stretch Calibration is required. Solution 2: Image size may not be set correctly in PTPrint. 9 ...
- Page 10 10 ...
Need help?
Do you have a question about the CX1200 Pre?Die Cut and is the answer not in the manual?
Questions and answers