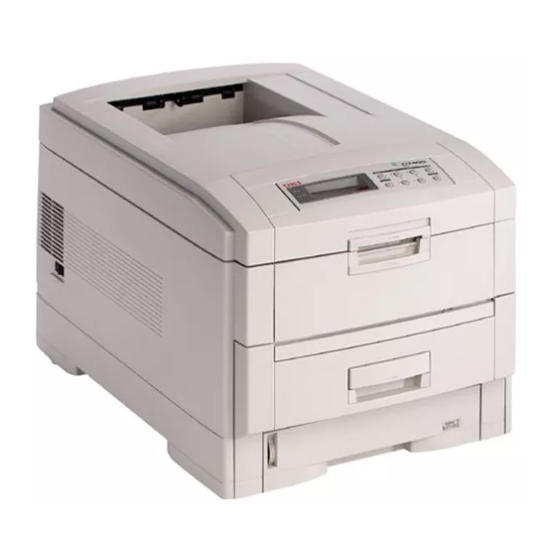
Oki C7200 Replacement Manual
Fuser unit replacing
Hide thumbs
Also See for C7200:
- Service manual (391 pages) ,
- User manual (186 pages) ,
- Handy reference (30 pages)
Advertisement
Quick Links
Replacing the Fuser Unit
Caution! The fuser unit may be HOT. Be sure to let it cool
down before attempting to replace it.
1 Turn the printer off.
2 Pull up on the handle and lift the cover.
3 Push the blue lock levers at either end of the fuser unit
toward the back of the printer to release the fuser.
4 Grab the handle and lift the fuser out.
5 Unpack the replacement fuser and lower it into the
printer, pushing down until you feel it snap into place.
Fuser
Unit
!
Make sure the blue lock levers at either end of the fuser
(at back
have snapped back locking the fuser unit in place. If
of
not, pull them toward the front of the printer.
printer)
6 Pull the fuser roller lock lever toward the front of the
printer, then remove the orange fuser transport lock.
7 Push the fuser roller release lever toward the back of the
printer as far as it will go.
8 Close the printer cover and turn the printer back on.
120V, OKI P/N 41304001
230V, OKI P/N 41304007
Advertisement

Summary of Contents for Oki C7200
-
Page 1: Replacing The Fuser Unit
120V, OKI P/N 41304001 230V, OKI P/N 41304007 Replacing the Fuser Unit Caution! The fuser unit may be HOT. Be sure to let it cool 5 Unpack the replacement fuser and lower it into the down before attempting to replace it. - Page 2 Should a Consumable which has been properly stored and maintained in the original packaging be determined by Oki Data to be defective, it will be repaired or replaced, at Oki Data’s option, at no charge to the end user. To make claim under this Limited Warranty, the original purchaser must return this product to the place of original purchase or to Oki Data.


Need help?
Do you have a question about the C7200 and is the answer not in the manual?
Questions and answers