Advertisement
Table of Contents
- 1 Names of Parts
- 2 Preparation for Sewing
- 3 Connecting Power Cord
- 4 Setting Telescopic Thread Stand
- 5 Changing Threads
- 6 Beginning and Ending of Sewing
- 7 Adjustment of the Presser Foot Pressure
- 8 Stitch Length Adjustment
- 9 Differential Feed
- 10 Pin Tucks
- 11 Changing Light Bulb
- 12 Problem Solving
- Download this manual
Advertisement
Table of Contents

Subscribe to Our Youtube Channel
Related Manuals for White SUPERLOCK 634D


Summary of Contents for White SUPERLOCK 634D
- Page 1 INSTRUCTION BOOK BUPEFILDCK 634D W H I TE Sewing machine company...
- Page 2 ____________________________ POLARIZED PLUG CAUTION appliance To reduce the risk of electric shock, this has a polarized plug (one blade is wider than only other). This plug will fit in a polarized outlet one way. if the plug does not fit fully in the outlet, contact a reverse the plug.
- Page 3 IMPORTANT SAFETY INSTRUCTIONS precautions should always be When using an electrical appliance, basic safety followed, including the following: Read all instructions before using (this appliance). —To reduce the risk of electric shock: DANGER in. Always unplug this An appliance should never be left unattended when plugged before cleaning.
-
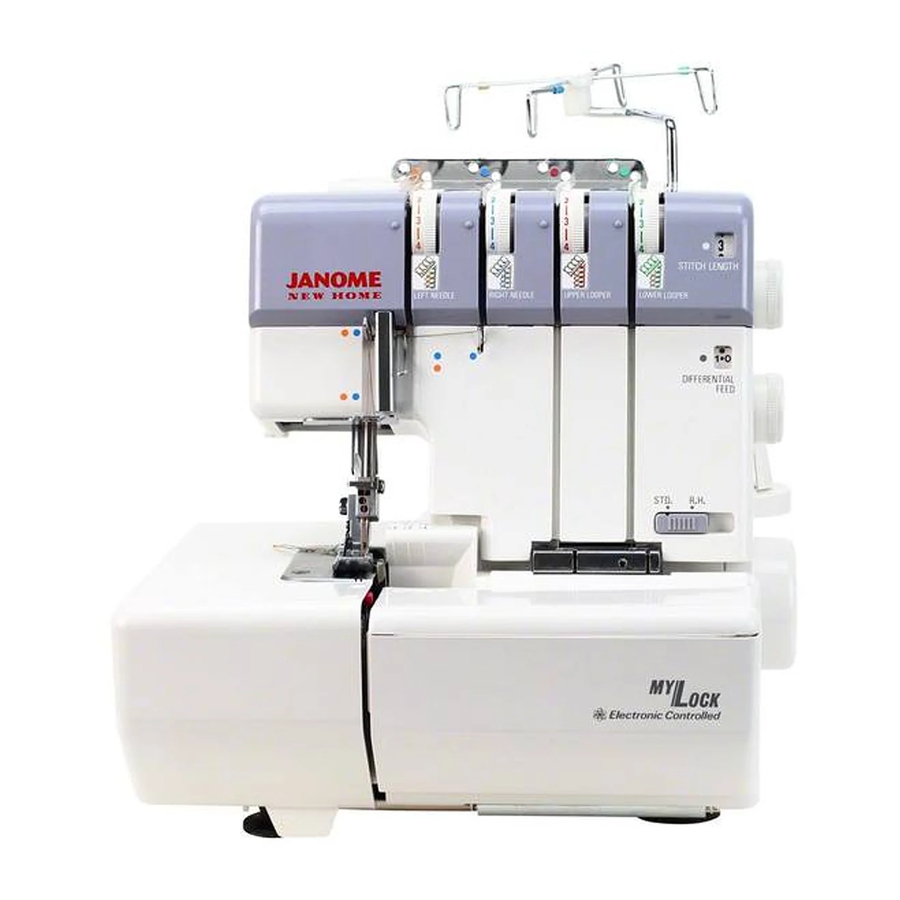
Page 6: Names Of Parts
1. NAMES OF PARTS 1. Spool pin 2. Thread take up lever cover 3. Pressure regulator screw 4. Thread tension support 5. Telescopic thread stand 6. Thread tension dials 7. Tension release lever 8. Differential feed dial 9. Stitch length dial 10. - Page 7 2. OPERATION AND FUNCTION OF PARTS Handwheel + Always turn handwheel toward you. Changing Presser Foot Switch off the machine. 1. Raise presser foot. 2. Raise needles to their highest position by turning handwheel toward you. 3. Push red button A and foot will come off. 4.
- Page 8 Stitch Finger Knob (Conversion from overlock to rolled edge) highest position by + Raise needle to the turning handwheeItoward you. Stitch finger For Overlock: knob with the rear red Push stitch finger knob to align © on needle plate. line For Rolled Edge: with stitch finger knob toward you to...
-
Page 9: Preparation For Sewing
3. PREPARATION FOR SEWING 3-1. ConneCting Power Cord ® cord Connect foot control and power be sure that the Before plugging in your machine, machine. (written voltage is same as that of your on a plate at back of machrne). country to country. -
Page 10: Setting Telescopic Thread Stand
3-2. Setting Telescopic Thread Stand Extend the telescopic thread stand to its full height, then turn it until the shaft clicks into its locked position. 3-3. Changing Threads The machine is supplied with thread but iiiy •.y spool (1) Cut the thread in use near the cone (behind the telescopic thread stand). - Page 11 Cover the spool with the “NET” as needed to prevent thread from slipping down on thread cones. When using a standard type thread spool, insert the spooi adapter (supplied with the machine) (as shown). 3-4. Replacing Needle Replace needle in the following way: Right Needle Note: be sure to take out the power supply plug Clamp Screw...
- Page 12 3-5. Threading When threading the machine from the beginning, threading must be carried out in the following sequence: First: Lower loopef threading (A) Second: Upper looper threading (B) Finally: Needle threading (C, D) (1) Lower looper threading (A) Open front cover. (See Page 2) Take the thread drawn from the spool and pass of the thread stand and then, in ©...
- Page 13 (2) Upper looper threading (B) Bring the upper looper to its lowest position by turning handwheel toward you. Draw thread from spool and pass it, through guide ( of the thread stand and then, in order, through guides ©-.Ø.(Fig. A) While pressing down the tension release lever with your right hand, lay thread between thread tension discs with your left hand.
- Page 14 (3) Needle Threading (C) (D). For ease in threading, turn the moveable cutter to the non-operating position. (See Page 3). 1. Raise the needles to their highest position. 2. Draw thread from spool and pass it through ®. guide © 3.
-
Page 15: Beginning And Ending Of Sewing
4. FOUR THREAD OVERLOCK STITCH USING 2 NEEDLES 4-1. Before Sewing After threading is completed, and when the threads are not wound around the stitch finger, gently draw out the four threads under and behind the presser foot, and turn the handwheel towards you by hand two or three times to make stitch form on the stitch finger. -
Page 16: Adjustment Of The Presser Foot Pressure
(2) Ending of sewing Sew off the material forming a chain to prevent the thread from untying and to prepare for the next sewing. — Draw the finished fabric gently backwards and to the left as the machine is operating and make chain-stitches. - Page 17 4-5. Thread Tension Chart ‘N.N. Left Needle Right Needle Upper Lower THREAD Looper Loope TENSION STITCH CUTTING PATTERN’N C>IH t>Il4I II! STITCHES LENGTH WIDTH OVERLOCK 2.5-5 mm 5-6 mm ROLLED Ffl(F — FINE ROLLED EDGE 1-1.5 mm 5-6 mm — The tension for each of the thread tension dials should be different according to the pattern stitches as in the chart above.
- Page 18 4-6. Thread Tension Adjustment Set the balance of the tension as weak as possible. To tighten the tension, turn tension dial to a higher number. To loosen the tension, turn tension dial to a lower number. ® Left needle thread tension ©...
-
Page 20: Stitch Length Adjustment
5. ADJUSTING BALANCE OF STITCH WIDTH AND CUTTING WIDTH • Adjust the cutting width from 5.2 (0.2”) to 7.0mm (0.28”) according to the kind of material. • The standard cutting width is 5.5mm (0.21 “). • Open the front cover to adjust the cutting width. (1) If the cutting width is narrower than the stitch width, leavinioops the fabric edge, turn the... -
Page 21: Differential Feed
7. DIFFERENTIAL FEED Differential feed prevents stretching or puckering fabrics, since two independent feed dogs, one in front and one behind the needles, can be adjusted to feed at different ratio. This function produces a neat finish of overlock for stretchable and lightweight fabrics. - Page 23 10. THREE THREAD OVERLOCK STITCH USING 1 NEEDLE Though this machine is made mainly for 4 thread stitch overlock using 2 needles. To sew three-thread stitch overlock using 1 needle simply remove 1 needle. (1) By removing the right needle. Three-thread overlock stitch using 1 needle for as wide as a 4-thread overlock stitch using 2 needles can be achieved.
-
Page 25: Pin Tucks
12. PIN TUCKS Pin tucks are overlocked on the edge. So as to avoid cutting the fabric, raise the upper cutter. Pin tucking is suited to the design of a child’s clothing and a lady’s blouse. (1) Remove the left or right needle for your desired pintuck width. -
Page 26: Changing Light Bulb
13. REPLACING LOWER CUTTER Replacing Lower Cutter * Unplug the machine (1) Open front cover and disengage upper cutter. (‘See page 3) (2) Loosen lower cutter clamp screw®and remove lower cutter. (3) Set the new lower cutter. Align the top of lower cutter with the top of needle plate, and tighten lower cutter clamp screw a 14. - Page 27 CLEANING First disconnect machine from power supply by removing plug from the electric outlet. 1. Open front cover and side cover. (See Page 2. Using the brush provided, remove all the dust and lint that has accumulated. STORAGE 1. When the machine is not in use, please disconnect it from the power supply by removing plug from the electric outlet.
- Page 28 16. ACCESSORIES Screw drivers Lower cutter (large) (small) Net (anti-spill sleeves) Tweezers Cleaning brush Vinyl cover Oiler Spool Adapter Needles plastic sheath HAx1 —ZE #11...2 (SCHMETZ (75) ‘ 130/705H) —--— —23—...
- Page 29 —...
-
Page 30: Problem Solving
18 PROBLEM SOLVING instruction for operating, no difficult or special adjustment Under normal conditions, if you carefully follow before you call for service. wgcrenure of machine. Check your machine CORRECTION CAUSE PROBLEM • Plug cord into electrical outlet properly • Not plugged Machine does and machine properly Increase pressure by turning... - Page 31 Number of threads 4 Threads (3 threads) Number of needles 2 Needles (1 needle) Standard HAx1 #11 #14 (SCHMETZ 1301705H Needles NO: 75—90) Width between two needles Overlock width Standard 5.5 mm (Range 5.2 7 mm) Stitch length Differential feed ratio 1: O.7—2 Maximum sewing speed 1500 RPM...
- Page 33 17-8—L.LI—6000L9...
Need help?
Do you have a question about the SUPERLOCK 634D and is the answer not in the manual?
Questions and answers