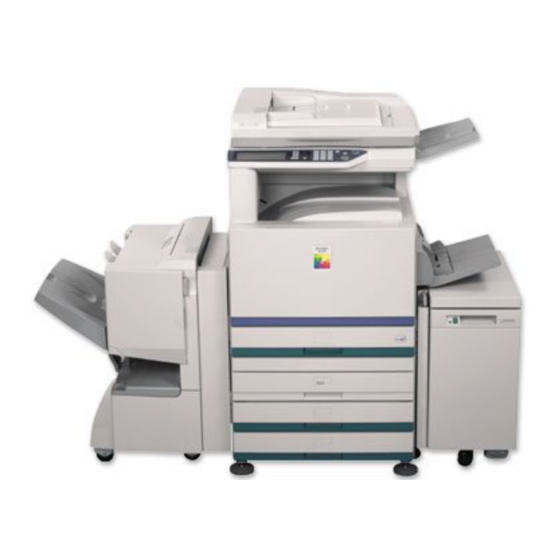
Sharp AR-C260 Color Management Manual
Colour adjustment
Hide thumbs
Also See for AR-C260:
- Operation manual (140 pages) ,
- Printer operation manual (50 pages) ,
- Network scanner operations (42 pages)
Table of Contents
Advertisement
Quick Links
COLOUR ADJUSTMENT
USER'S GUIDE
Adjusting the Colour Balance................................2
Colour Adjustment Flow Chart ..............................2
Printing a Test Page ..............................................3
Checking the Colours .............................................4
Using the Colour Balance Settings .......................5
Using Easy Calibration ...........................................7
Page
Advertisement
Table of Contents

Related Manuals for Sharp AR-C260


Summary of Contents for Sharp AR-C260
- Page 1 COLOUR ADJUSTMENT USER'S GUIDE Page Adjusting the Colour Balance........2 Colour Adjustment Flow Chart ......2 Printing a Test Page and Checking the Colours ..3 Printing a Test Page ..........3 Checking the Colours ..........4 Using the Colour Balance Settings .......5 Using Easy Calibration ...........7...
-
Page 2: Adjusting The Colour Balance
Adjusting the Colour Balance As the printer is used, ambient conditions and the depletion of consumables (the toner cartridge and drum cartridge) can gradually cause changes to occur in the four colour components of colour images, cyan, magenta, yellow, and black. This results in deviations in the colour balance. These deviations in the colour balance occur gradually over a long period of time. -
Page 3: Printing A Test Page
Printing a Test Page and Checking the Colours Printing a Test Page Follow these steps to print a test page from the operation panel. Enter the key operator programs. Touch the [TEST PRINT] key. To enter the key operator programs, see “Using COLOUR DJUSTMENTS the key operator programs”... -
Page 4: Checking The Colours
Checking the Colours The standard colour chart included with the printer is used to check the colours on the printed test page. Follow the steps below to check the colours. Standard colour chart (included with the printer) Test page (printed by the printer) Low Density Mid Density High Density... -
Page 5: Using The Colour Balance Settings
Using the Colour Balance Settings The colour chart included with the printer is used to adjust the Colour Balance settings. Follow these steps to adjust the settings using the operation panel. NOTE: • Keep the Colour Chart in the place near printer. Do not discard it. •... - Page 6 Adjusting the colour balance (additional information for Step 6 on the previ- ous page) Test pattern 1 (printed by printer) Colour Chart (included with printer) Low Density Mid Density High Density Column 1 Column 12 Colour density level Place the colour chart on test pattern 1 and compare the colours. For the placement of the colour chart, see page 4.
-
Page 7: Using Easy Calibration
Using Easy Calibration Use Easy Calibration when there is only a small difference between the colours in the colour chart and the test page printed as explained on page 3. Follow the steps below to perform Easy Calibration using the operation panel. Enter the key operator programs. - Page 8 Enter the X and Y coordinates of the colour you prefer in the following screen (the screen in Step 6 on the previous page). How to use the keys in the screen :Touch the keys to select the desired colour of grey. Back to step 7 on the previous page. PRINTED IN CHINA SHARP CORPORATION 2002L TINSE2365FCZZ...
Need help?
Do you have a question about the AR-C260 and is the answer not in the manual?
Questions and answers