Table of Contents
Advertisement
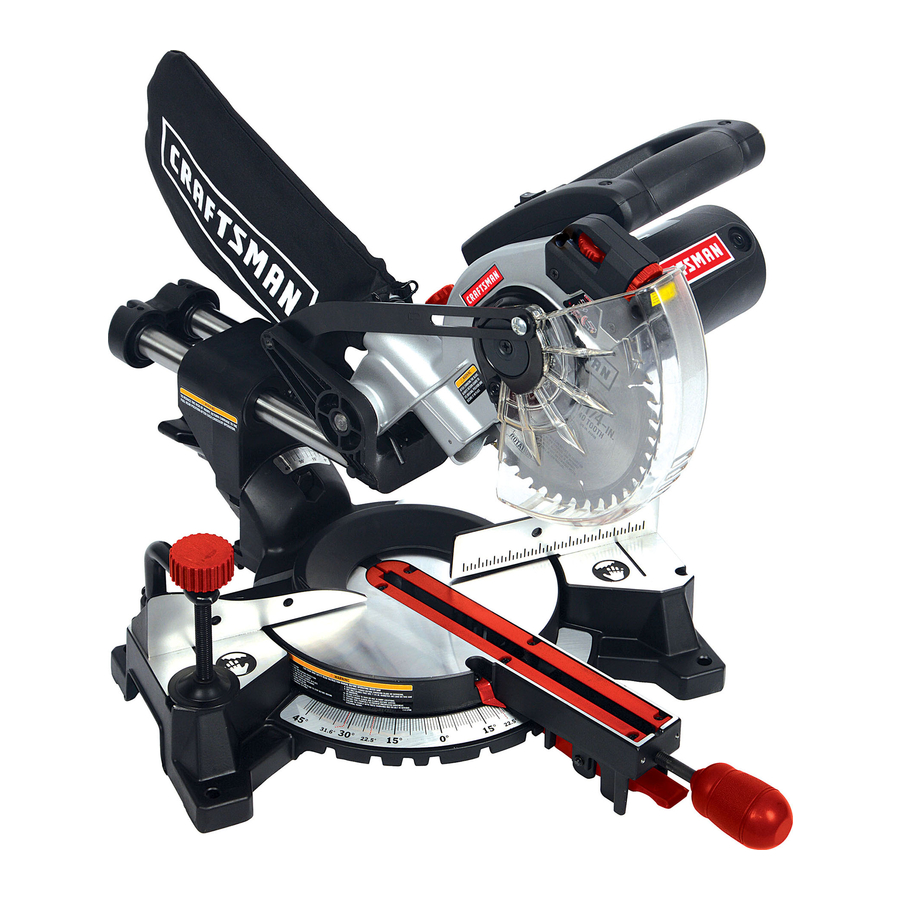
Operator's Manual
CRAFTSMAN I
Amp
71/4-in. Compound Miter Saw
with Laser Trac
TM
Model No.
320.21180
\
c(_)0s
DOUBLE INSULATED
Z_CAUTION:
Read, understand
and
follow
all Safety
Rules and Operating
Instructions
in this Manual
before
using
this product.
• WARRANTY
• SAFETY
• UNPACKING
• ADJUSTMENT
• OPERATION
• MAINTENANCE
Sears, Roebuck and Co., Hoffman Estates, IL 60179 U.S.A.
Visit our Craftsman web site: www.sears.com/craftsman
2-1-06
Advertisement
Table of Contents

Related Manuals for Craftsman 320.21180


Summary of Contents for Craftsman 320.21180
- Page 1 • SAFETY • UNPACKING follow all Safety Rules and Operating • ADJUSTMENT Instructions in this Manual before using • OPERATION this product. • MAINTENANCE Sears, Roebuck and Co., Hoffman Estates, IL 60179 U.S.A. Visit our Craftsman web site: www.sears.com/craftsman 2-1-06...
- Page 2 We recommend a Wide Vision Safety Mask for use over eyeglasses or standard safety glasses with side shield, available at Sears Stores or other Craftsman Outlets. 2-1-06...
- Page 3 SAFETY PRECAUTIONS FOR LASERS cont. z WARNING: BE SURE to read and understand all instructions in this 7. DO NOT attempt to modify the performance of this laser device in any way. This manual before using the miter saw. Failure to follow all instructions may result in a dangerous exposure to laser radiation.
- Page 4 PERSONAL SAFETY cont. ELECTRICAL SAFETY 8. ALWAYS SECURE YOUR WORK. Use clamps or a vise to hold work when practical. It is safer than using your hand and frees both hands to operate tool. WARNING: Do not permit fingers to touch the terminal or plug when 9.
- Page 5 EXTENSION CORDS SERVICESAFETY Use a proper extension cord. ONLY use cords listed by Underwriters Laboratories 1. If any part of this saw is missing or should break, bend, or fail in any way; (UL). Other extension cords can cause a drop in line voltage, resulting in a loss of or should any electrical component fail to perform properly: SHUT OFF the power and overheating of tool.
- Page 6 SAFETY RULES FOR MITER SAWS cont. _AI=I::TV Rill I:.q I=_R MITI::R ._AW._ _nnr 13. ONLY USE the correct blades. Use the right blade size, style and cutting speed WARNING: use of this product can generate dust containing for the material and the type of cut. DO NOT use blades with incorrect size holes. NEVER use blade washers or blade bolts that are defective or incorrect.
- Page 7 Arbor Chamfer The revolving shaft on which a blade or cutting tool is mounted. A cut removing a wedge from a block of wood so the end (or part of the end) is angled at other than 90 °. Arbor Lock Allows the user to stop blade from rotating while tightening or loosening the arbor Ripping or Rip Cut screw during blade replacement or removal.
- Page 8 Saw weighs only 16-Ibs., one of the lightest, most compact miter of the items listed are missing, or any breakage or damage has occurred, return saws on the market. the saw to your nearest Sears store or Craftsman outlet to have the saw replaced. 6. Durable high-impact plastic...
- Page 9 KNOWYOUR MITER SAW (Fig. la and lb) cont. KNOWYOUR MITER SAW (Fig. la and lb) cont. Fig. I b Laser Fig. la On/Off Salty Switch Laser Lock-off On/Off Bu_on Cutting Handle On/Off Switch Trigger Switch Laser Upper Battery Blade Compartment Guard Dust Bag Arbor...
- Page 10 Use a 1V4-in. vac hose adapter (available at Sears Port Mounts on left or right side offence to securely clamp workpiece. stores and other Craftsman outlets) to hook up Carrying Handle/Support Bracket your saw to a wet/dry vac (sold separately).
- Page 11 SQUARING THE BLADE TO SQUARING THE BLADE TO THE Fig. 4 THE FENCE (Fig. 4) MITERTABLE 0 ° Bevel, 0 ° Miter Fig. 6 (Fig. 6) /k WARNING: Failure to unplug your saw could result in unplug your saw could result in accidental starting causing I z WARNING: Failure to...
- Page 12 THROAT PLATE SLOT (Fig. 7) ADJUSTINGTHE BLADETO THE MITER TABLE 45 ° Bevel, 0 ° MITER (Fig. 8) cont. Fig. 7 The throat plate was cut (slotted) at the 7. Once the angle is set, tighten the lock nut with the wrench while holding the set factory for a 0 °...
- Page 13 HOW TO USE THE LASER TRAC Depth Stop Adjustments cont. Fig. 11 (Fig.lO) Fig. 10 FEATURE (Fig. 11) cont. 1 Unplug thesaw. 4. Clamp your workpiece in place with the hold down clamp. 5. Follow all of the cutting instructions for the unplug your saw could result in type of cut you want to make starting on accidental starting causing...
- Page 14 CROSSCUTTING (Fig. 13 and 14) WARNING: When using the hold down clamp included or a C-clamp A crosscut is a cut made across the (sold separately) to secure the workpiece, clamp the workpiece on one grain of the workpiece. A straight side of the blade ONLY.The workpiece MUST remain unclamped on the...
- Page 15 CROSSCUTTING cont. (Fig. 13 and 14) BEVEL CUTTING cont. (fig. 15) 3. Release the saw arm by pulling out the locking pin. A WARNING: To avoid serious personal injury, ALWAYS keep your hands 4. To make a bevel cut, loosen the bevel lock knob (Fig. lb) by turning the knob outside the "no hands zone", as marked on the saw table, which is at least 3 counterclockwise.
- Page 16 CUTTING BASE MOLDING (Fig. 16) COMPOUND MITER CUTTING cont. (Fig. 17) Fig, 16 Molding lying fiat on miter table Base moldings and many other moldings It may take several settings to obtain the desired cut. The first angle setting should (before clamping) can be cut on a miter saw.
- Page 17 CUTTING COMPOUND MITERS cont. COMPOUND MITER CUTTING cont. (Fig. 17) _ rl i,*.,n /k WARNING: To avoid serious personal injury, ALWAYS keep your hands OF SIDE outside the "no hands zone", as marked on the saw table, which is at least 3 M-18.32°...
- Page 18 CUTTING CROWN MOLDING cont. (Fig. 18) CUTTING WARPED MATERIAL (Fig. 19 and 20) The settings in the table below can be used for cutting all standard (U.S.) crown molding with 52 ° and 38 ° spring angles. The crown molding is placed flat on the NEVER position the concave side of bowed or warped material against the miter table, using the compound features of your miter saw.
- Page 19 ROUTINE MAINTENANCE CHANGING THE BLADE cont. (see Fig. 21) 8. Take the new blade and match the direction of the arrow on it with the direction of WARNING: DO NOT at any time let brake fluids, gasoline, petroleum- the arrow on the upper blade guard. Make sure the blade teeth are pointing based products, penetrating oils, etc.
- Page 20 REPLACEMENT OF CARBON BRUSHES cont. PROBLEM PROBLEM CAUSE SUGGESTED Fig. 24 Ears 3. Using a slotted screwdriver, remove the black CORRECTIVE ACTION Carbon Brush plastic cap on each side of the motor housing (Fig. 23), and carefully withdraw the Brake does Motor brushes not sealed or Inspect/clean/replace spring-loaded...
- Page 21 2-1-06...
- Page 22 NOTES m_m_imc LLI.E ii.. _o_" ..J_ LLI _; "5 o_mmm_c iiiiiii ix? (N 2-1-06...
- Page 23 Your Home For repair-in your home-of all major brand appliances, lawn and garden equipment, or heating and cooling system, no matter who made it, no matter who sold For the replacement parts, accessories owner's manuals that you need to do-it-yourself. For Sears professional installation of home appliances...
Need help?
Do you have a question about the 320.21180 and is the answer not in the manual?
Questions and answers